Configure Advanced LAN Settings on a Nano-PC (LAN / Ethernet)
- James Yeoh
These steps will help users configure advanced LAN settings on Nano-PC3 devices using a Wireless Keyboard Mouse Combo.
Configuration requires any standard Wireless Keyboard Mouse Combo and a Micro USB OTG Adapter (both not included).
This article is intended for Expert Users trying to accomplish any of the following Advanced Network Configurations
- Proxy
- Enterprise Networks
- Certificates
- Static IPs
If required, view this article on how to Change the Android Language Setting on a Nano-PC
Topics Covered
Configure Static IP LAN Settings on a Nano-PC3 device
- Setup your Nano-PC - How to Setup your Nano-PC (LAN / Ethernet)
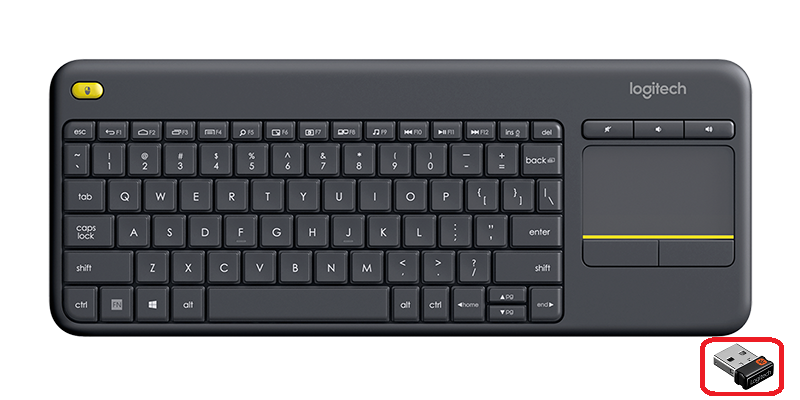
- Connect a Wireless Keyboard Mouse Combo
- insert the Micro USB OTG Adapter into the Micro USB Port of the Nano-PC3
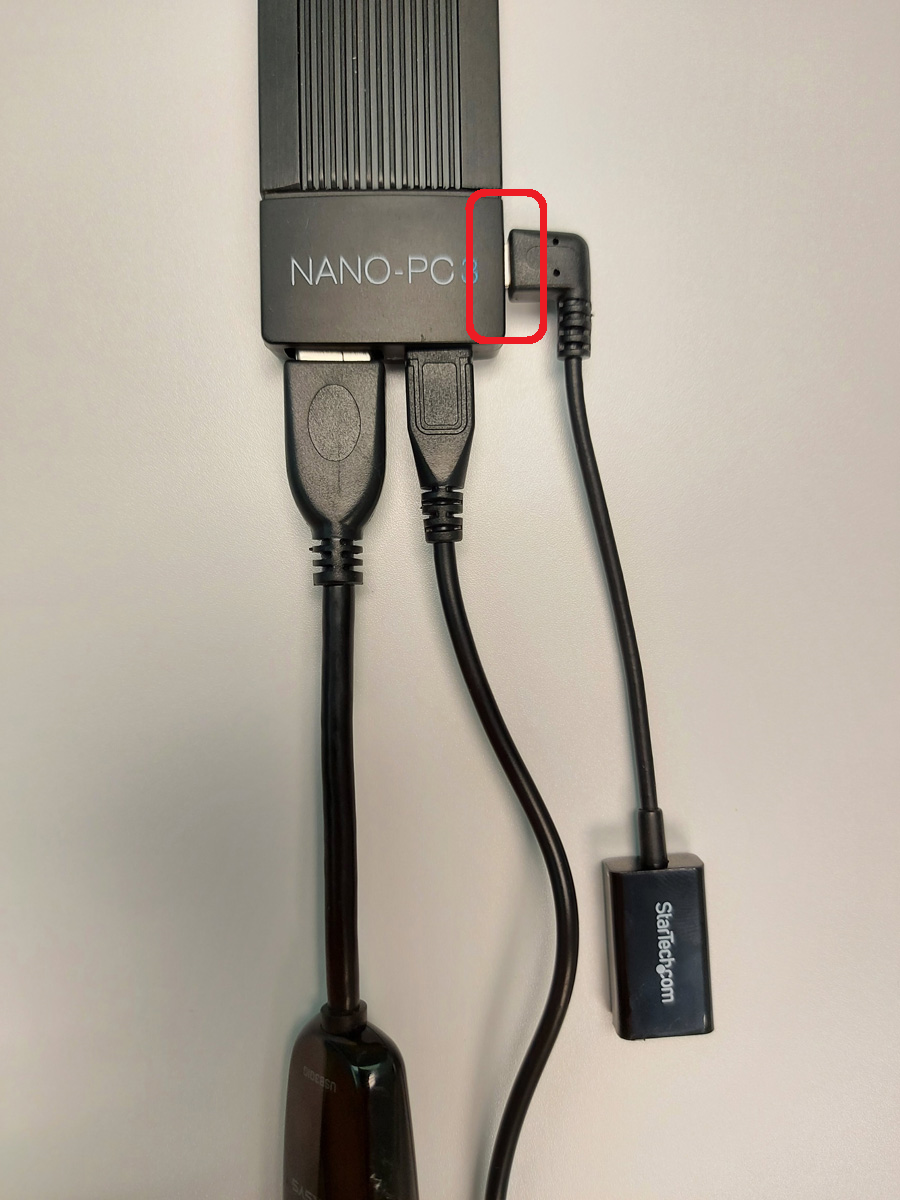
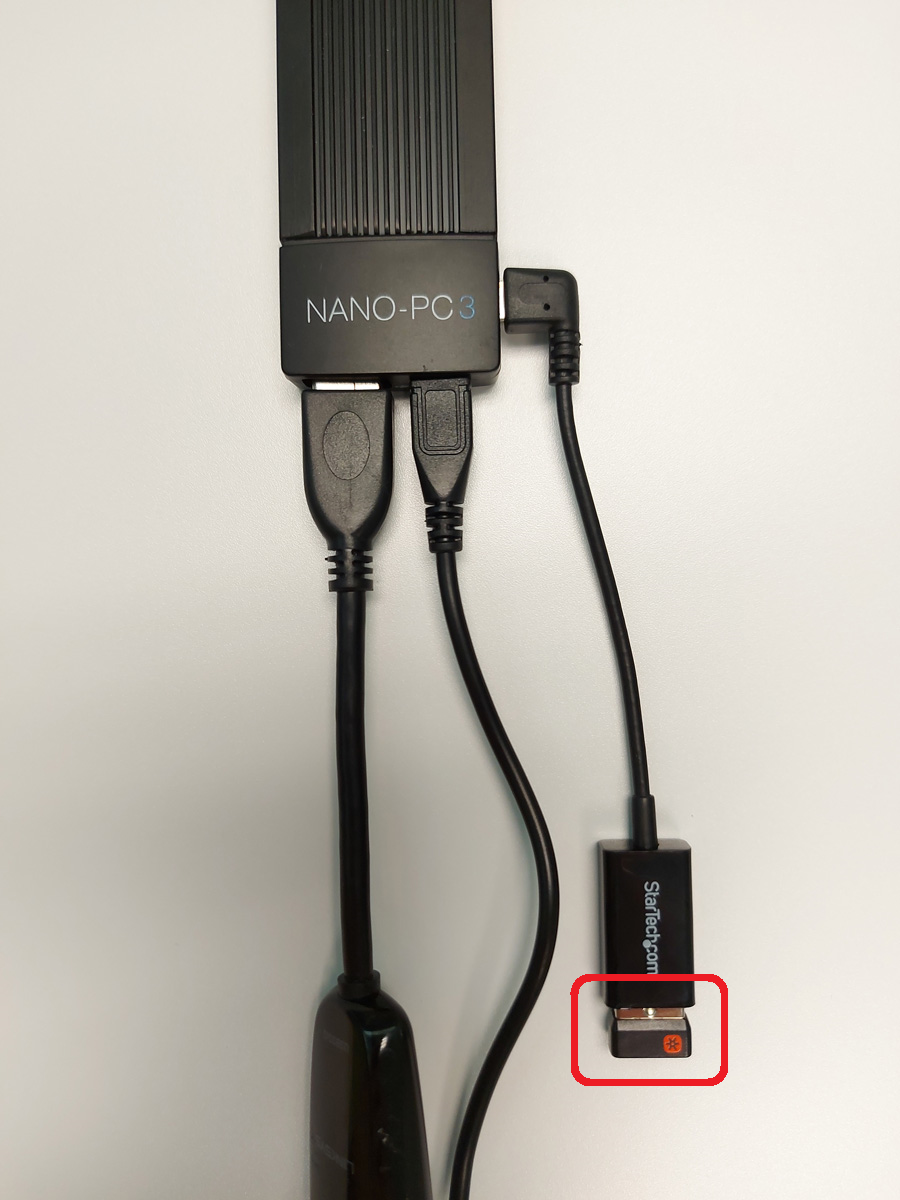
- insert the USB Dongle into the USB Port of the Micro USB OTG Adapter
- insert the Micro USB OTG Adapter into the Micro USB Port of the Nano-PC3
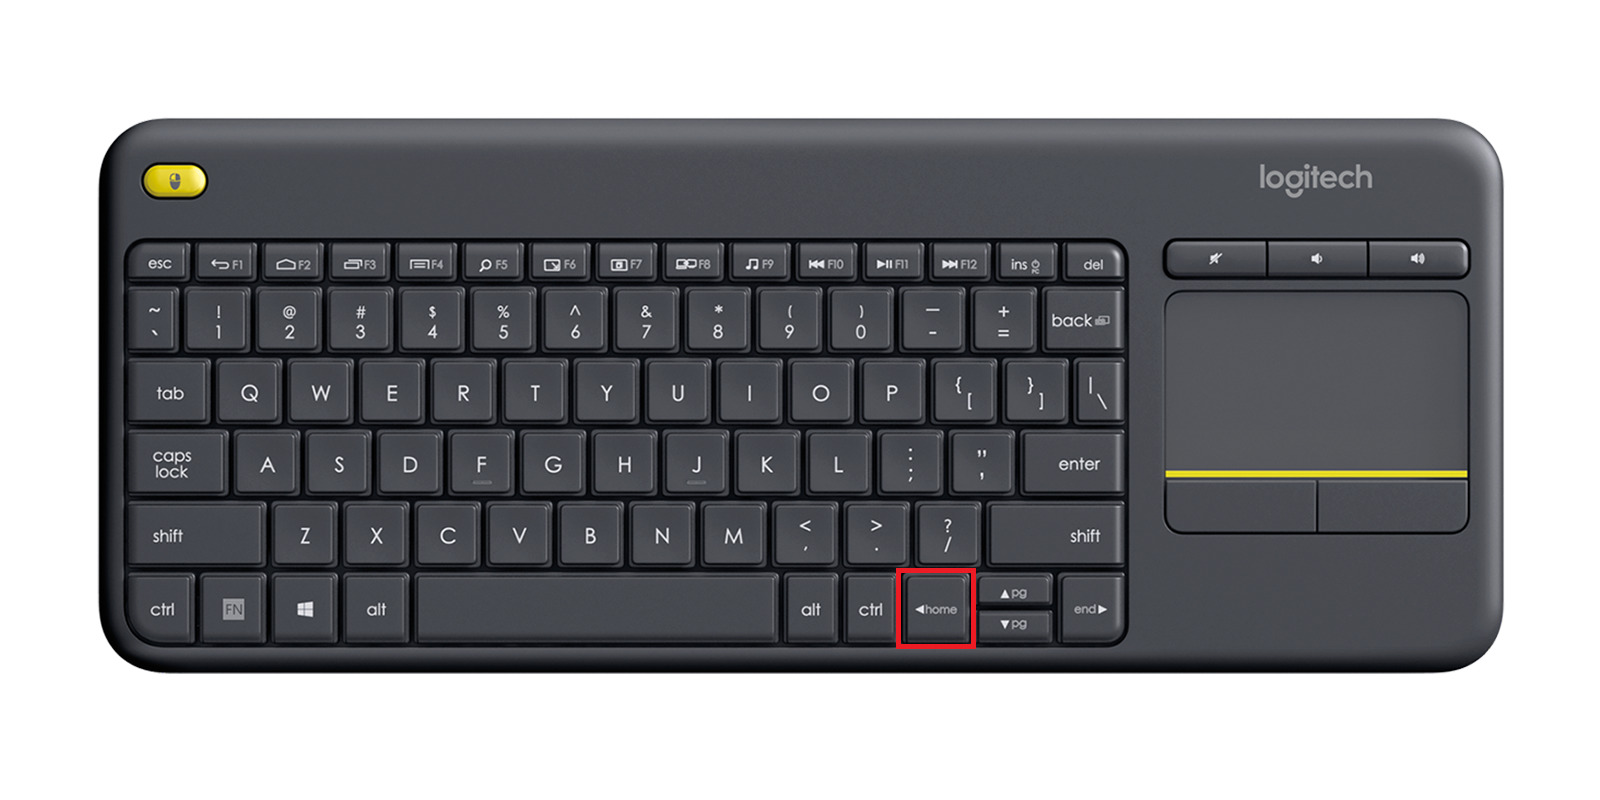
- Press on the Home button on the Wireless Keyboard
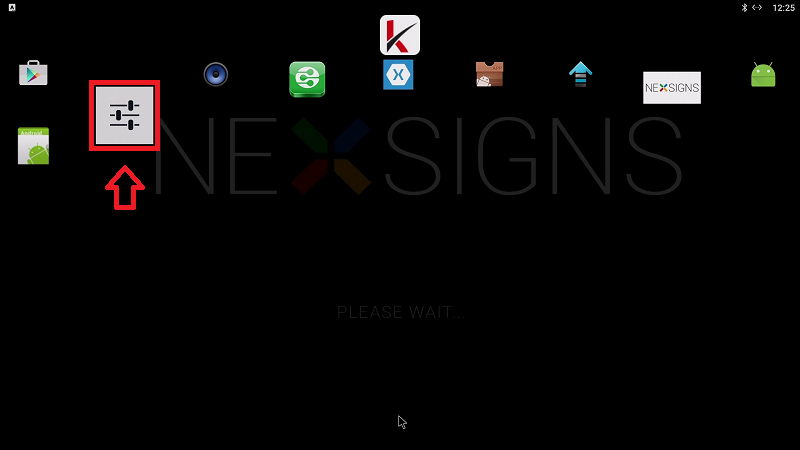
- Click on the Kuusoft icon to expand the ribbon menu, then click on the Settings application
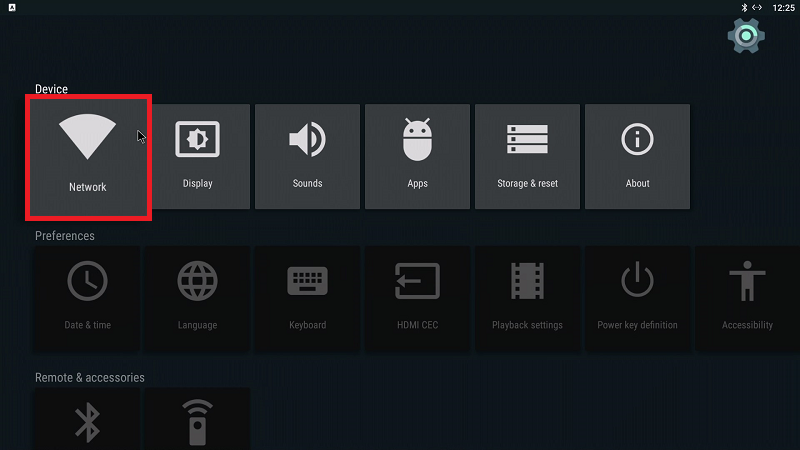
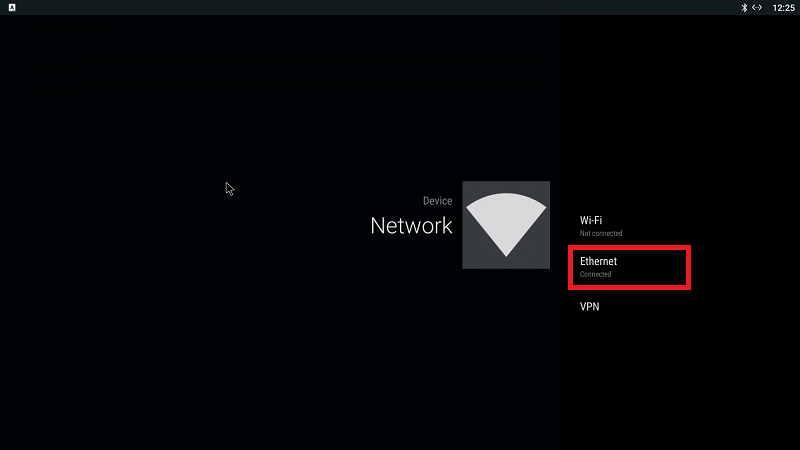
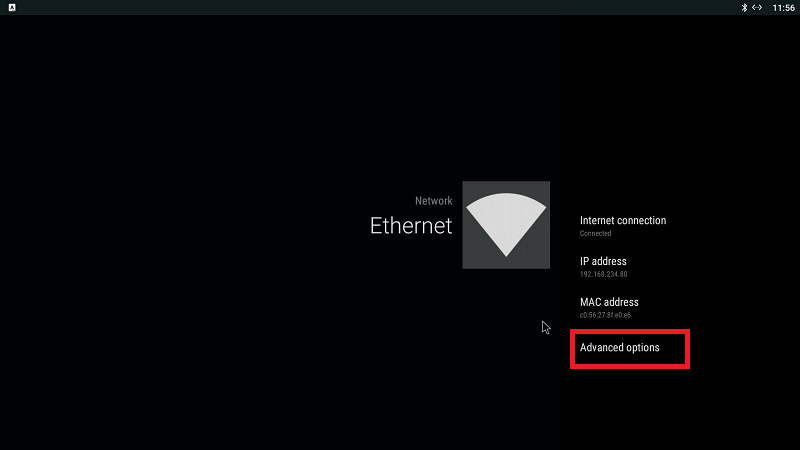
- Click on the Network icon then click on the Ethernet option
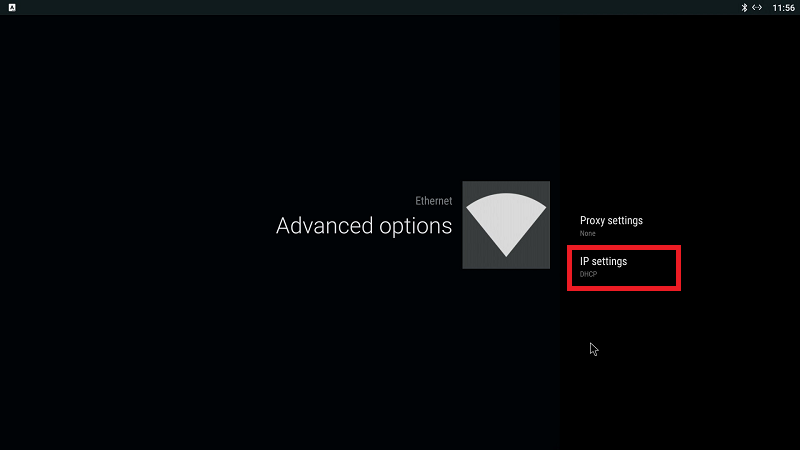
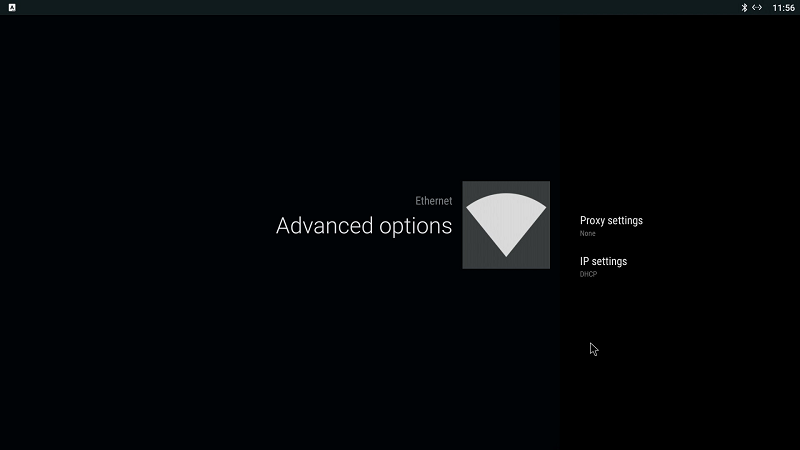
- Click on the Advanced Options, then click on IP settings
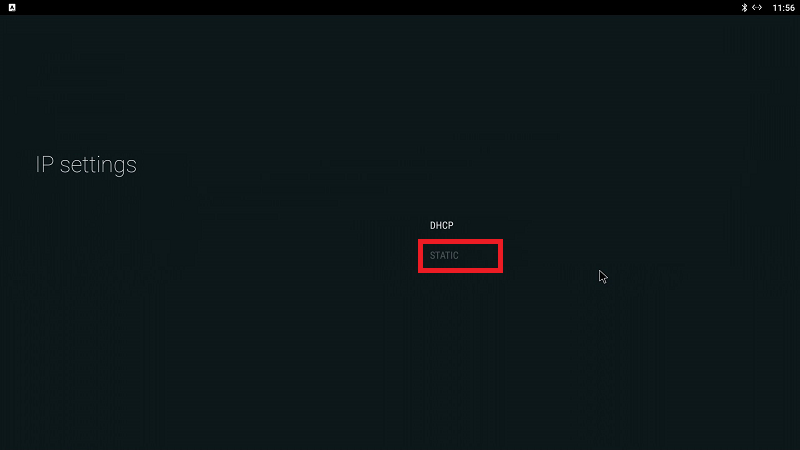
- Click on Static
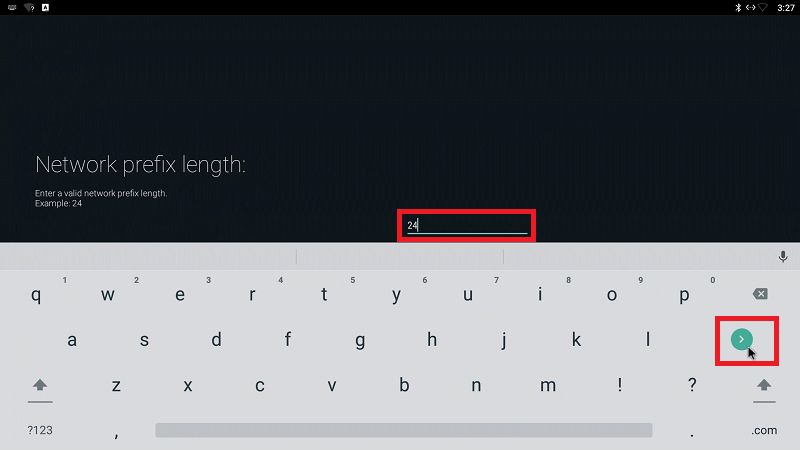
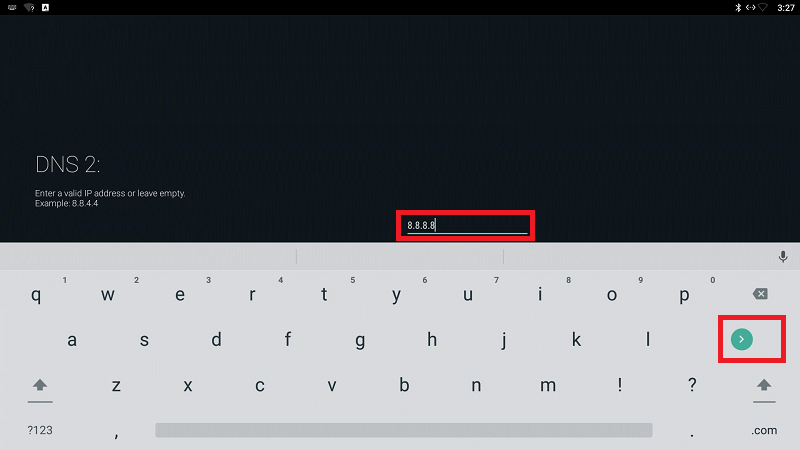
- Enter the intended Static IP Settings for the USB / LAN Adapter and click on the Next Button
Example of Settings- IP Address - 192.168.234.56

- Gateway - 192168.234.1

Network Prefix Length - 24
Network Prefix Length represents the number of subnet bits - 24 = 255.255.255.0
- DNS 1 - 192.168.234.1

- DNS 2 - 8.8.8.8
- IP Address - 192.168.234.56
The Static LAN IP Settings will be saved and you will be returned to the Ethernet Advanced options page
IP settings will still display as DHCP and will be updated to Static when you exit and re-enter the Ethernet Advanced options page

- Press on the Home button on the Wireless Keyboard
- Click on the NexSigns icon
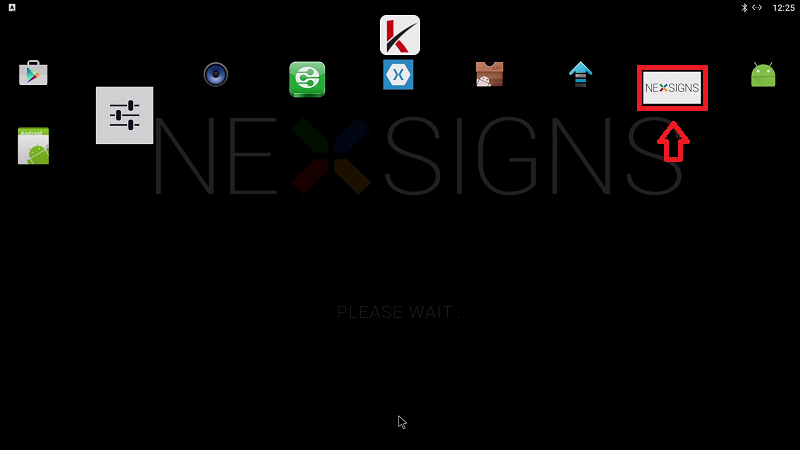
- You are done! NexSigns will launch using your your new Static IP LAN Settings


Kuusoft recommends Rebooting your Nano-PC3 device after updating Advanced LAN Settings
Related articles