/
Optical Content Library (OCL)
Optical Content Library (OCL)
This tutorial will explain how to use the Optical Content Library.
Topics Covered
Login to OnePass and navigate to your NexSigns channels
- Login to OnePass - (For more information, see How to access OnePass)
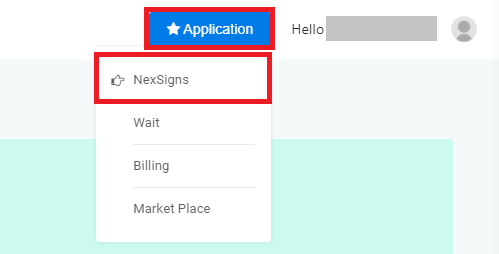
- Click on Application then select NexSigns
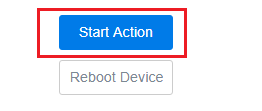
- Click on Start Action on your desired Product License
- Click on Start Action on your desired Product License
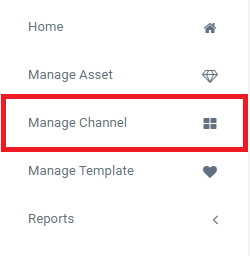
- Select Manage Channel from the left menu
Previewing the Optical Content Library
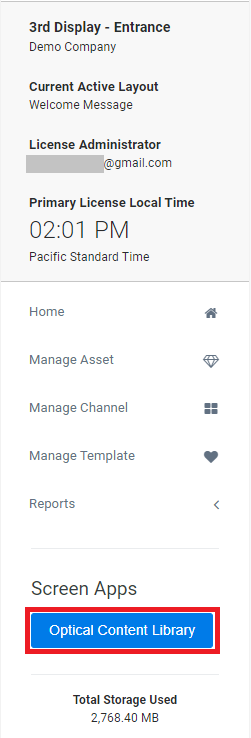
- Select Optical Content Library under the Screen Apps Menu
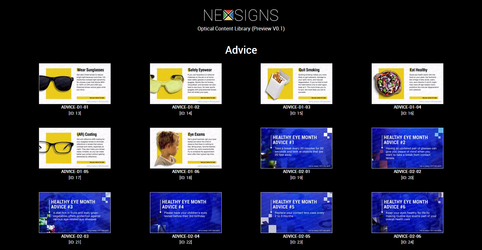
- You can now view all available videos in the Optical Content Library
- Preview the *Optical Content Videos by clicking the thumbnail
Adding Optical Content Videos to a Multimedia Channel / Multimedia Playlist
- Create or select an existing Multimedia Channel / Multimedia Playlist
- For more information on a Multimedia Channel / Multimedia Playlist, see this article
- Select an existing Multimedia Channel / Multimedia Playlist, by clicking on Action, then Edit
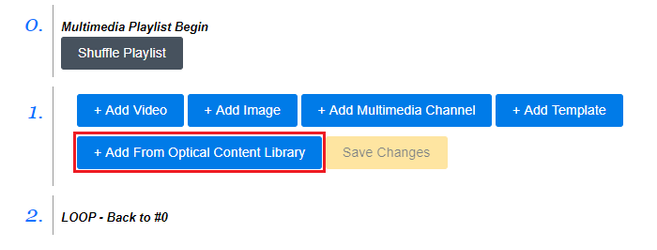
- To add an Optical Content Video, click on the + Add From Optical Content Library button
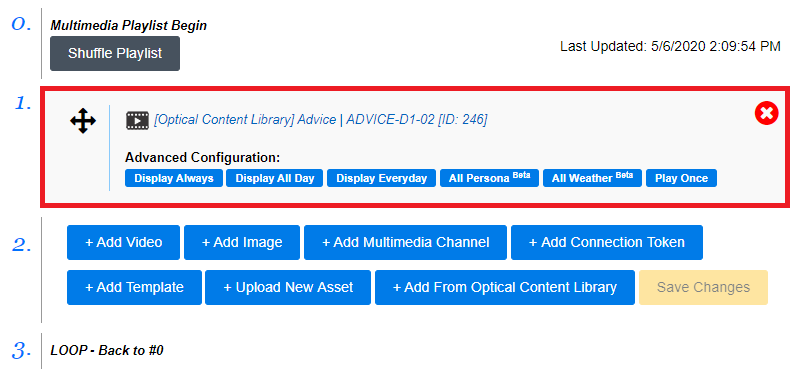
- Preview the Optical Content Video by clicking on the thumbnail. Add the Optical Content Video to your Multimedia Channel / Multimedia Playlist by clicking the + Add to Playlist button
- You have successfully added an Optical Content Video to a Multimedia Channel
You will need to Publish your Layout connected to the Multimedia Channel / Multimedia Playlist to view the changes on your NexSigns display.
*Please note that the Kuusoft Watermarks on the Optical Content Videos will NOT be displayed on your screens.
Applies to
OnePass 3.1.x, NexSigns 2.x, NexSigns 3.x
Related articles
Related tickets
, multiple selections available,
Related content
Assets (Images / Videos)
Assets (Images / Videos)
More like this
NexSigns Cross-Platform Features Availability
NexSigns Cross-Platform Features Availability
More like this
Install the NexSigns - Digital Signage Client (Android / Android TV)
Install the NexSigns - Digital Signage Client (Android / Android TV)
More like this
Add a Playlist to another Multimedia Playlist
Add a Playlist to another Multimedia Playlist
More like this
Get Started with NexSigns
Get Started with NexSigns
More like this
Layouts - Examples
Layouts - Examples
More like this
