Edit Images with the NexSigns Image Editor
- James Yeoh
Owned by James Yeoh
Last updated: Feb 28, 2024
You can quickly edit your Image Assets directly on OnePass using the powerful NexSigns Image Editor.
Topics Covered
Helpful Hints
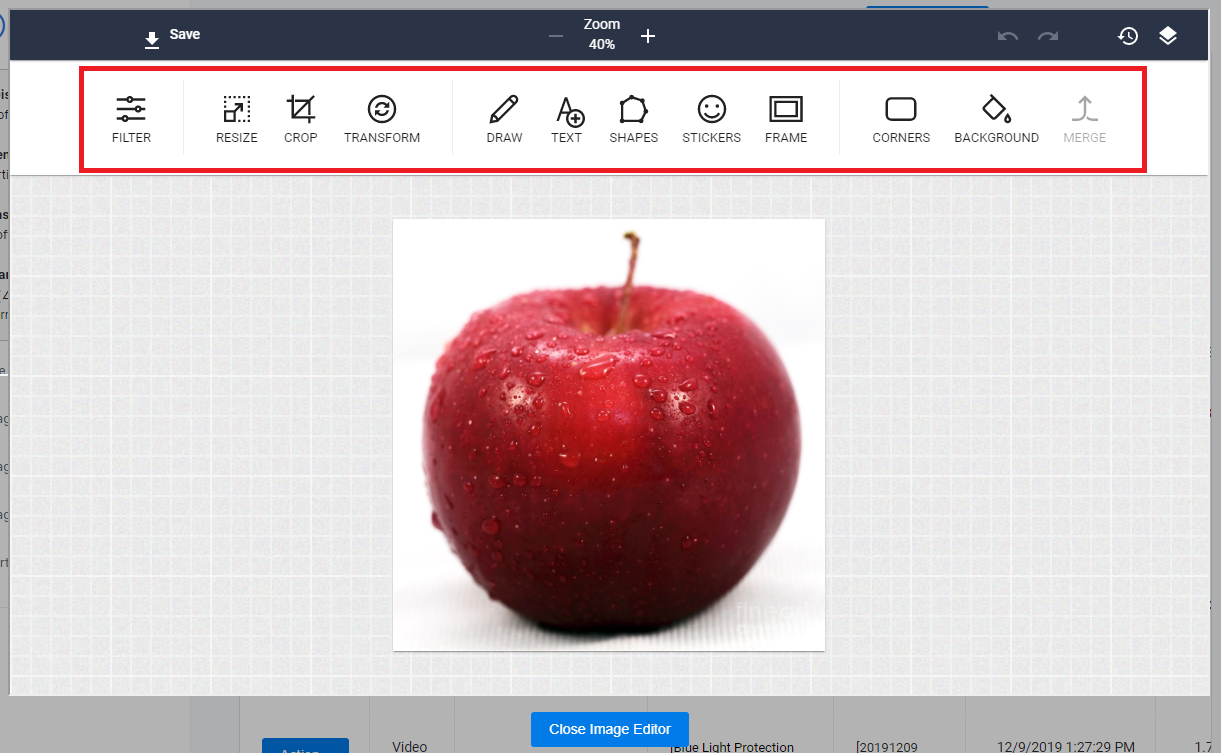
Here are the available features of the NexSigns Image Editor

Tutorial - Recommended Web Browsers for OnePass
Tutorial - Assets (Images / Videos - Recommended Settings)
Login to OnePass and navigate to your Assets
- Login to OnePass - (For more information, see How to access OnePass)
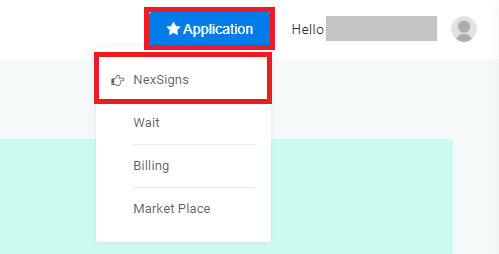
- Click on Application then select NexSigns
- Click on Start Action on your desired Product License

- Select Manage Asset located in the left menu
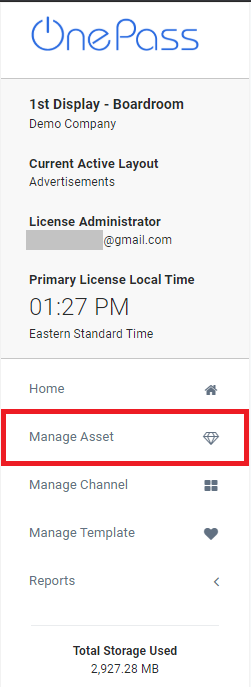
- You have successfully navigated to your Manage Assets page.
Edit an Image Asset (Tile Interface)
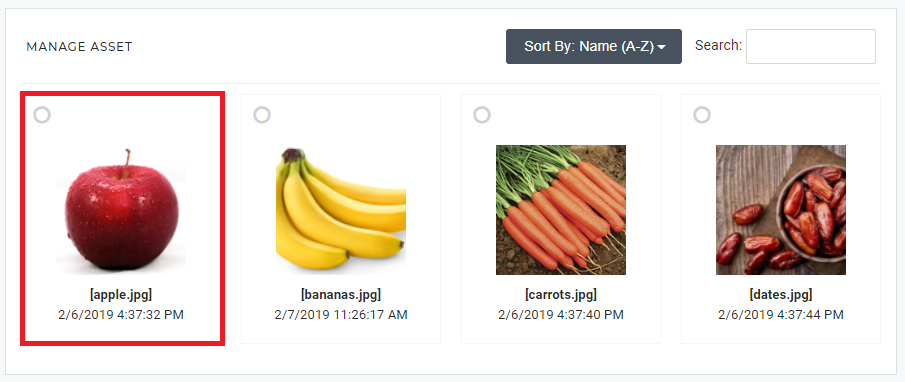
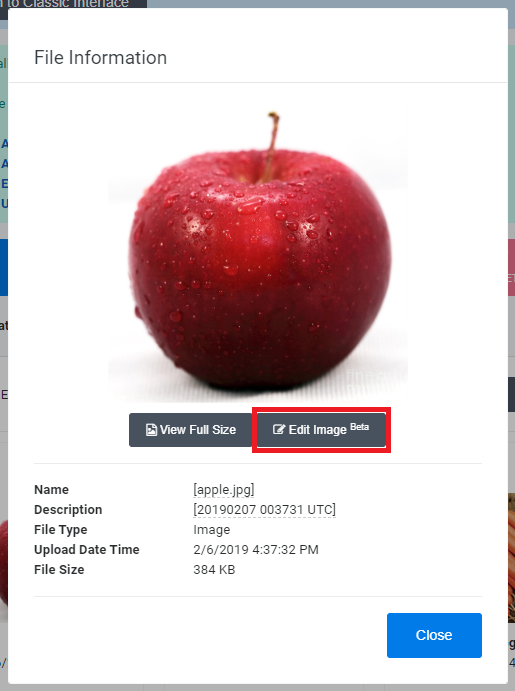
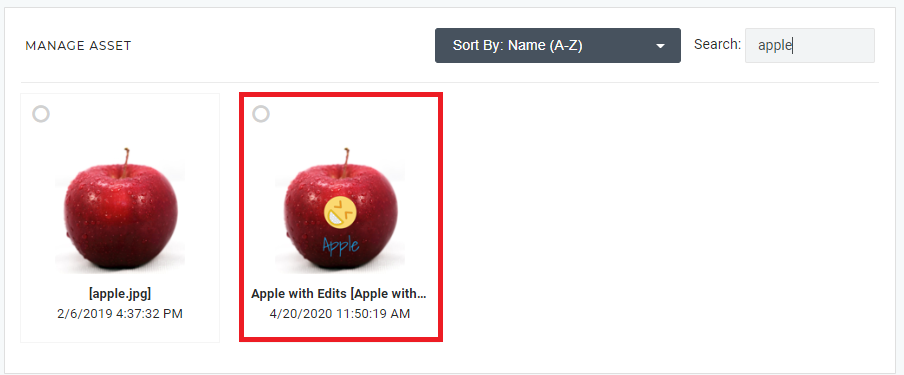
- Click on the desired Asset, then select Edit Image
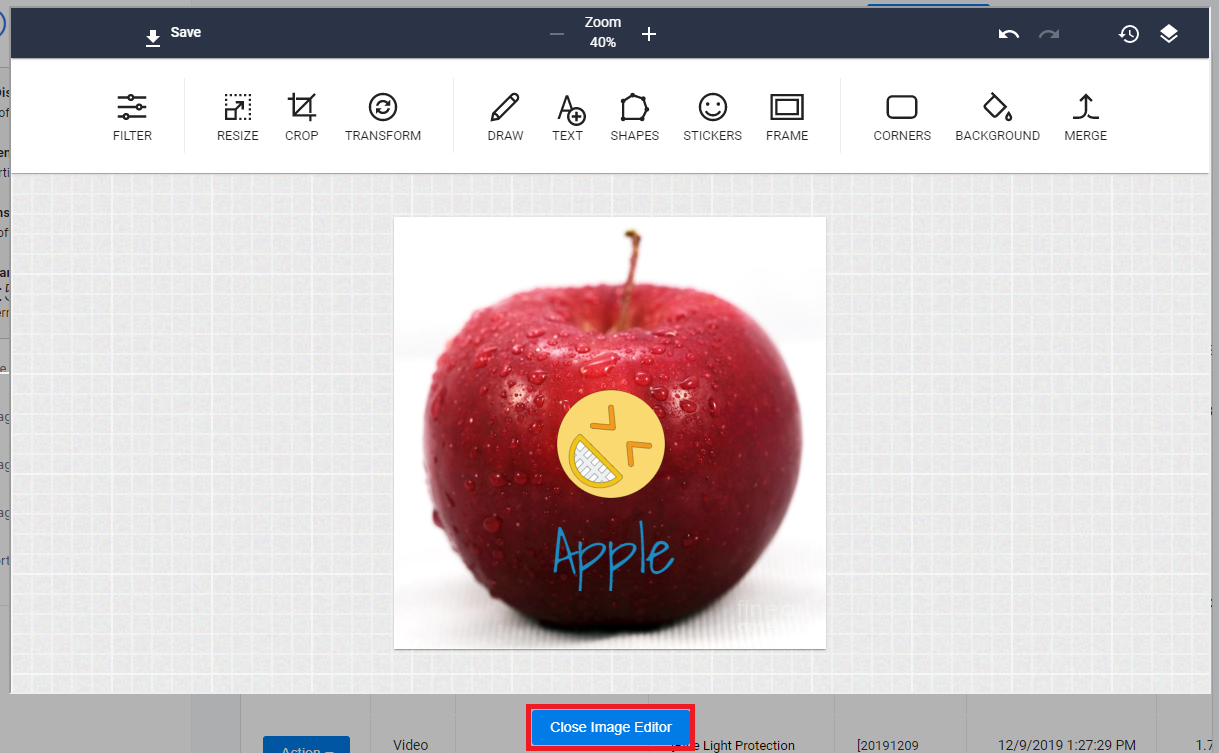
- Edit the Image as desired
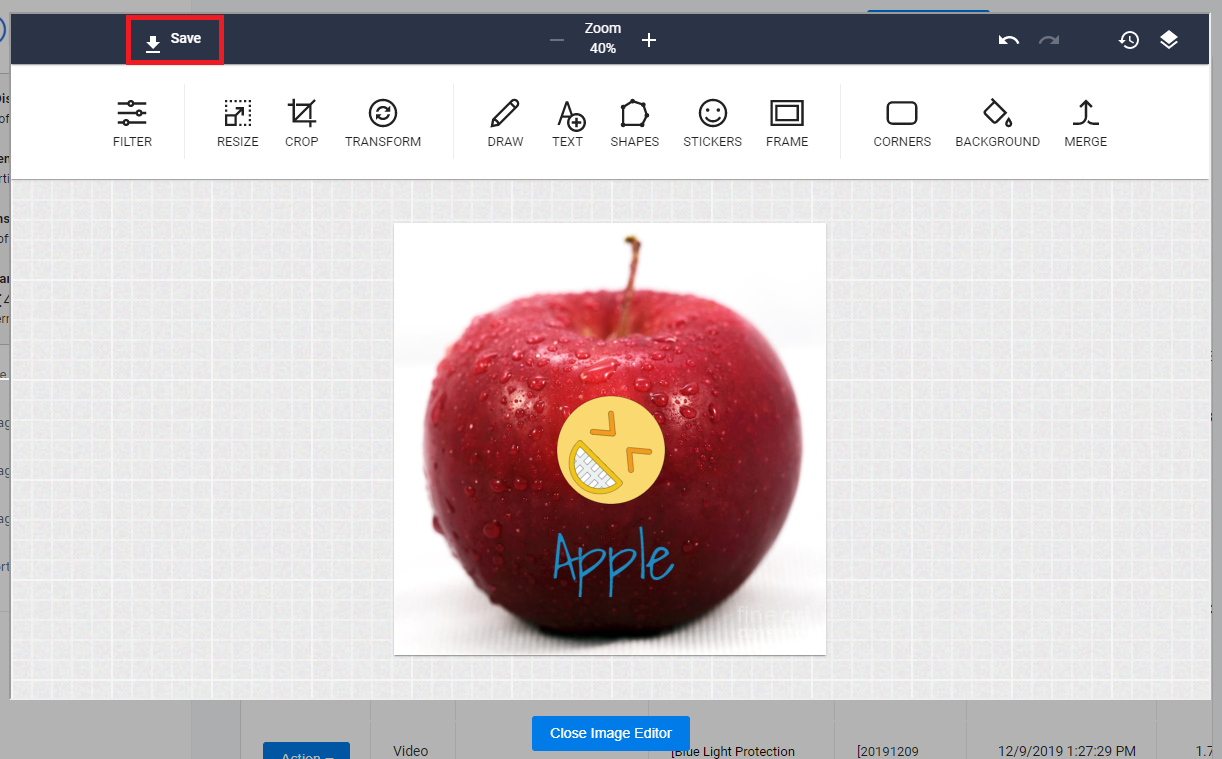
- Click on Save
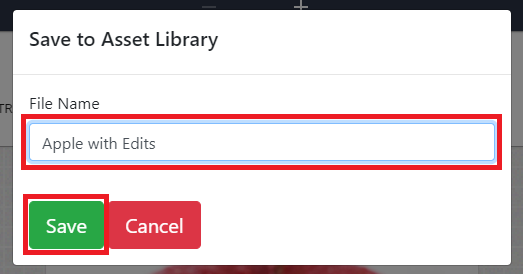
- Type in a new File Name and click on Save
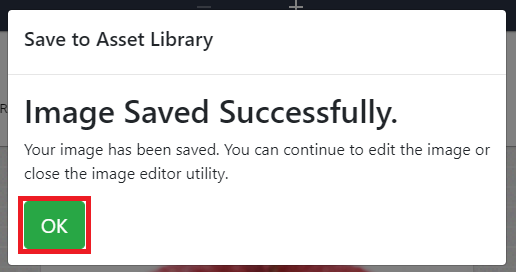
- Click on OK then select Close Image Editor
- You have successfully edited an Image using the NexSigns Image Editor
Edit an Image Asset (Classic Interface)
- Click on Switch to Classic Interface

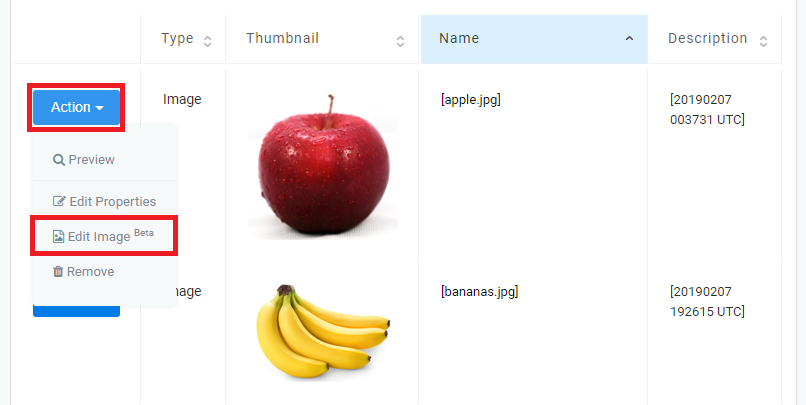
- Find the desired Asset, click on Action then select Edit Image
- Edit the Image as desired
- Click on Save
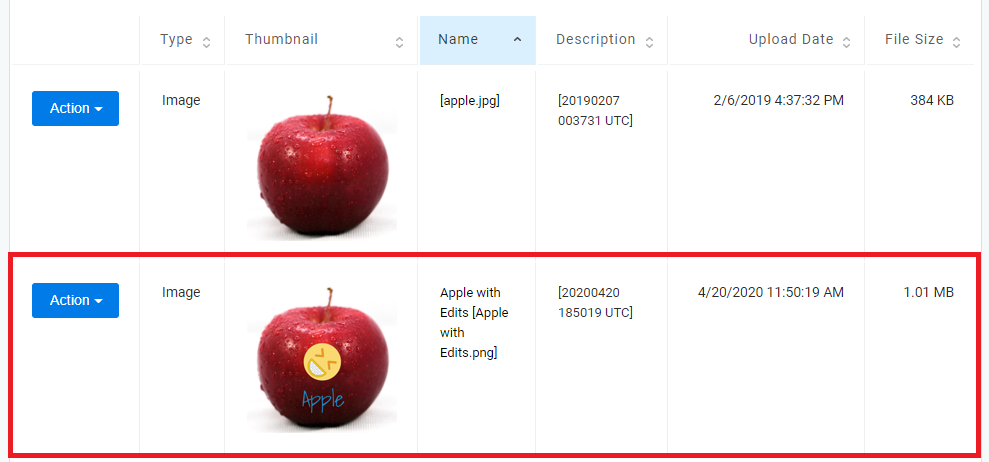
- Type in a new File Name and click on Save
- Click on OK then select Close Image Editor
- You have successfully edited an Image using the NexSigns Image Editor
Applies to
OnePass 3.1.x, NexSigns 2.x, NexSigns 3.x
Related articles
, multiple selections available, Use left or right arrow keys to navigate selected items