Create and Publish a NexSigns Template
Create and Publish a NexSigns Template
- James Yeoh
Owned by James Yeoh
Last updated: Feb 28, 2024
This tutorial will provide instructions on the fastest way to select a Template and Publish it to your Nano-PC device.
Topics Covered
Select a NexSigns Template
- Login to OnePass - (For more information, see How to access OnePass)
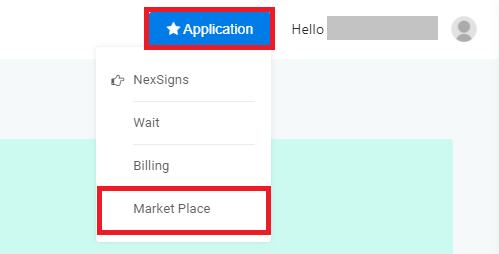
- Click on Application then select Market Place
- Select a desired Template, choose a NexSigns Device from the drop-down list and click on Add to License
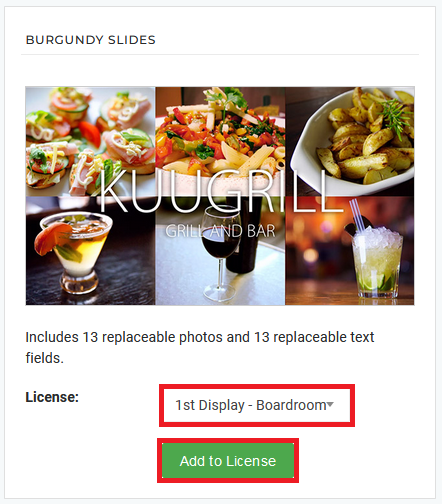 NexSigns SaaS Subscriptions includes unlimited usage of Templates. If you have questions, please inquire with your Account Executive.
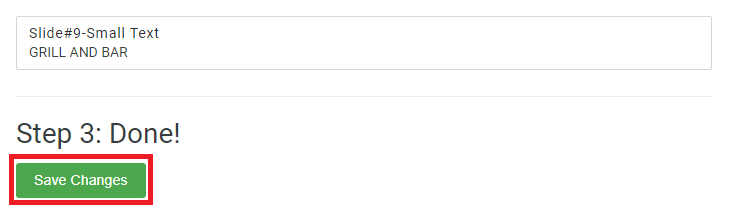
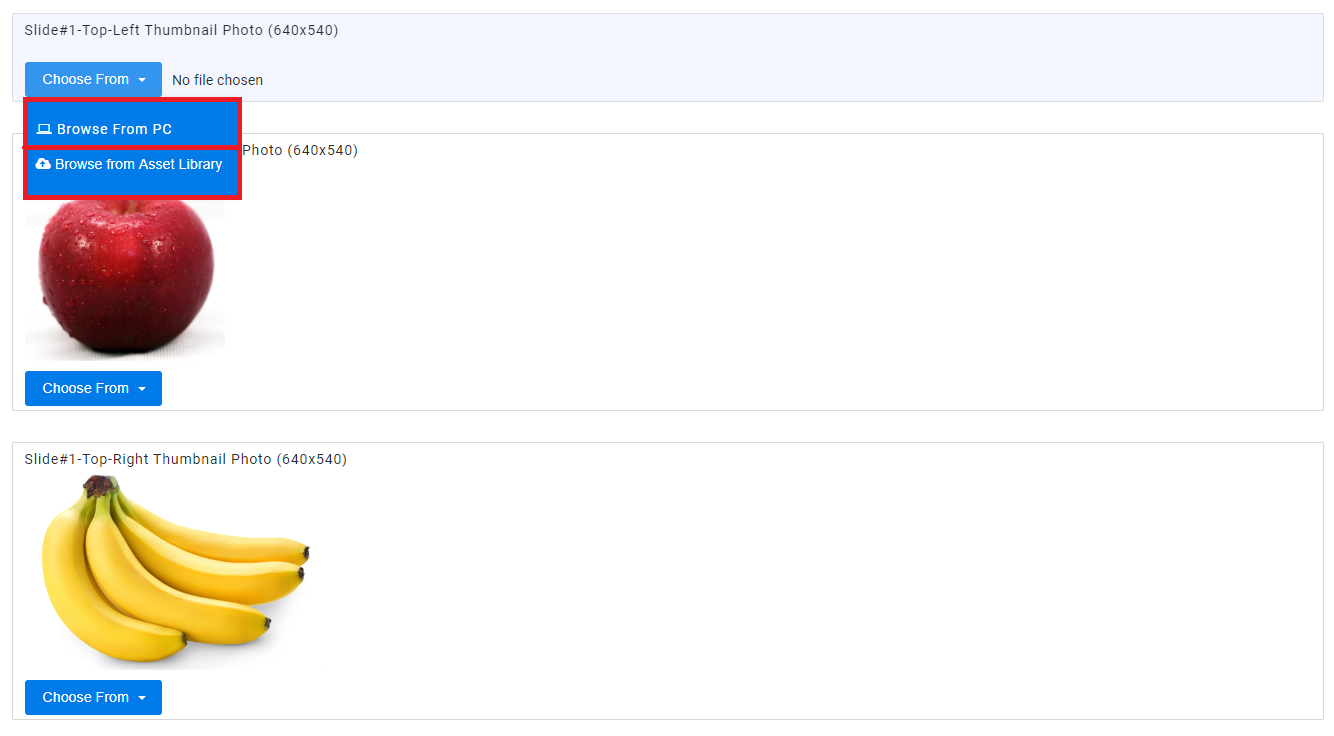
 Complete the Template Configuration

- Click on Save Changes
Create and Publish a Layout
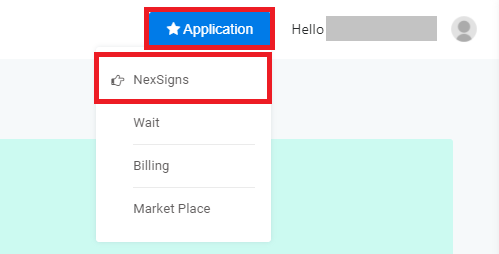
- Click on Application then select NexSigns
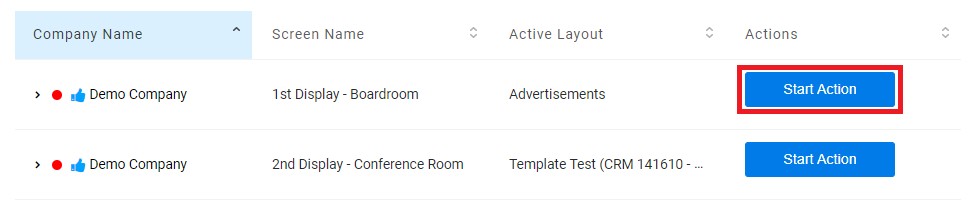
- Select the desired Product License and click on Start Action
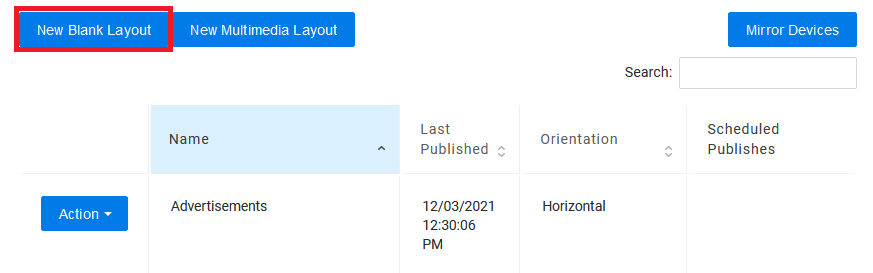
- Click on New Blank Layout
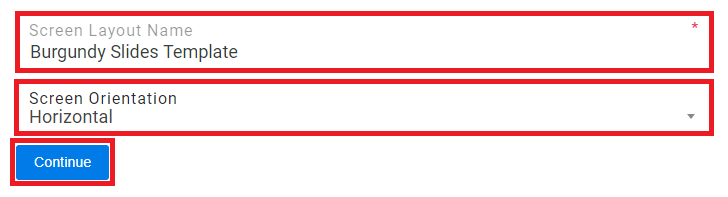
- Enter a Layout Name, Screen Orientation, then select Continue
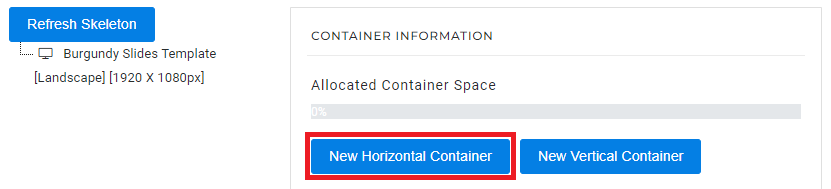
Click on New Horizontal Container
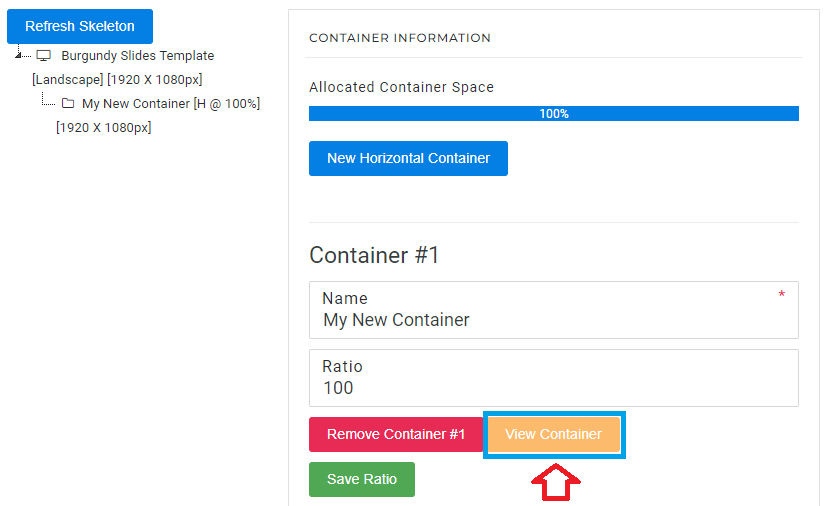
- Click on View Container
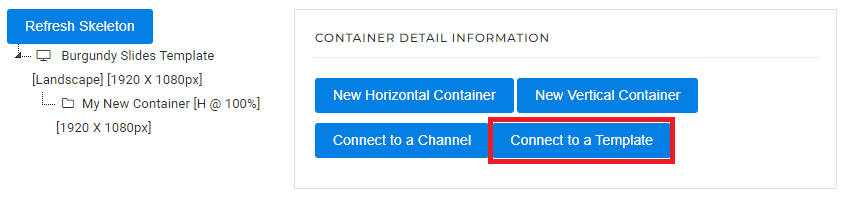
- Click on Connect to a Template
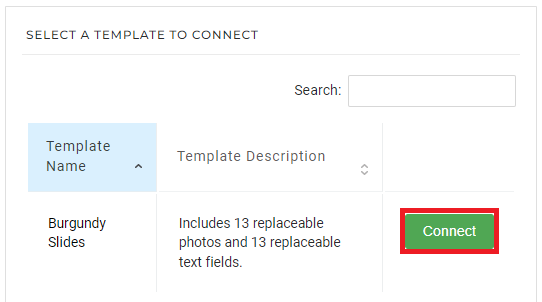
- Find the desired Template, and select Connect
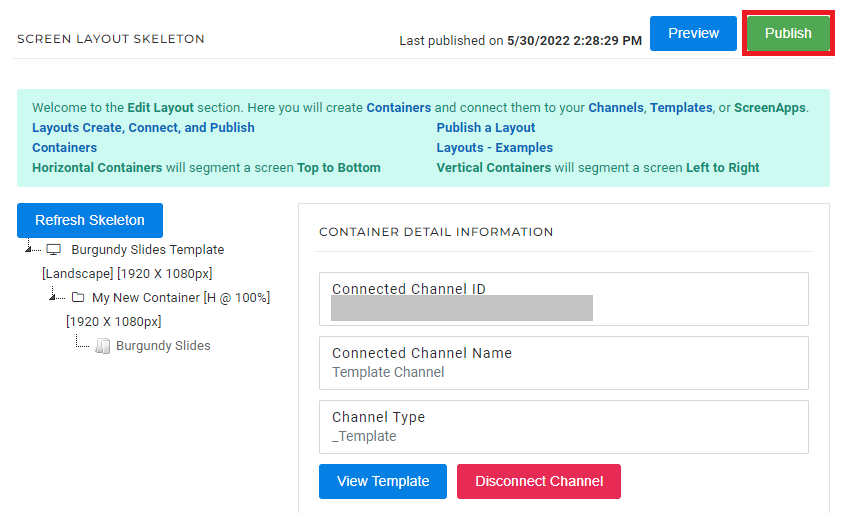
- Click on Publish
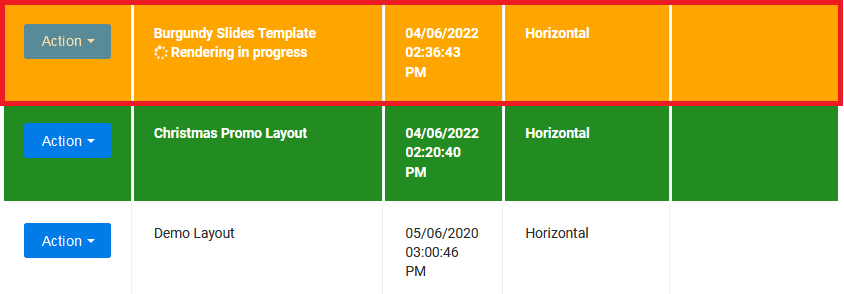
- You are done! Your Template will start rendering and automatically download to your Nano-PC device when complete
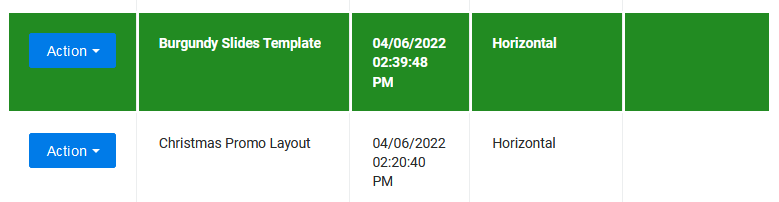
View a Rendered Template
Once the rendering has completed, you can View the Rendered Template
Helpful Links
Applies to
OnePass 3.1.x, NexSigns 2.x, NexSigns 3.x
Related articles
, multiple selections available, Use left or right arrow keys to navigate selected items