Add an Instagram widget to NexSigns
You can integrate an Instagram account to your digital signage by creating a Widget
As of October 15, 2019, Instagram has disabled its Basic Display API integration.
Therefore, NexSigns is unable to display an Instagram widget. We are working on an alternate solution and the steps in this article will no longer work.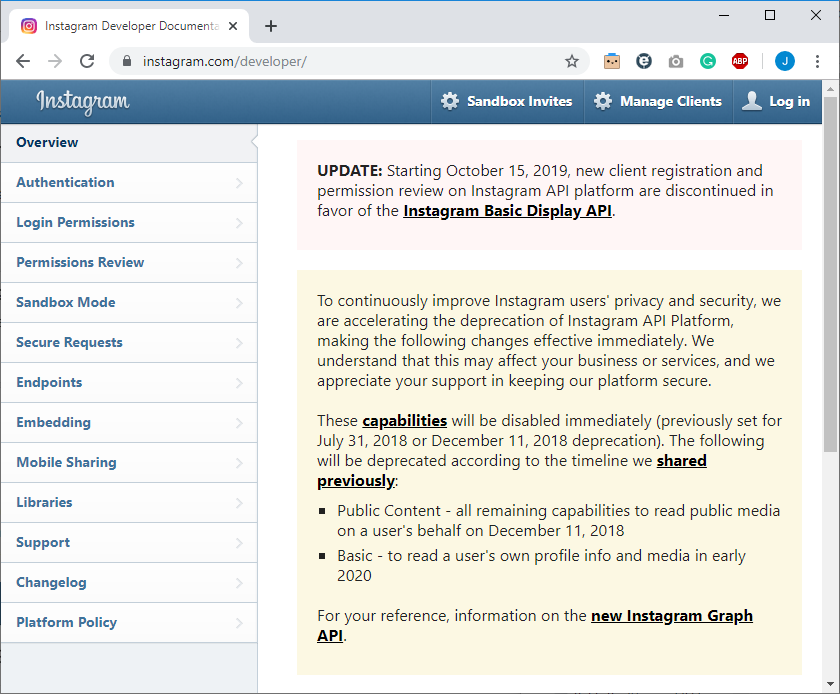
To create an Instagram Widget
- Open a Web Browser
- Navigate to http://96.126.103.183/generate
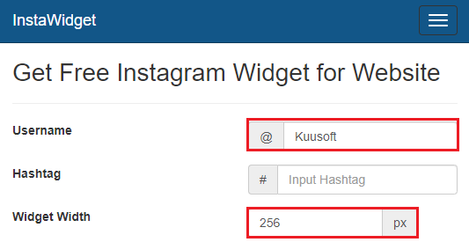
- Enter an Instagram Username (ex. Kuusoft)
- Enter the Widget Width - 256 px
- Set the Layout to either of the following settings
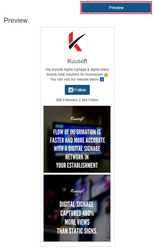
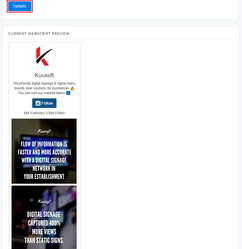
- 1 x 2 (1 column - larger images)

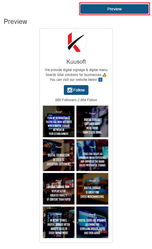
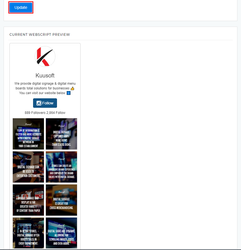
- 2 x 4 (2 columns - smaller images)

- 1 x 2 (1 column - larger images)
- Select Preview to preview your Instagram widget (these will vary depending on the settings from Step 5)
- 1 x 2 (1 column - larger images)
- 2 x 4 (2 columns - smaller images)
- 1 x 2 (1 column - larger images)
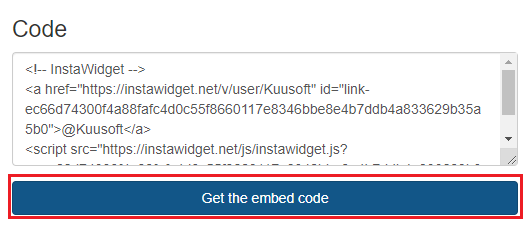
- Click on Get the embed code button
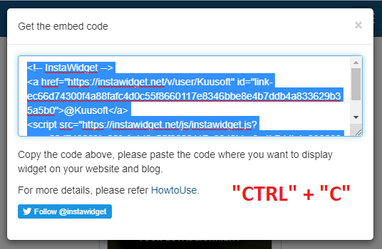
- Click on the Text Box to select the text and press “CTRL” + “C” to copy the embedded code to your Clipboard - leave this tab open as it may be used later
To add the Instagram widget to a WebScript Channel
- Open a New Browser Tab
- Login to OnePass - (For more information, see How to access OnePass)
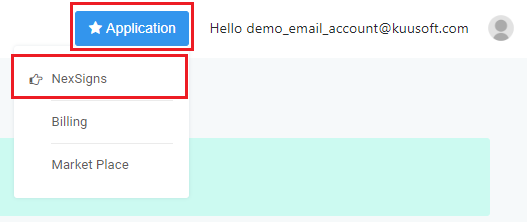
- Click on Application then select NexSigns
- Click on Start Action on your intended Product License
- Select Manage Channel located in the left menu
- Click on Create New Channel
- Enter a Channel Name, Description, and Select WebScript in the Channel Type drop down menu
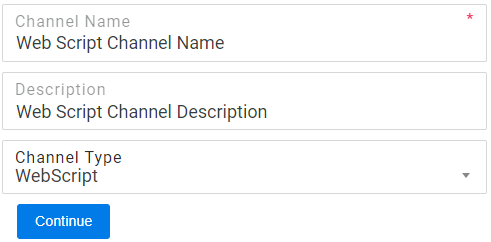
- Select Continue to finish creating a new WebScript Channel
- Paste the WebScript code previously copied on the Instagram Widget website into the WebScript / Embed Script text box
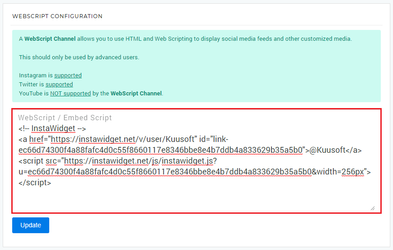
- Click on Update to save and preview your Instagram widget
When creating a Screen Layout for your display, create a 20% ratio for your Vertical Container for your Instagram widget.
Settings for a 15% ratio Vertical Container - Widget Width 192 px - Layout 1 x 3 or Layout 2 x 5
Settings for a 25% ratio Vertical Container - Widget Width 320 px - Layout 1 x 2 or Layout 2 x 3
Applies to
NexSigns 2.x, NexSigns 3.X. OnePass 3.1.x
Related articles