Add a Twitter widget to NexSigns
You can integrate Twitter as part of your digital signage easily by creating a widget in your own Twitter account.
Twitter was sold and re-branded to X at July 2022. Since then, the Twitter Widget was disabled permanently and no longer works.
Topics Covered
Create a Twitter widget
- Open a Web Browser
- Navigate to https://publish.twitter.com
Enter your desired Twitter link
examplehttps://twitter.com/kuusoft
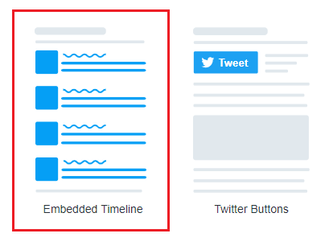
- Select Embedded Timeline
- Scroll down and verify the preview of the Twitter widget
- Click on Copy Code
- The WebScript has been copied to your clipboard - leave this tab open as it may be used later
Add the Twitter widget to a WebScript Channel
- Open a New Browser Tab
- Login to OnePass - (For more information, see How to access OnePass)
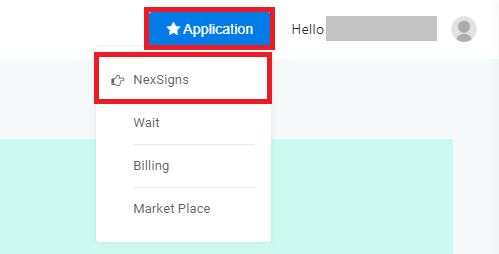
- Click on Application then select NexSigns
- Click on Start Action on your intended Product License
- Select Manage Channel located in the left menu
- Click on Create New Channel
- Enter a Channel Name, Description, and Select WebScript in the Channel Type drop down menu
- Select Continue to finish creating a new WebScript Channel
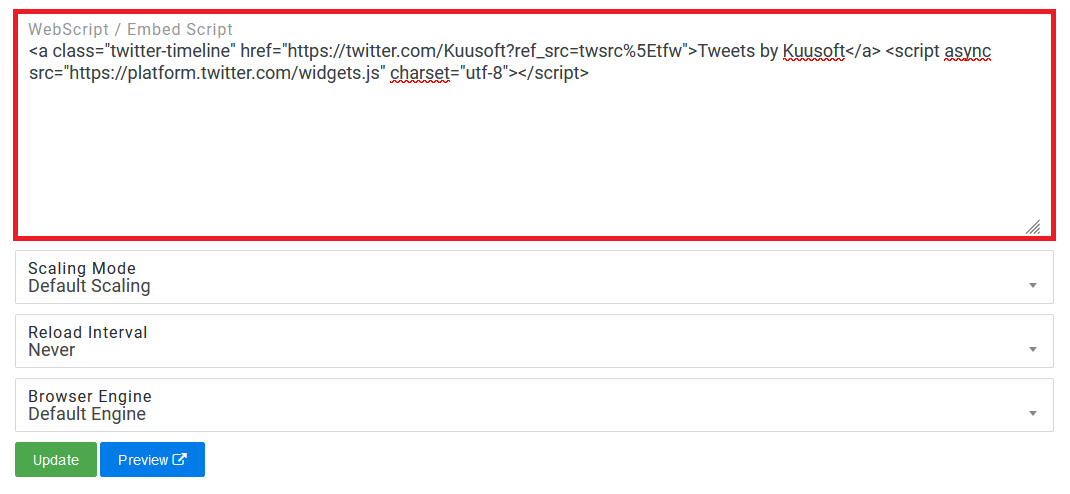
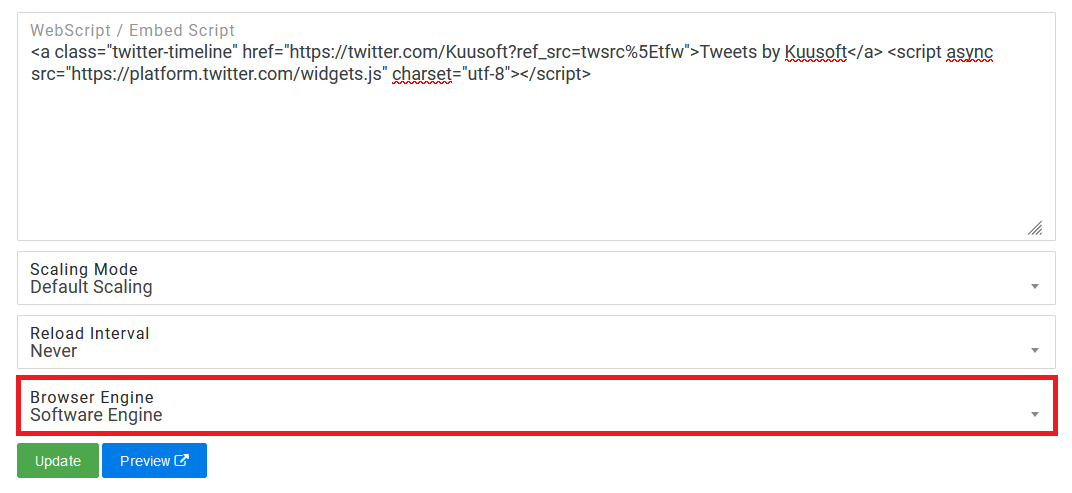
- Paste the WebScript code previously copied on the Twitter website into the WebScript / Embed Script text box
- Select Software Engine in the Browser Engine drop down menu
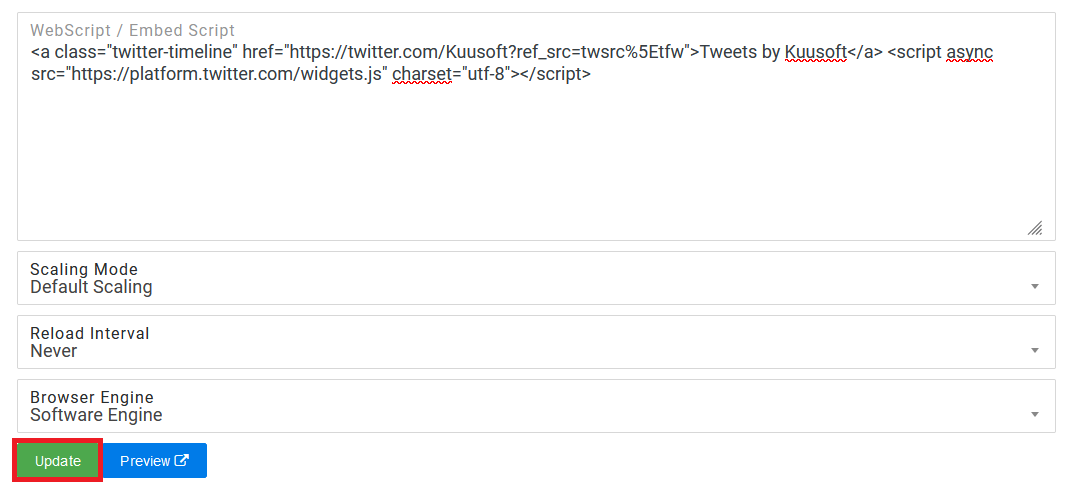
- Click on Update
- You have successfully configured a Twitter Widget
Ensure to create a Layout, Container, and connect it to the Twitter Widget WebScript Channel then Publish it to view it on your signage.
When creating a Screen Layout for your display, we recommend a 20% ratio for your Vertical Container for your Twitter widget.
The recommended minimum is 15% and the recommended maximum is 25%.
Applies to
NexSigns 2.x, NexSigns 3.X. OnePass 3.1.x
Related articles
Related tickets
, multiple selections available, Use left or right arrow keys to navigate selected items
