Add a Custom Name and Notes to NexSigns Licenses
- James Yeoh
Owned by James Yeoh
Last updated: Feb 28, 2024
This tutorial will provide instructions to Add a Custom Name and Notes to NexSigns Licenses.
Topics Covered
Add a Custom Name to a NexSigns License
- Login to OnePass - (For more information, see How to access OnePass)
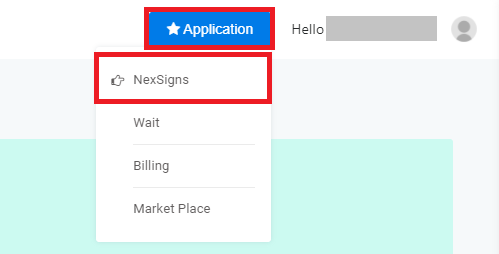
- Click on Application then select NexSigns
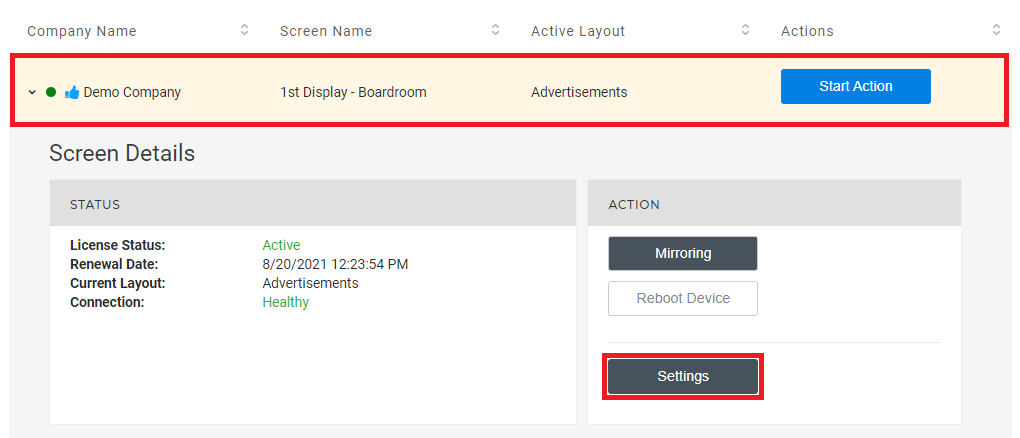
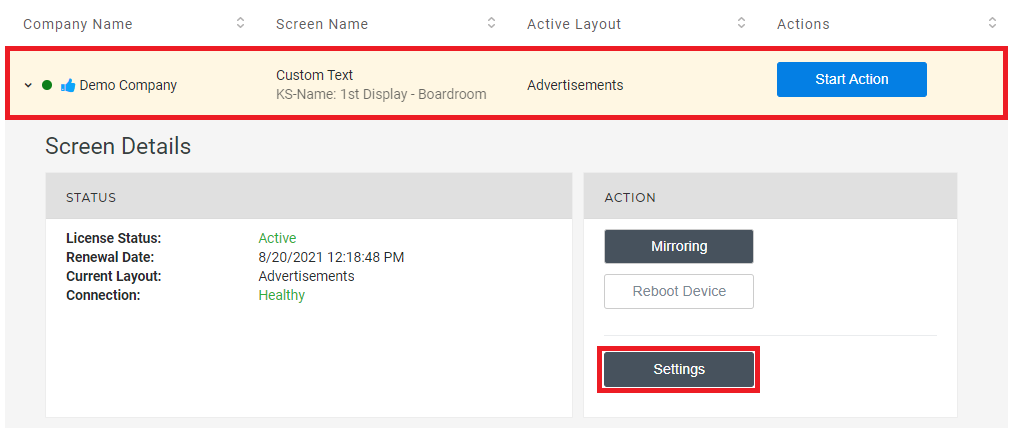
- Select the desired Product License by clicking on any blank space in the data row and click on Settings
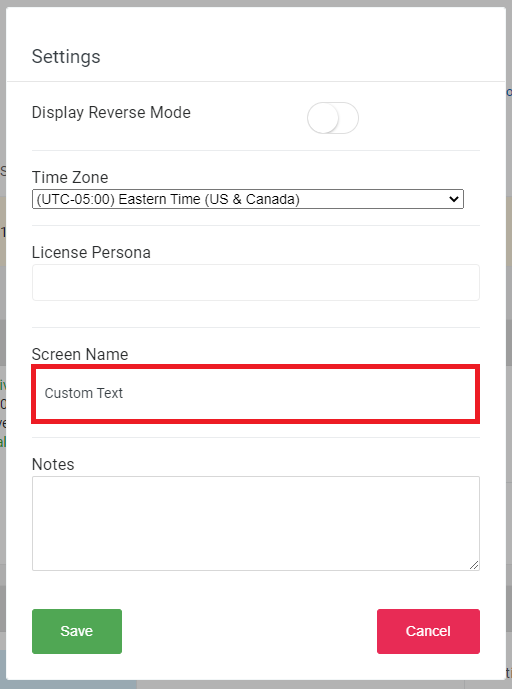
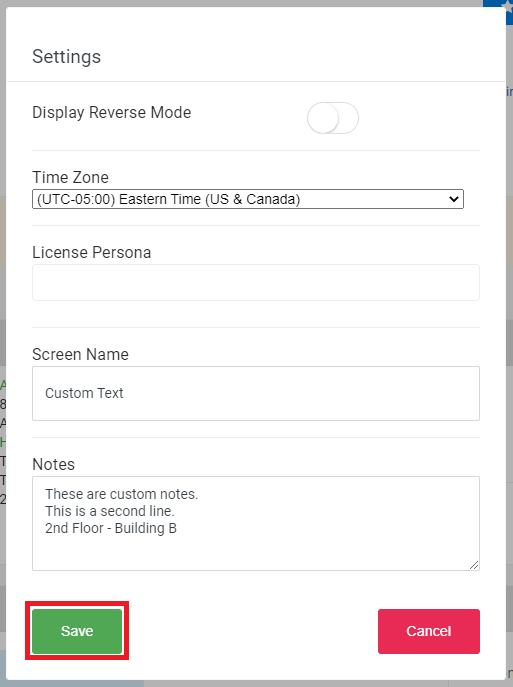
- Enter the desired Screen Name in the Screen Name Textbox and click on Save
- You have successfully added a Custom Name to a NexSigns License

Important Info
You will need to refresh the NexSigns License page to view the newly modified Screen Name
Add Custom Notes to a NexSigns License
- Login to OnePass - (For more information, see How to access OnePass)
- Click on Application then select NexSigns
- Select the desired Product License by clicking on any blank space in the data row and click on Settings
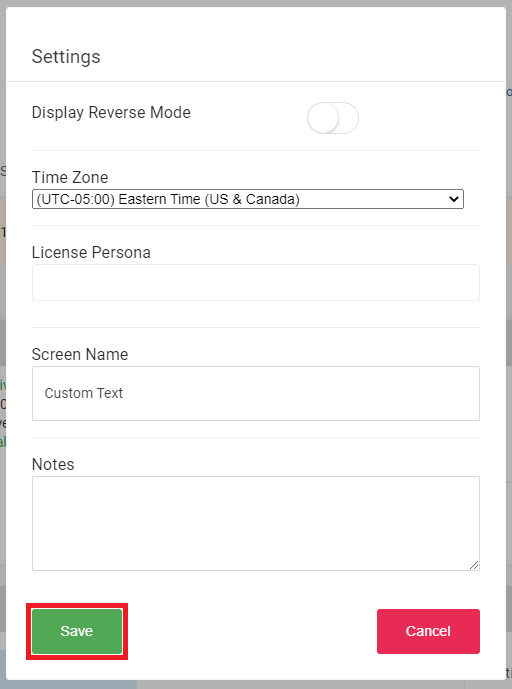
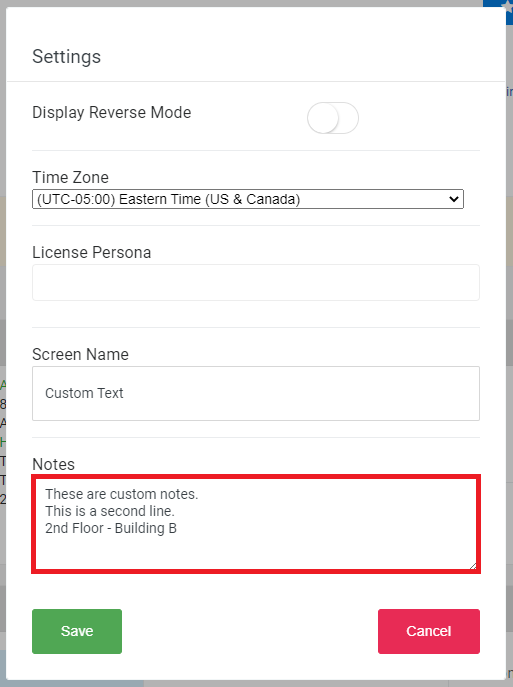
- Enter the desired Custom Notes in the Notes Textbox and click on Save
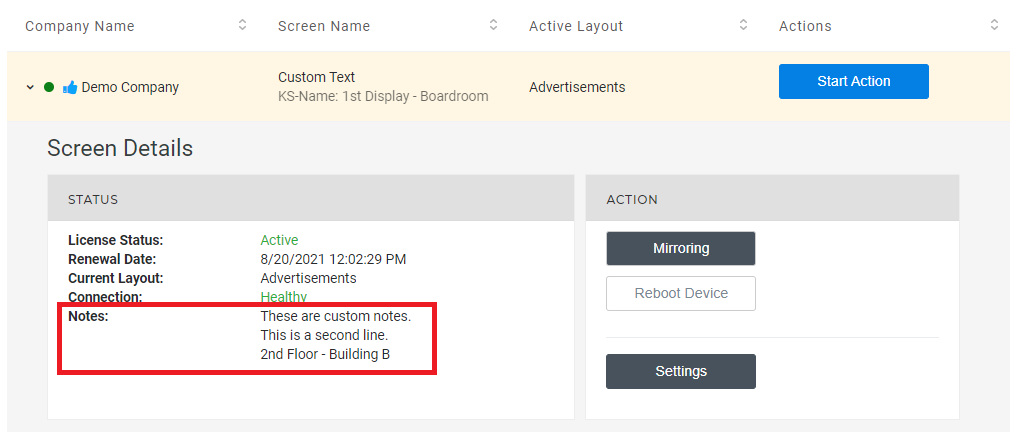
- You have successfully Added Custom Notes to a NexSigns License
Important Info
You will need to refresh the NexSigns License page to view the newly modified Custom Notes
Related articles
, multiple selections available, Use left or right arrow keys to navigate selected items