Setup a Kuusoft 4 Display Video Wall PC (KS-GIA-DM6-V1605-4TV)
- James Yeoh
These steps will help users setup a Kuusoft 4 Display TV Wall PC (KS-GIA-DM6-V1605-4TV).
Topics Covered
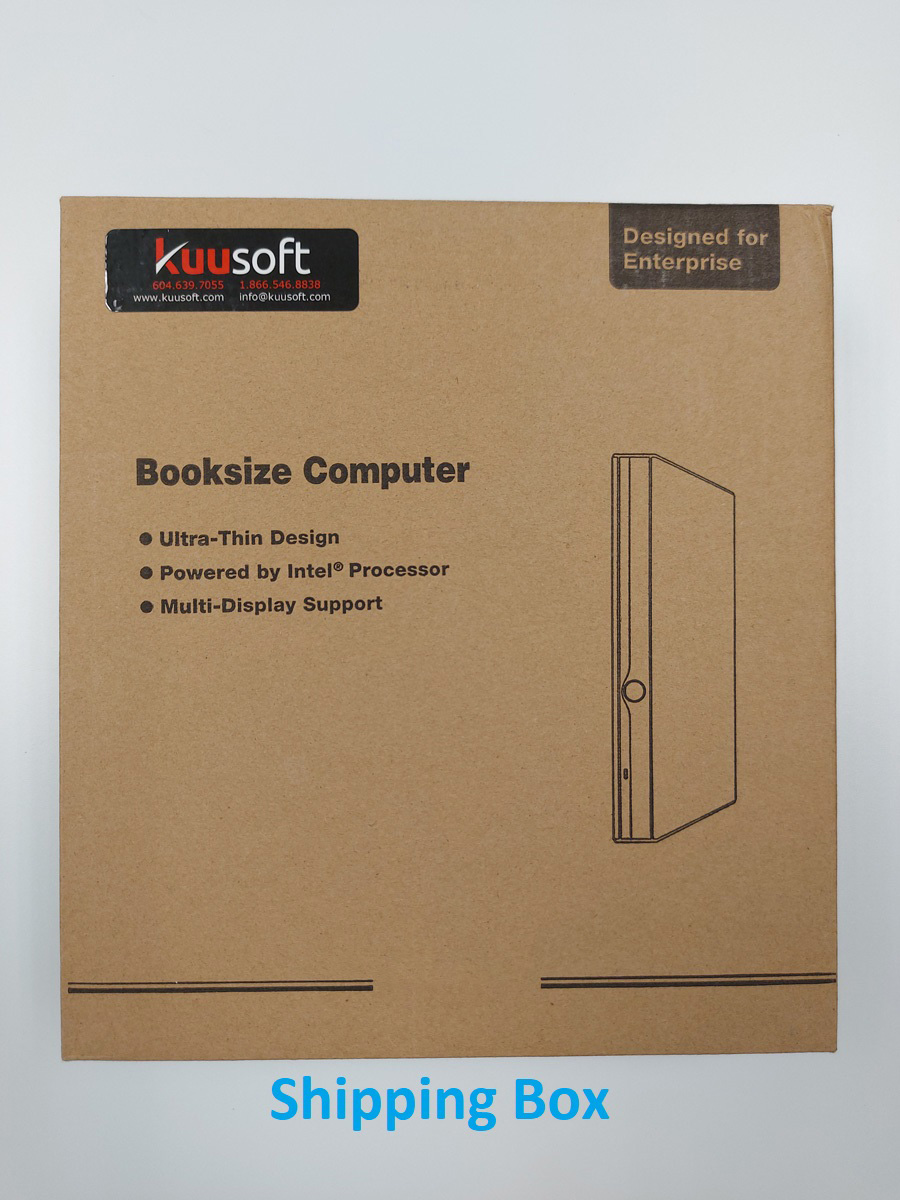
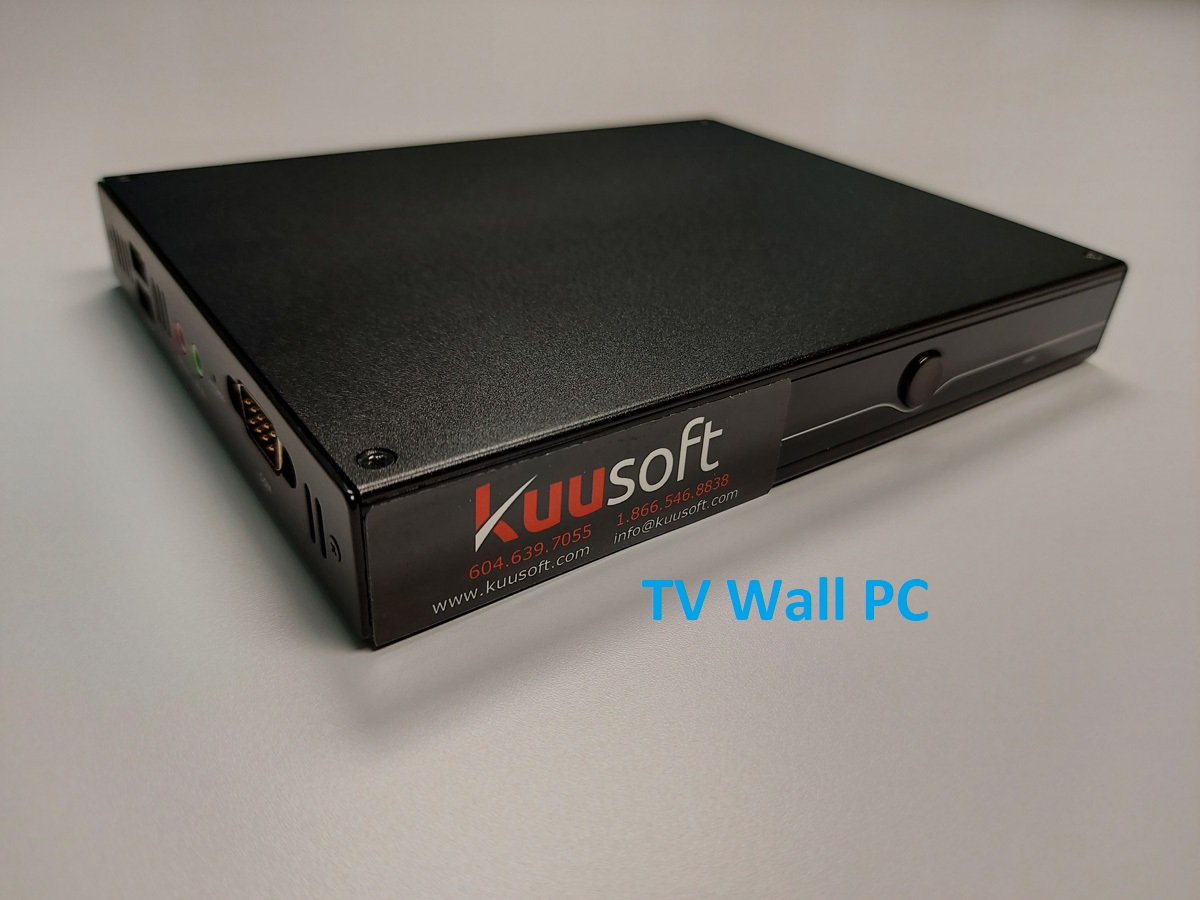
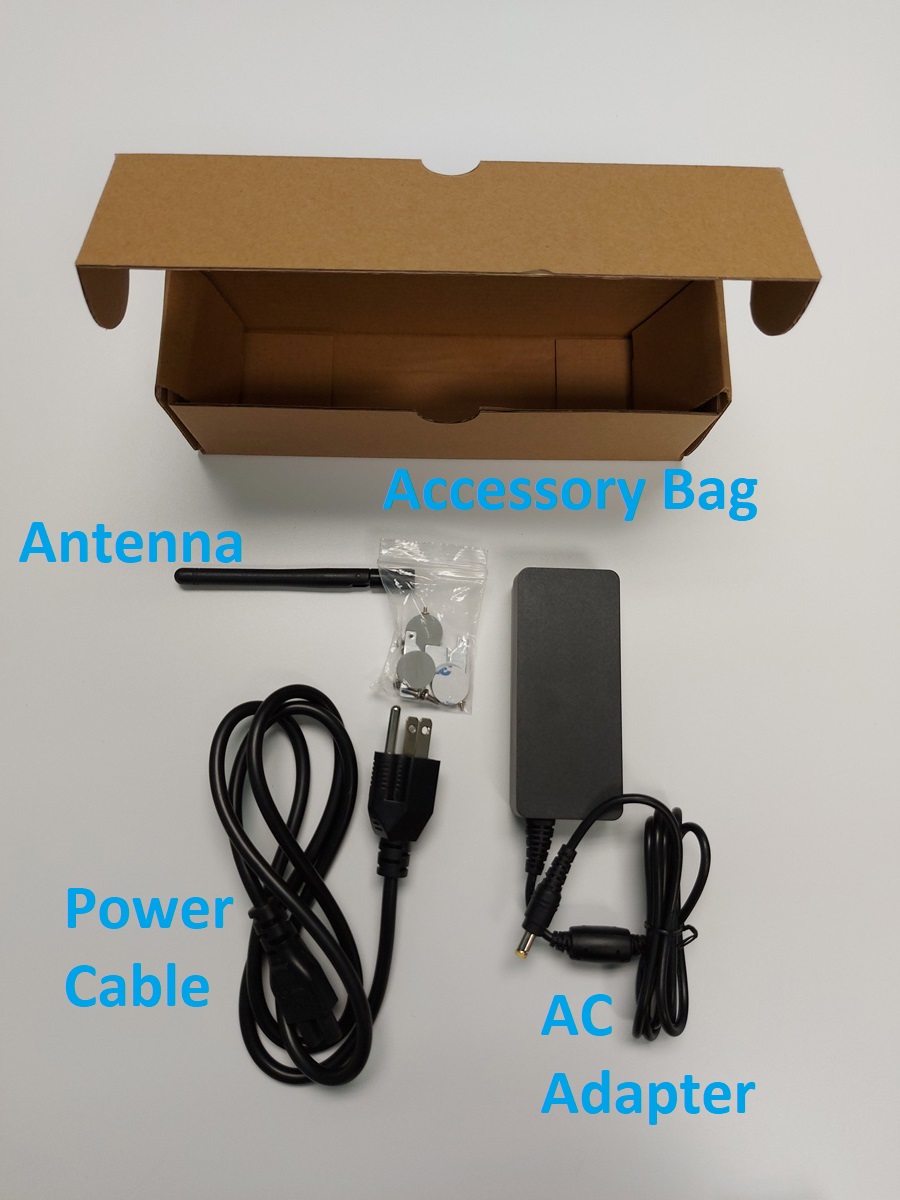
4 Display Video Wall PC (KS-GIA-DM6-V1605-4TV) - Parts Included
Setup a Kuusoft 4 Display Video Wall PC (KS-GIA-DM6-V1605-4TV)
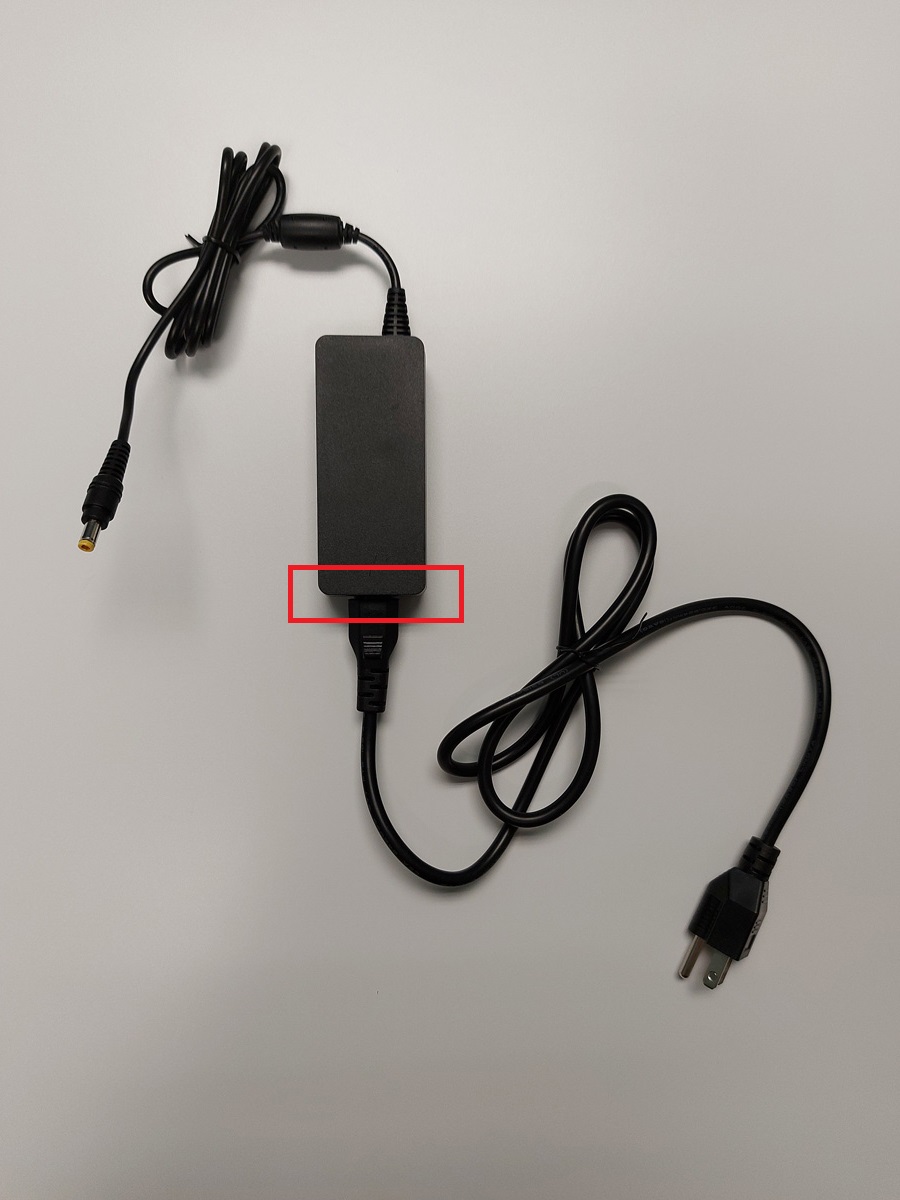
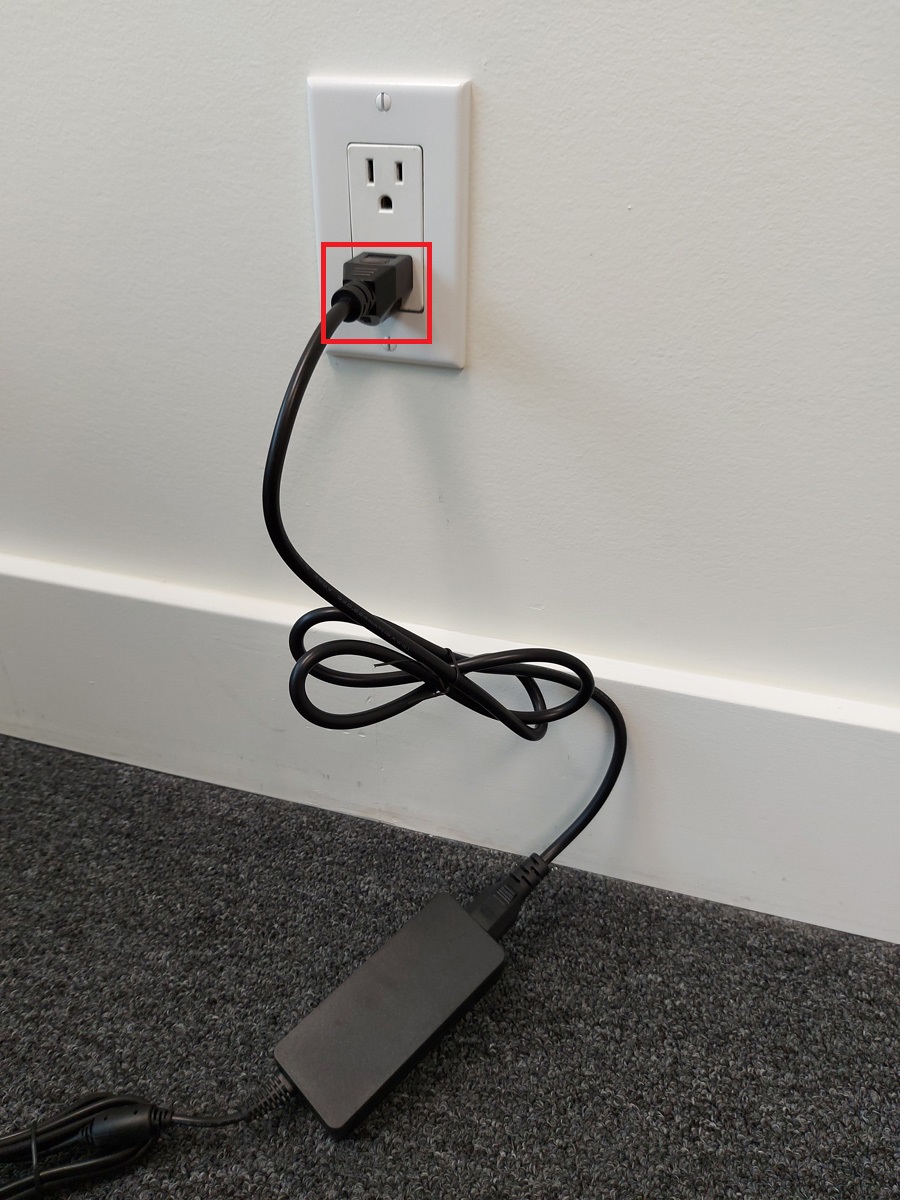
- Plug in the Power Cable to the AC Adapter
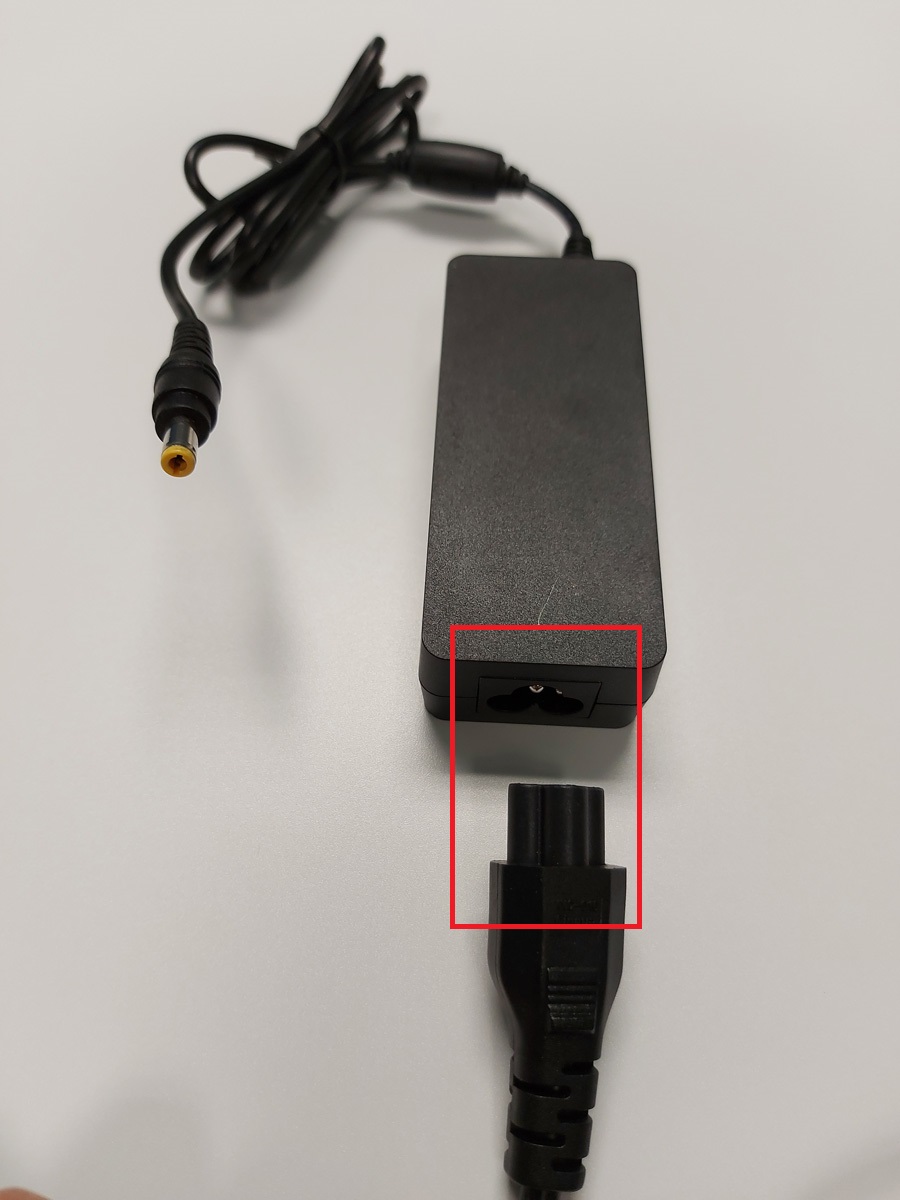
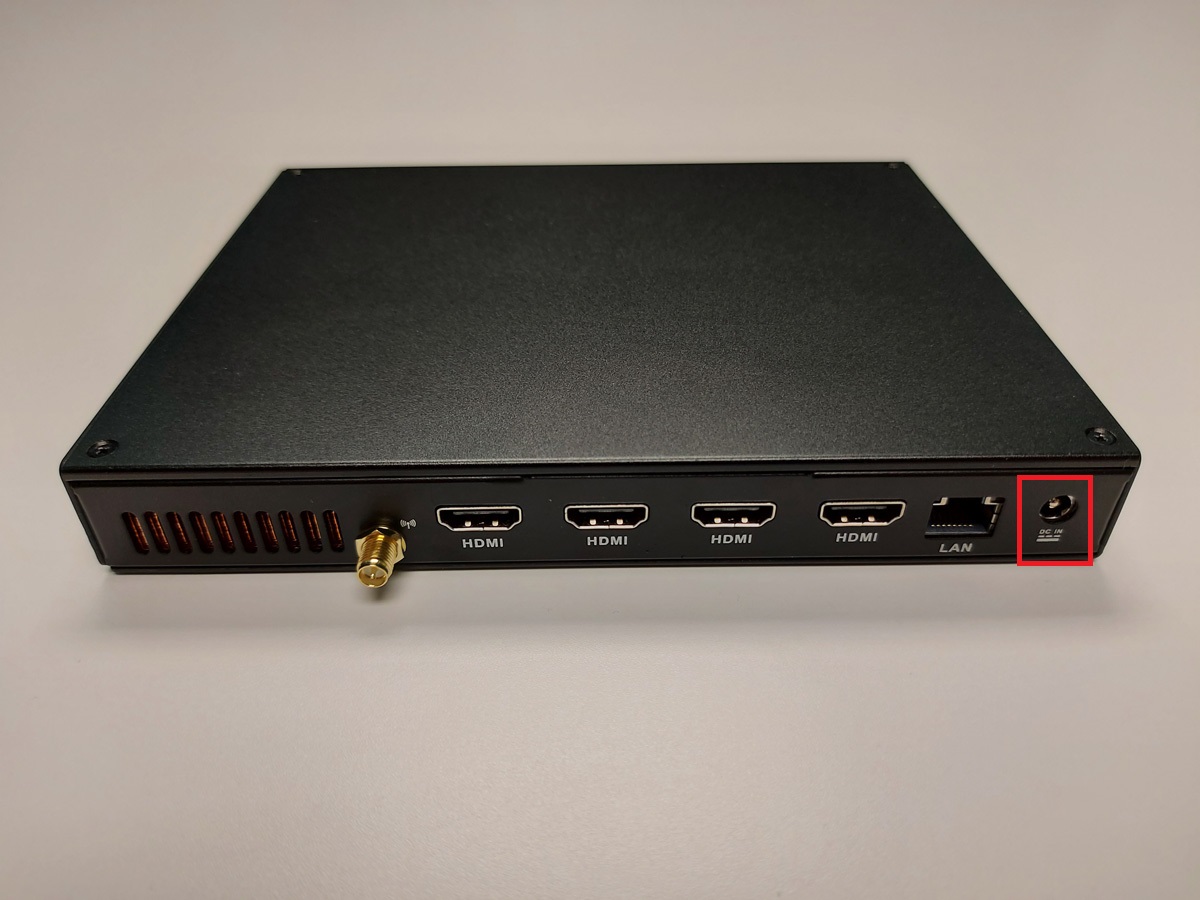
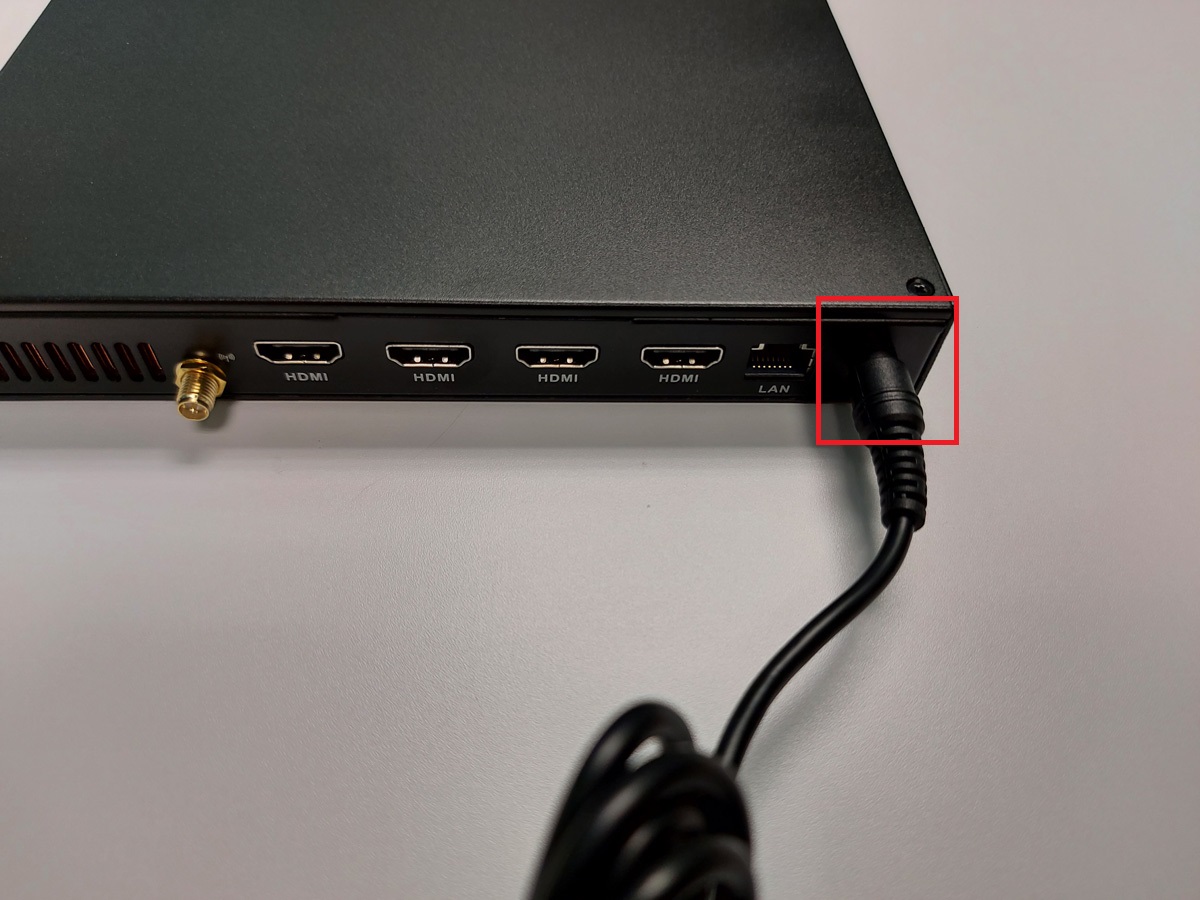
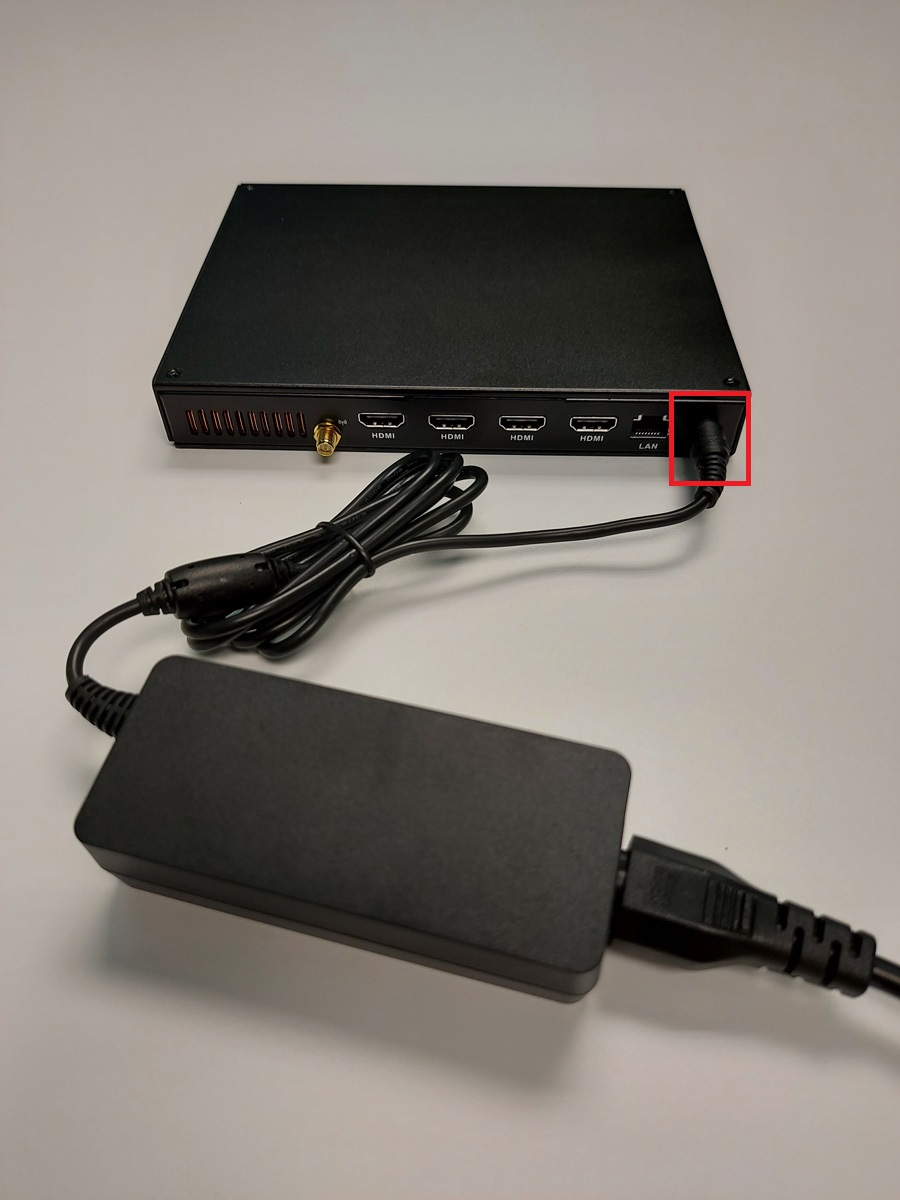
- Plug in the AC Adapter into the DC-IN port of the TV Wall PC
Connect a Network Cable (not included).
A Wireless Network Adapter is not included. Compatible USB Wireless Adapters are available.- Connect one end of a Network Cable (not included) into the LAN port of the TV Wall PC.

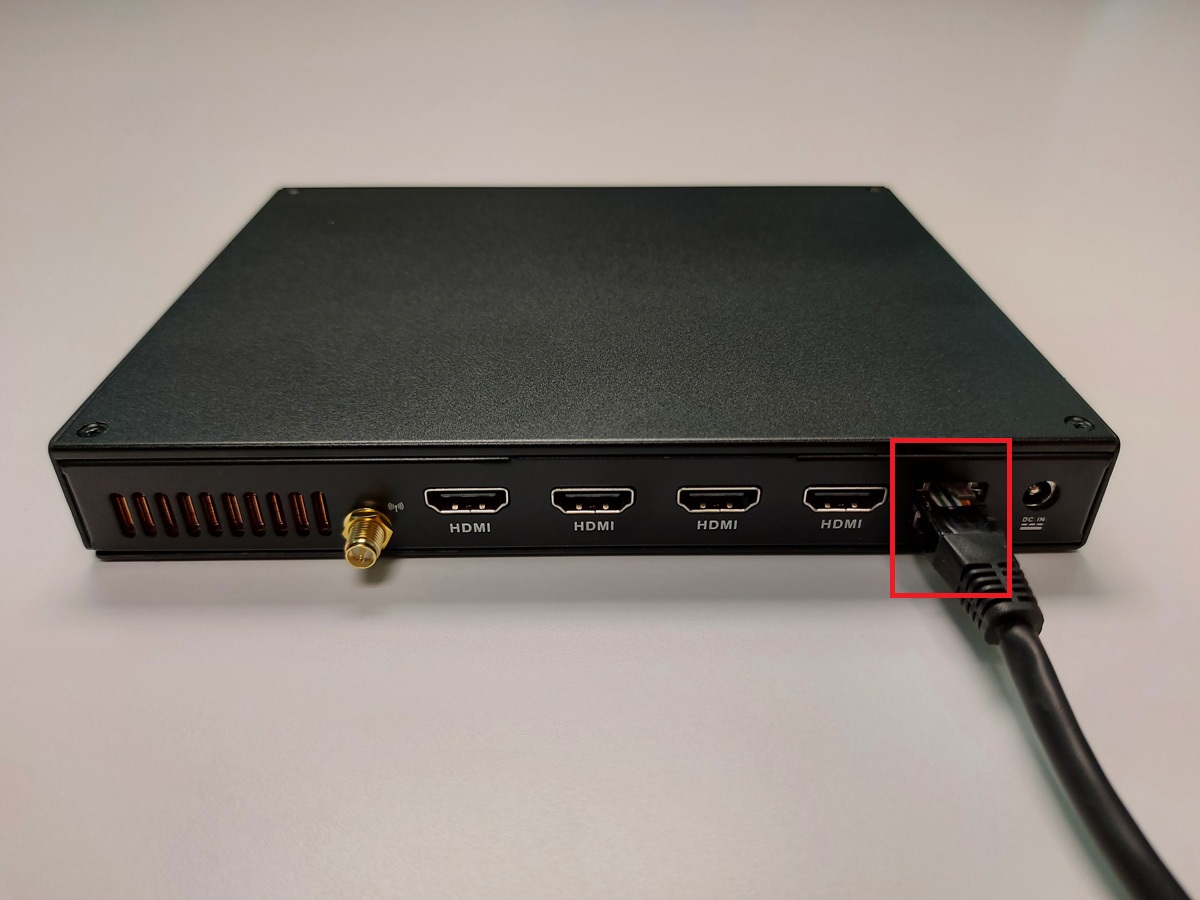
- Plug in the other end of a Network Cable (not included) into a network port with an active Internet Connection
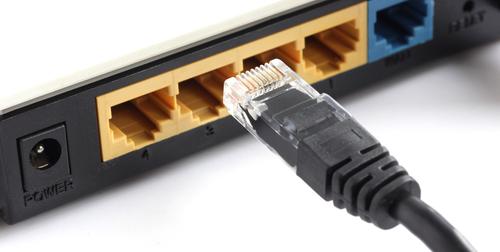
- Connect one end of a Network Cable (not included) into the LAN port of the TV Wall PC.
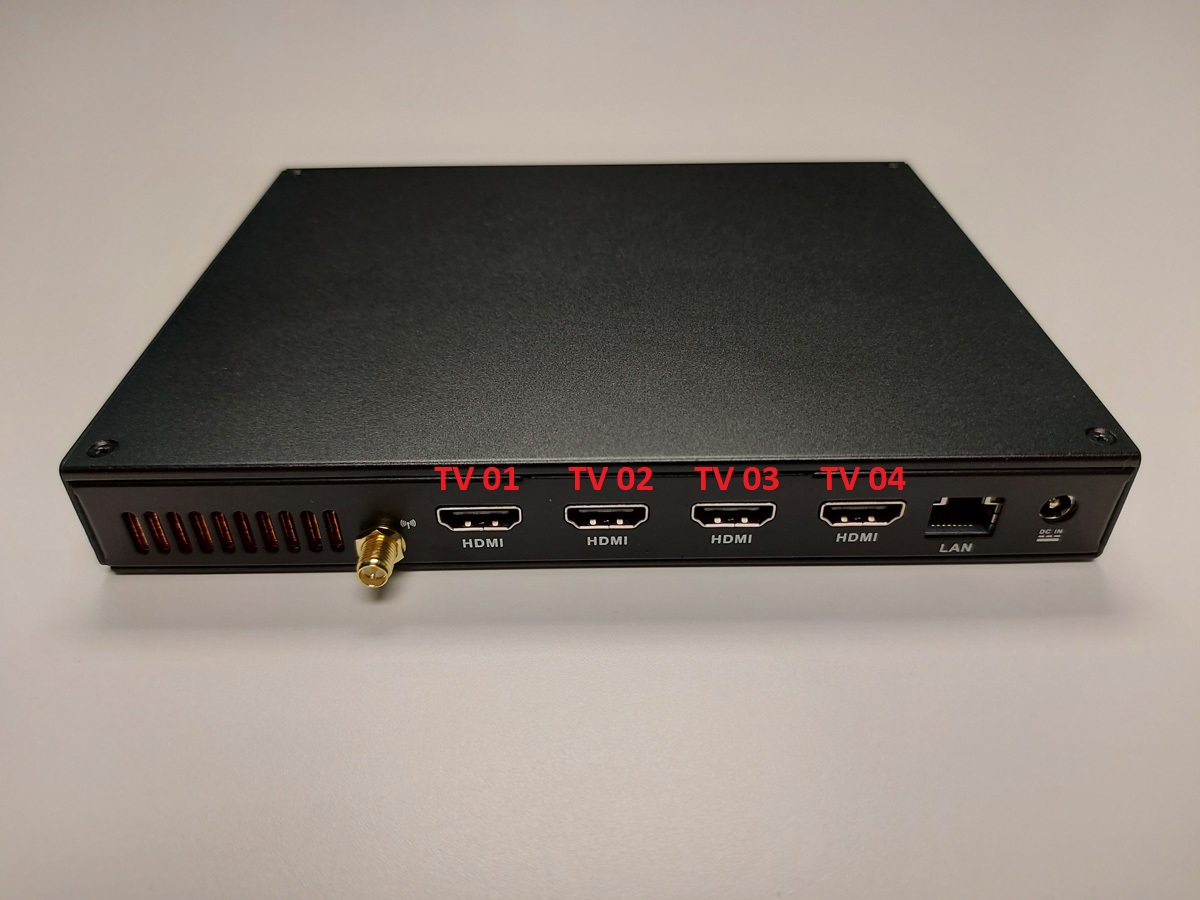
Connect the TV Displays into the available HDMI ports (HDMI Cables are not included)
Kuusoft recommends connecting the TV Displays from LEFT to RIGHT, TOP to BOTTOM (TV 01 to TV 04). The Main Display should be TV 01.
- example of 2 x 2 Video Wall
- example of 4 x 1 Video Wall
- example of 2 x 2 Video Wall
Plug in the Power Cable into an available Electrical Outlet
Kuusoft recommends using an Electrical Outlet with appropriate Surge Protection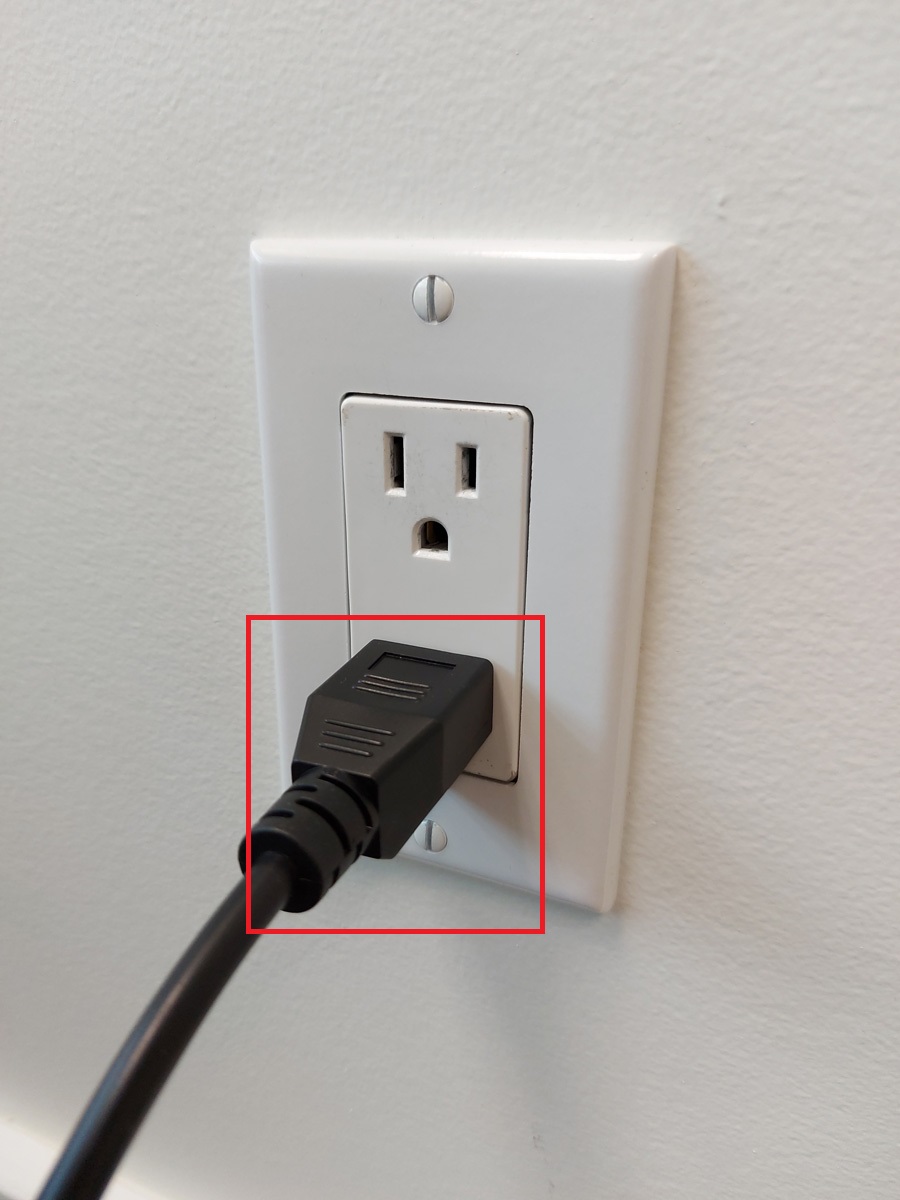
- Turn on the TV Wall PC by pressing the Power Button
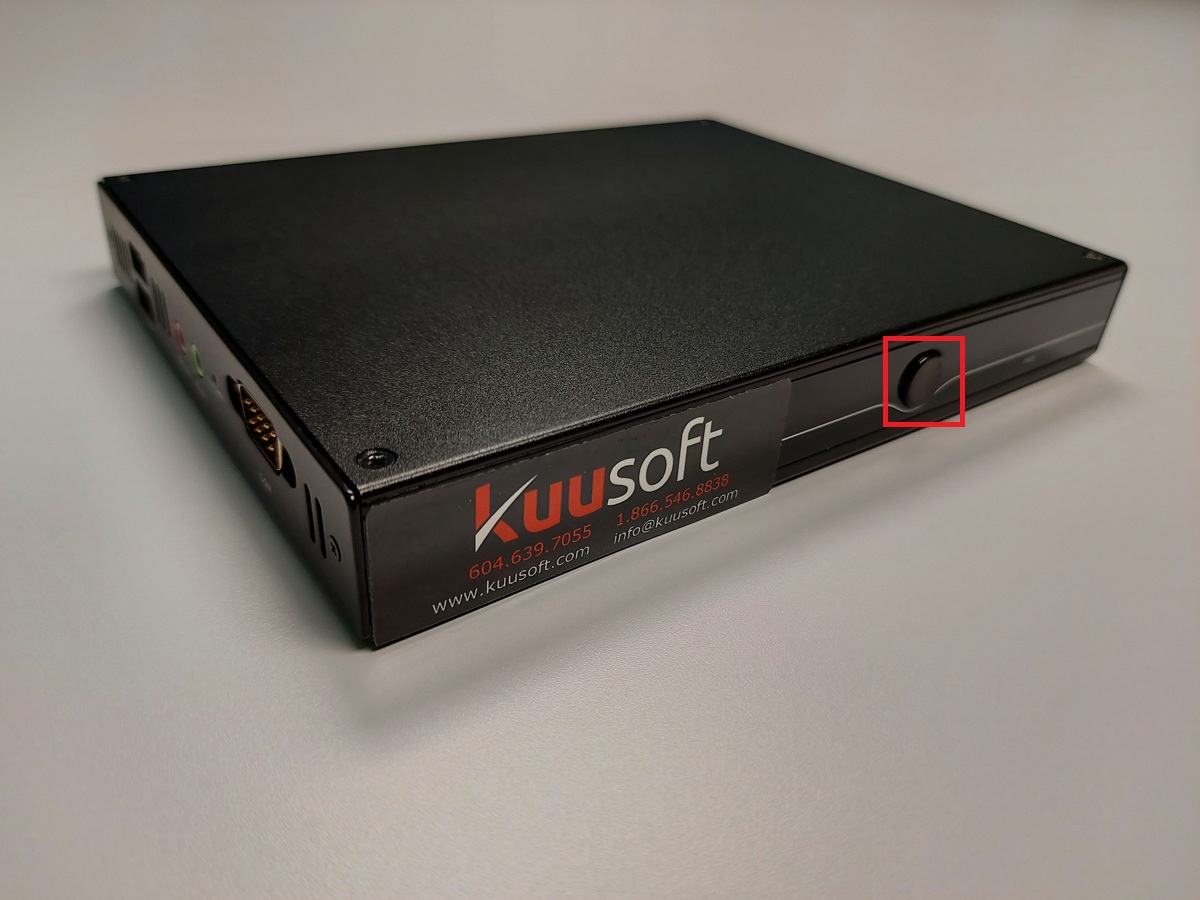
- You have successfully setup a Kuusoft 4 Display Video Wall PC
Configure the Displays
This assumes the Video Wall PC has been setup completely (see instructions above). The Kuusoft Support Team can help configure the Displays if your Video Wall PC is online, Connected to the Internet, and all the Displays are connected.
Close the NexSigns Windows Application
the NexSigns Windows Application will automatically launch on Startup
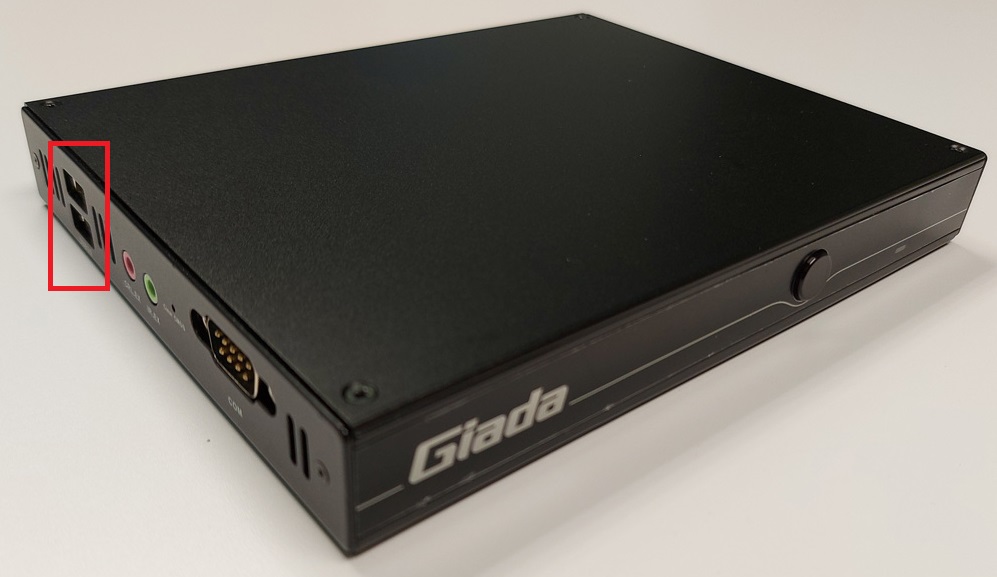
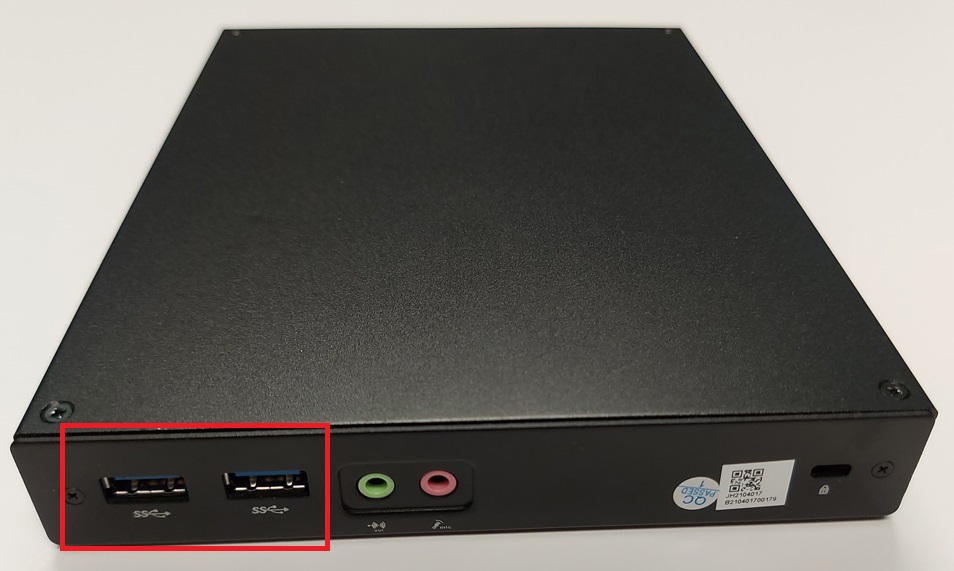
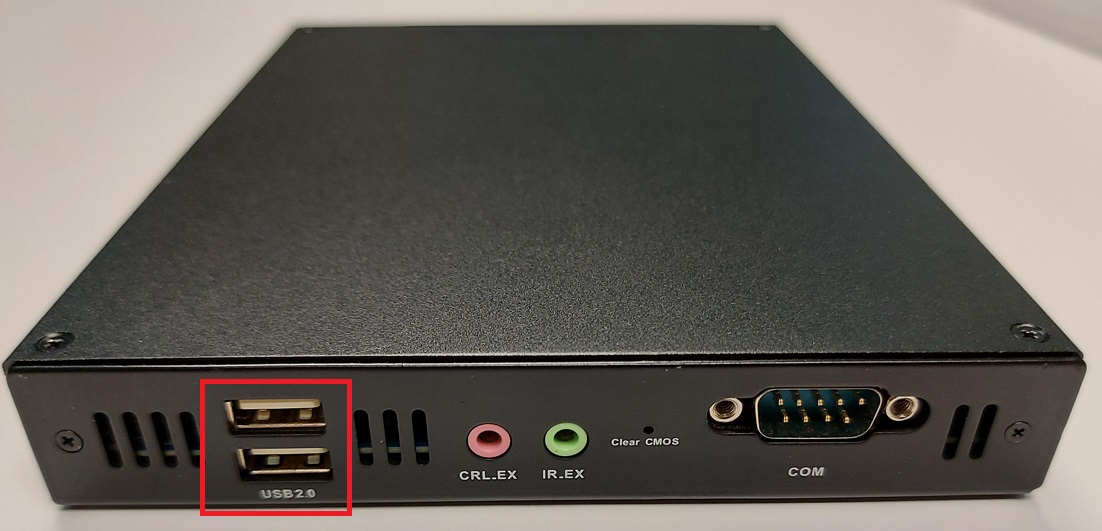
- Plug in a USB Keyboard to an available USB Port
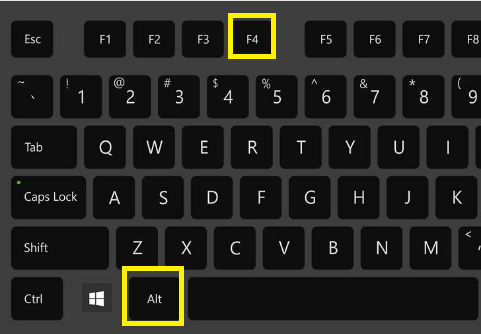
- Click on Alt + F4 to close the NexSigns Windows Application
Arrange the Displays
- Plug in a USB Keyboard to an available USB Port
- Open Windows Display Settings
- Right Click on the Desktop and click on Display Settings
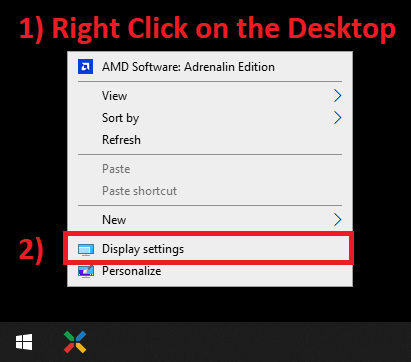
- Right Click on the Desktop and click on Display Settings
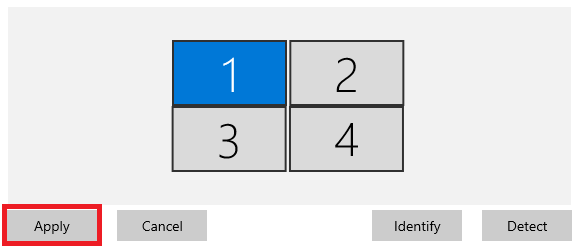
- Arrange the Displays respectively and click on Apply
- example of 2 x 2 Video Wall
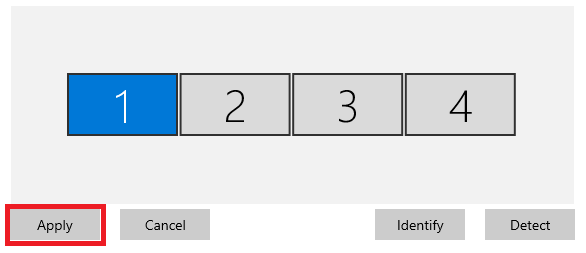
- example of 4 x 1 Video Wall
- example of 2 x 2 Video Wall
- You have successfully Arranged the Displays
Enable Eyefinity (combine the monitors)
- Plug in a USB Keyboard to an available USB Port
- Run the AMD Software application
- Right Click on the Desktop and click on AMD Software: Adrenalin Edition
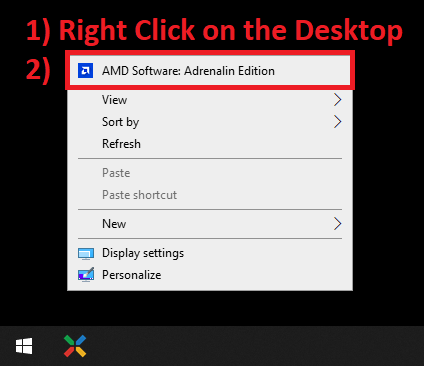
- Right Click on the Desktop and click on AMD Software: Adrenalin Edition
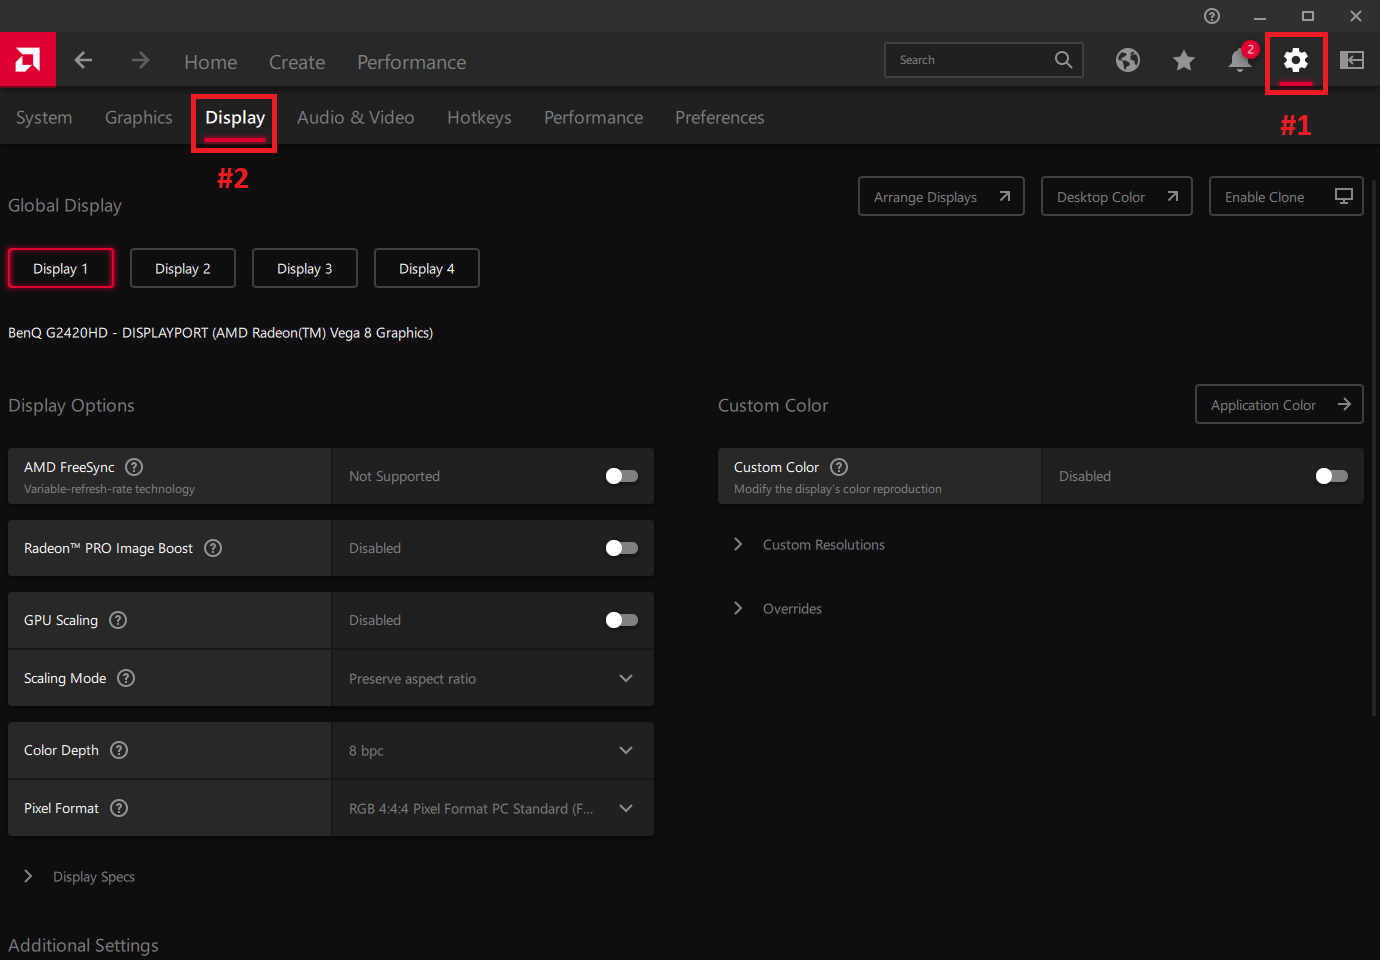
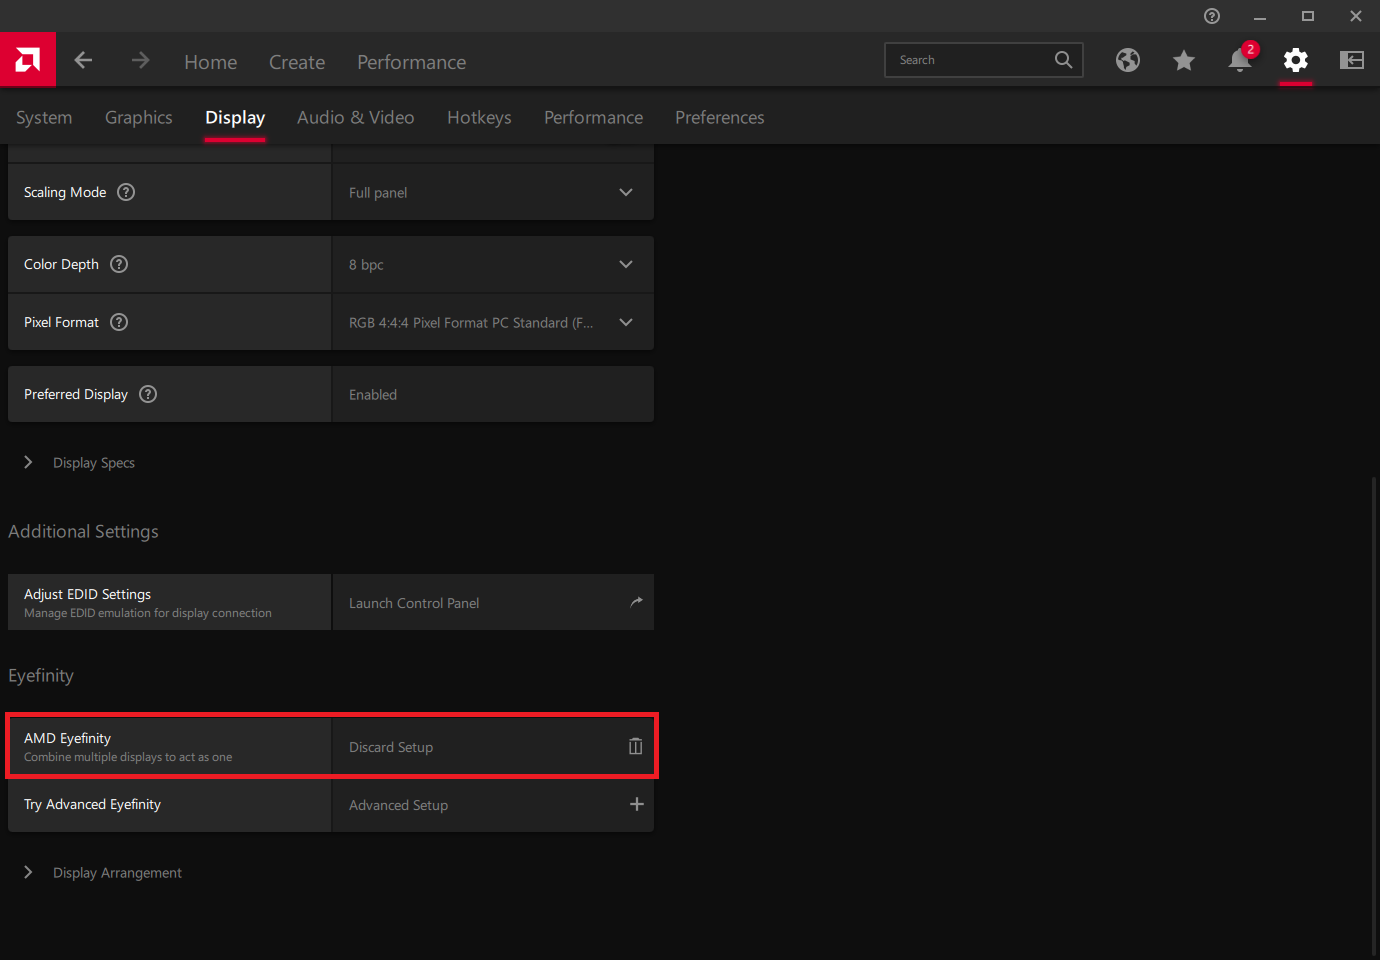
- Click on the Settings Icon and the Display tab
- Scroll Down to the Eyefinity Section and click on Quick Setup
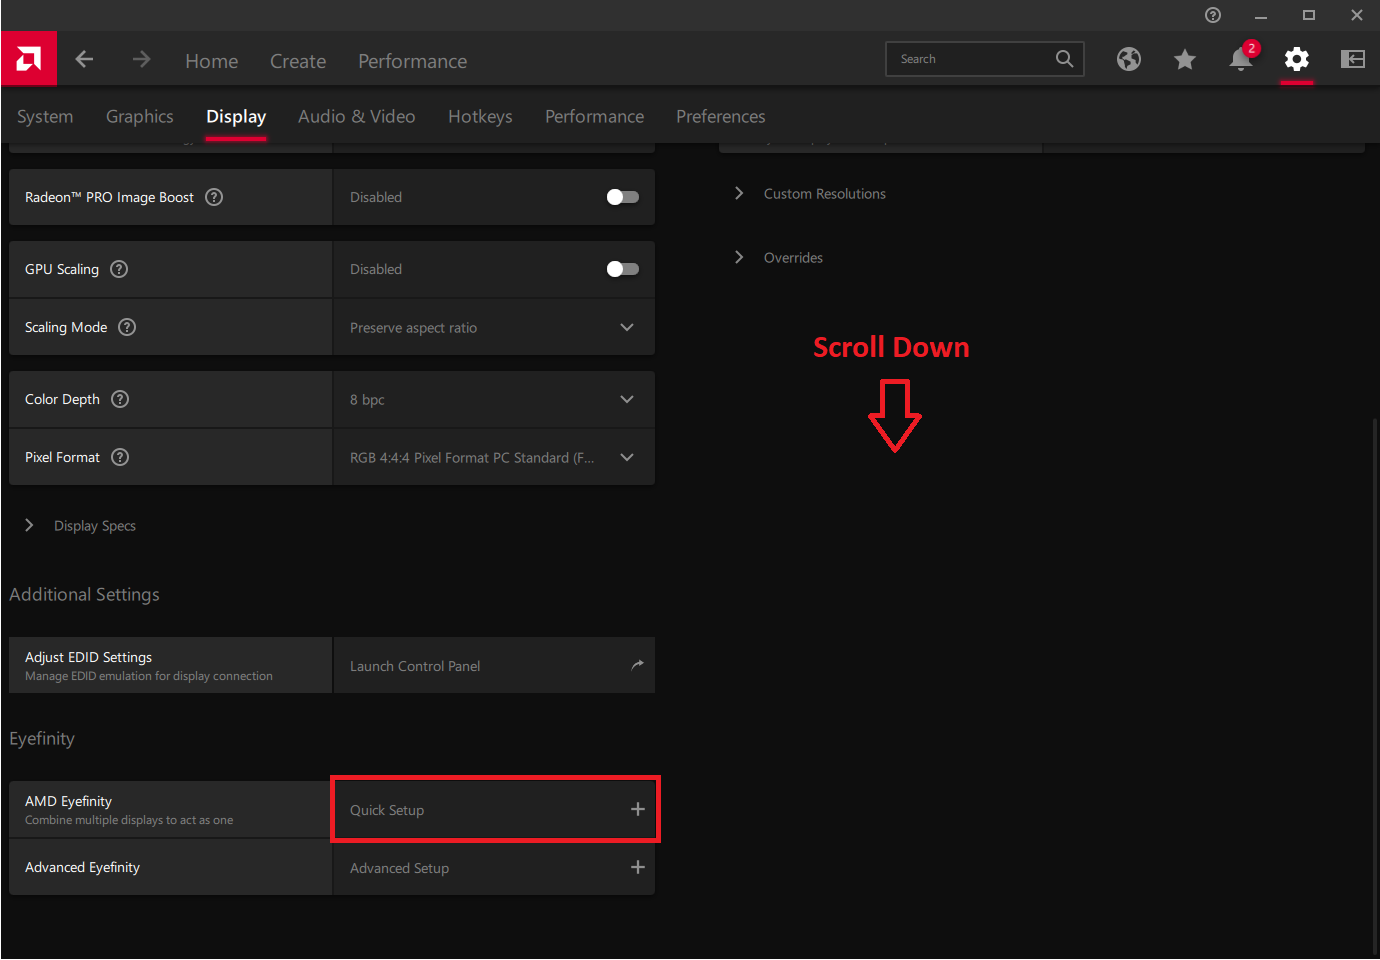
- You have successfully Enabled Eyefinity (combined the monitors)
Launch the NexSigns Windows Application
- Plug in a USB Keyboard to an available USB Port
- Complete any of the following to launch the NexSigns Windows Application
- Double Click the NexSigns Windows Desktop Icon

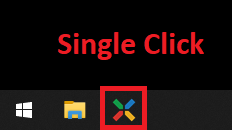
- Click on the NexSigns Windows Taskbar Icon
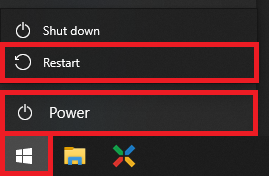
- Restart Windows - Click on Start, Power, and Restart
- Double Click the NexSigns Windows Desktop Icon
- You have successfully launched the NexSigns Windows Application
Useful Links
Create and Publish a Multimedia Playlist - quickly upload images and videos
Edit and Publish a Multimedia Playlist - quickly edit your existing Multimedia Playlist
Create and Publish a NexSigns Template - quickly add and publish a Template
Edit and Publish a NexSigns Template - quickly edit your existing Template
Applies to
Windows, NexSigns-Windows
Related articles