Add a Weather widget to NexSigns
- Kuusoft Support
- James Yeoh
Owned by Kuusoft Support
Last updated: Feb 28, 2024 by James Yeoh
You can integrate a Weather forecast as part of your digital signage easily by creating a Widget
Topics Covered
Create a Weather widget
- Open a Web Browser
- Navigate to https://weatherwidget.io
Enter your Zip Code / Postal Code and select your Location

- Enter / select your desired settings

- Click on Get Code

- Click on the COPY TO CLIPBOARD
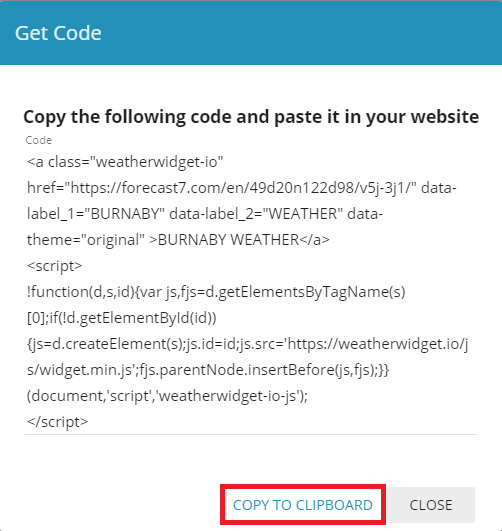
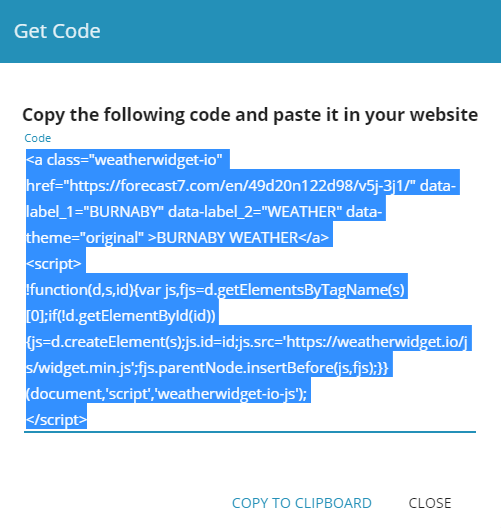
- The WebScript has been copied to your Clipboard - leave this tab open as it may be used later
Add the Weather Widget to a WebScript Channel
- Open a New Browser Tab
- Login to OnePass - (For more information, see How to access OnePass)
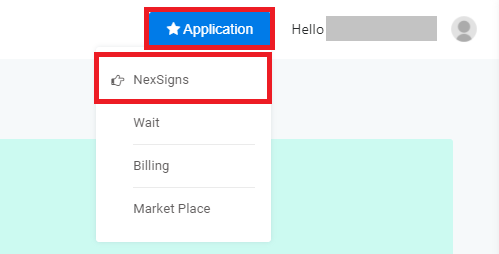
- Click on Application then select NexSigns
- Click on Start Action on your intended Product License
- Select Manage Channel located in the left menu
- Click on Create New Channel
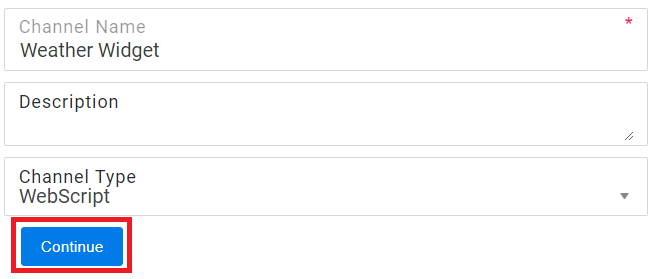
- Enter a Channel Name, Description, and Select WebScript in the Channel Type drop down menu
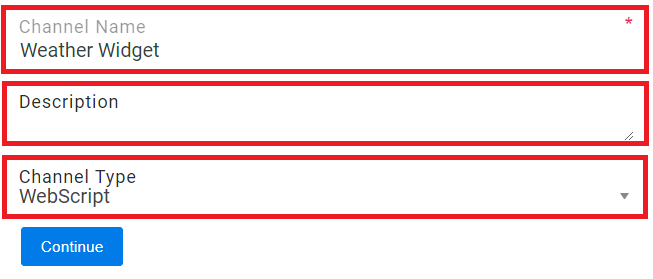
- Select Continue to finish creating a new WebScript Channel
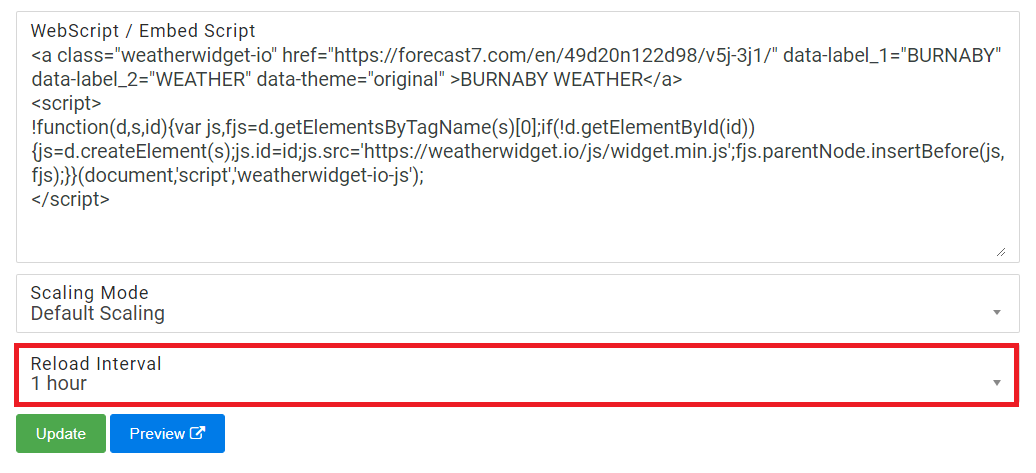
- Paste the WebScript code previously copied on the Weatherwidget.io website into the WebScript / Embed Script Text Box

- Select your desired Reload Interval from the drop down box (1 hour is recommended)
- Click on Update
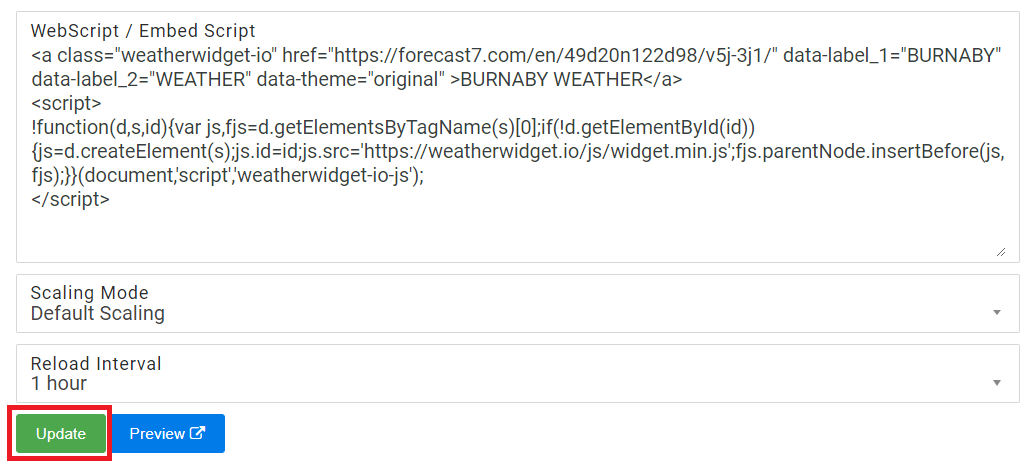
- You have successfully configured a Weather Widget
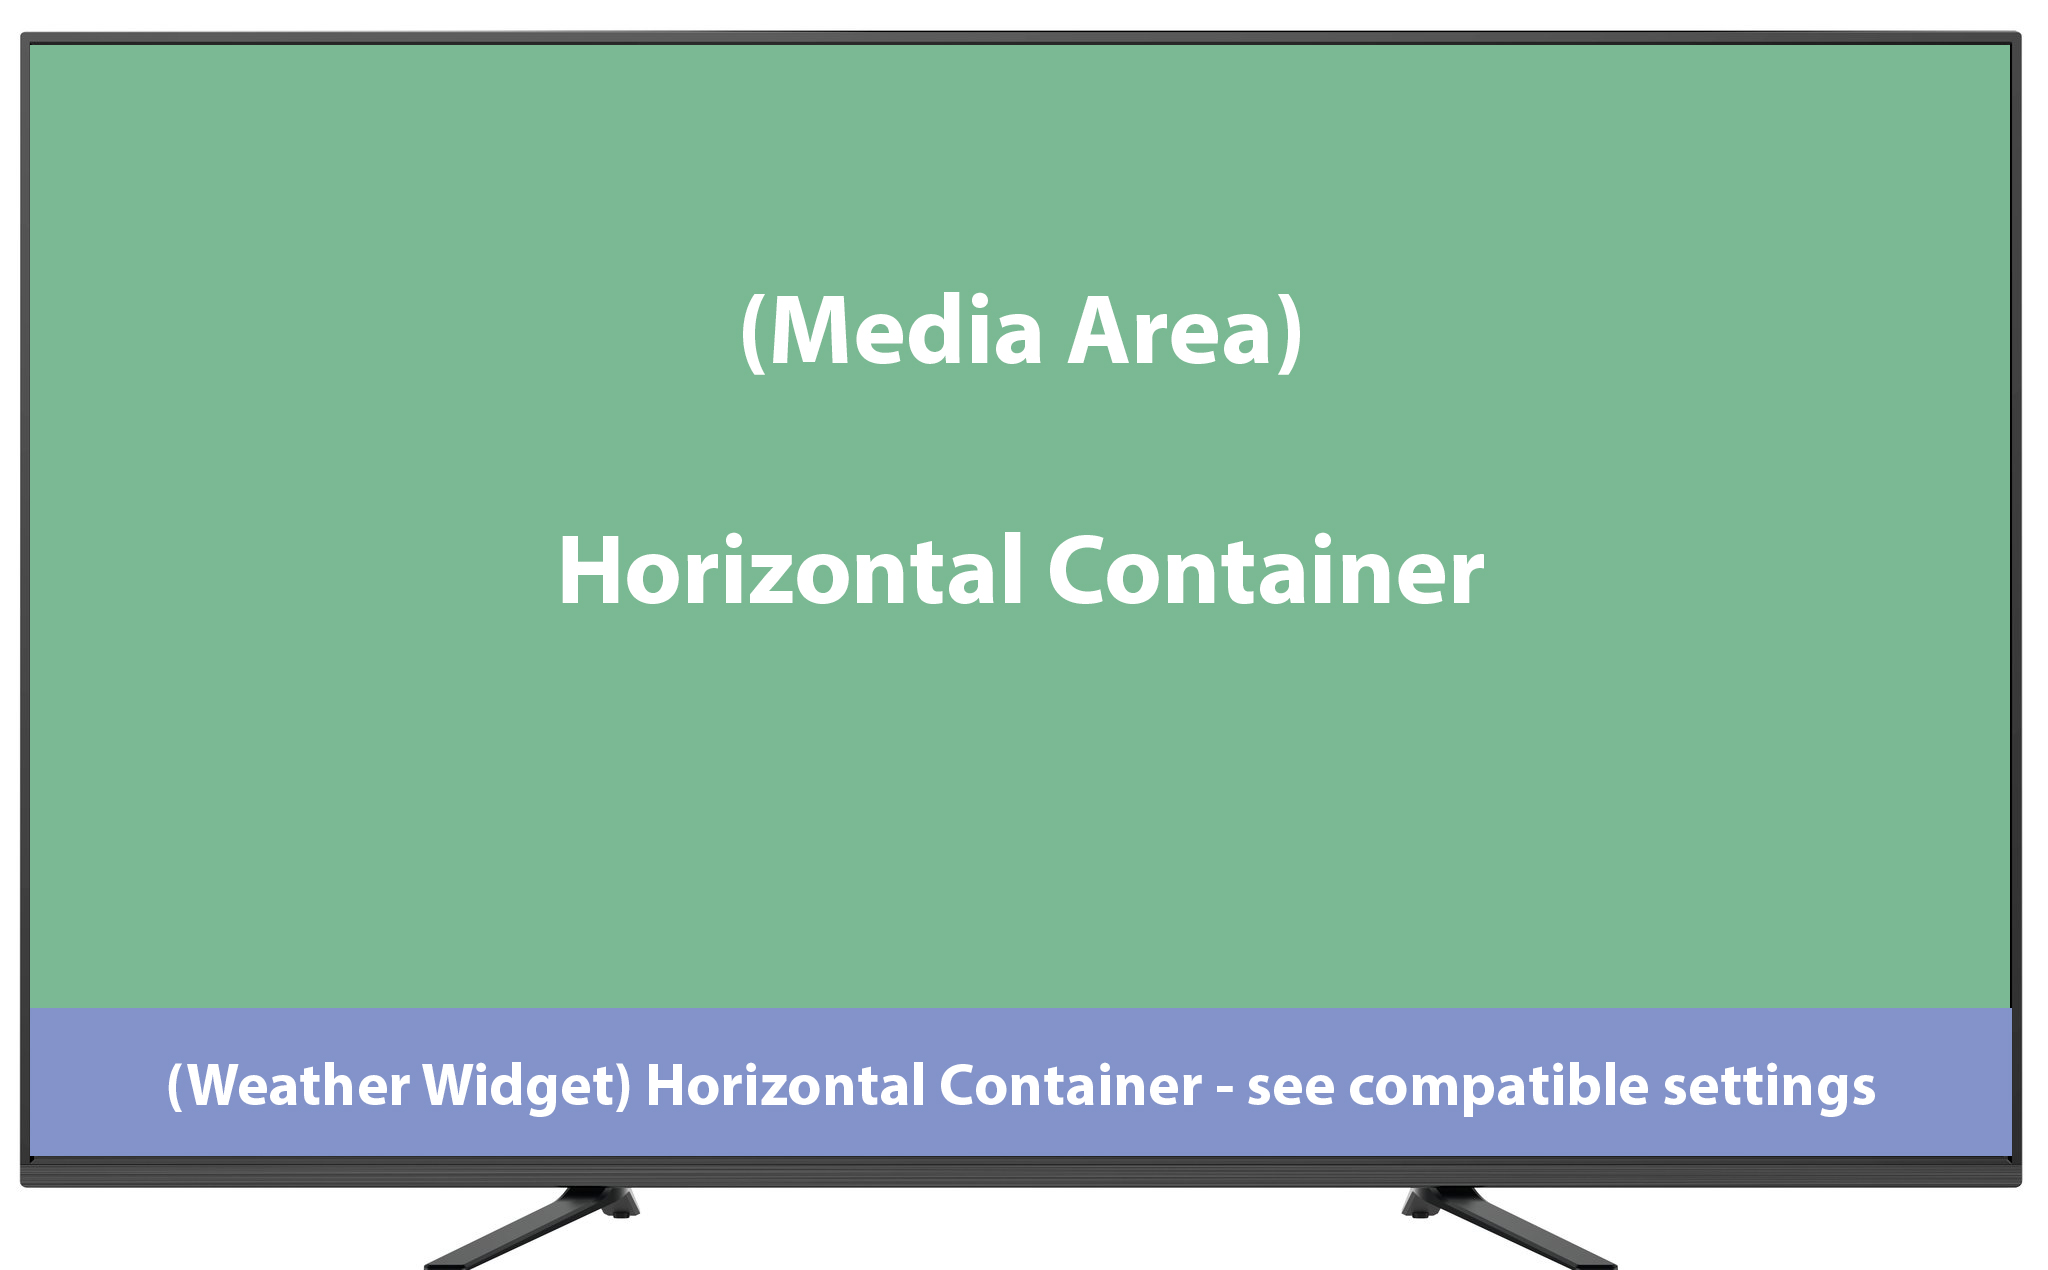
Example #1 - Split Screen - Top / Bottom
This Layout displays a Media Area on top along with a Weather Widget on the bottom
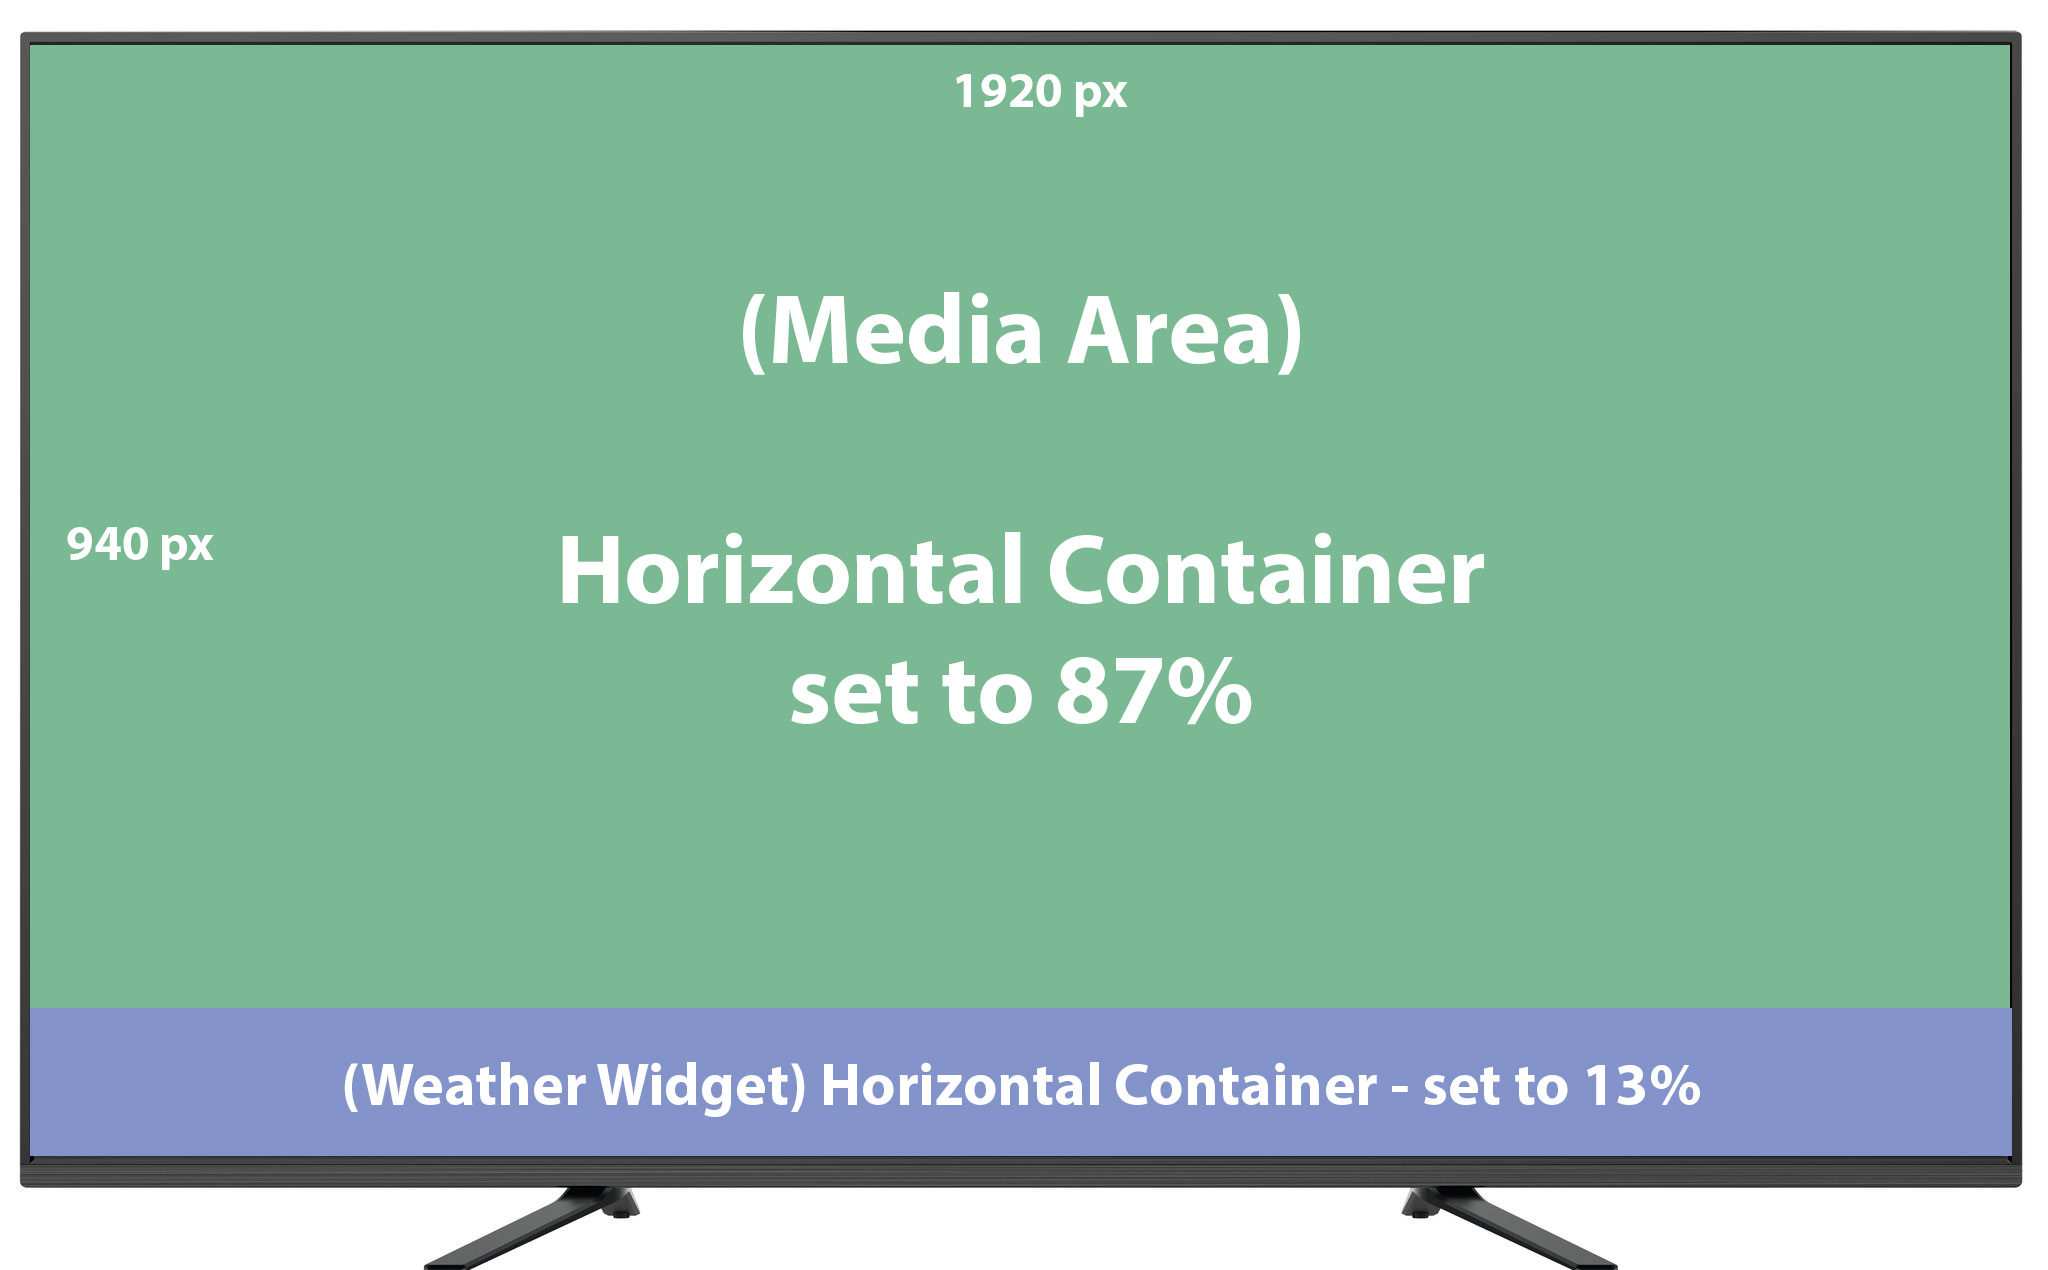
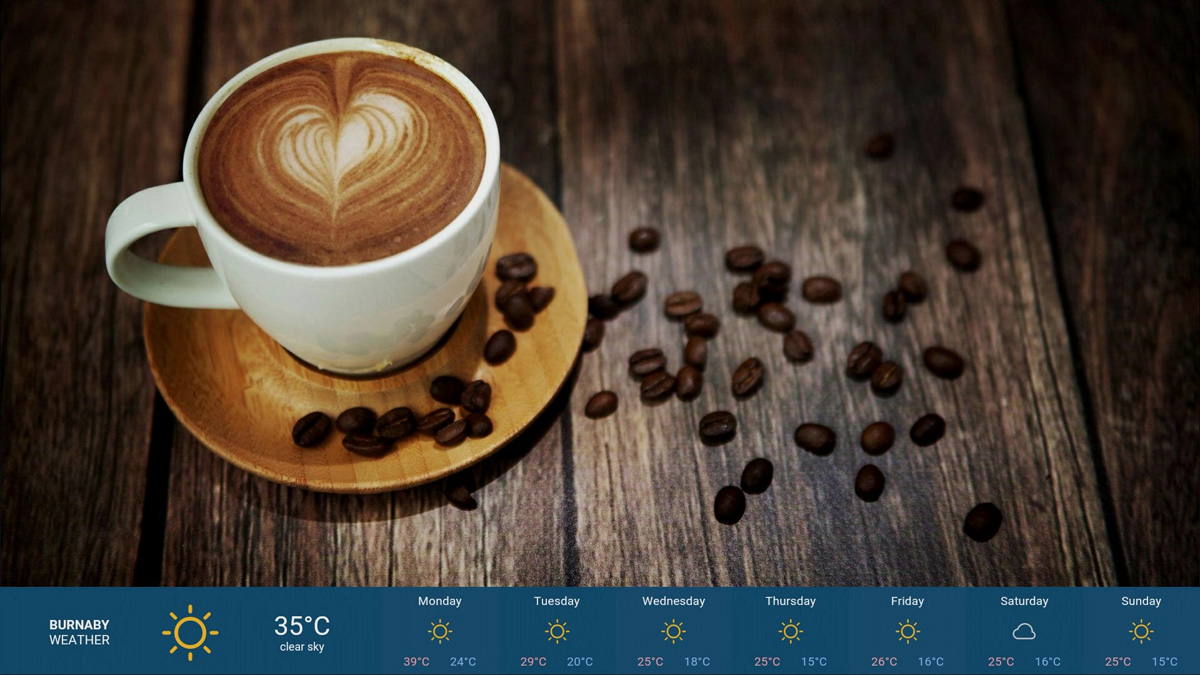
This example assumes a Full HD resolution of 1920 x 1080px (Width x Height)
- Select your desired Layout and select Edit Layout
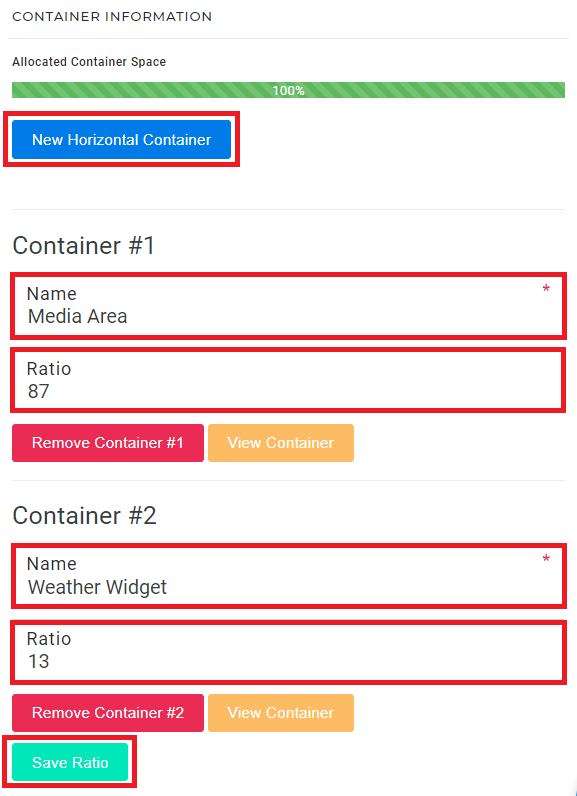
- Select New Horizontal Container, name it Media Area, set the Ratio to 87, and select Save Ratio
- Select New Horizontal Container, name it Weather Widget, set the Ratio to 13, and select Save Ratio
Connect the Media Area Container to a Channel / Template
In this example, the Media Area dimensions are 1920 x 940px (Width x Height)- Connect the Weather Widget Container to the previously created Weather Widget WebScript Channel
- Publish the Layout to view it on your NexSigns digital signage device
- You are done!
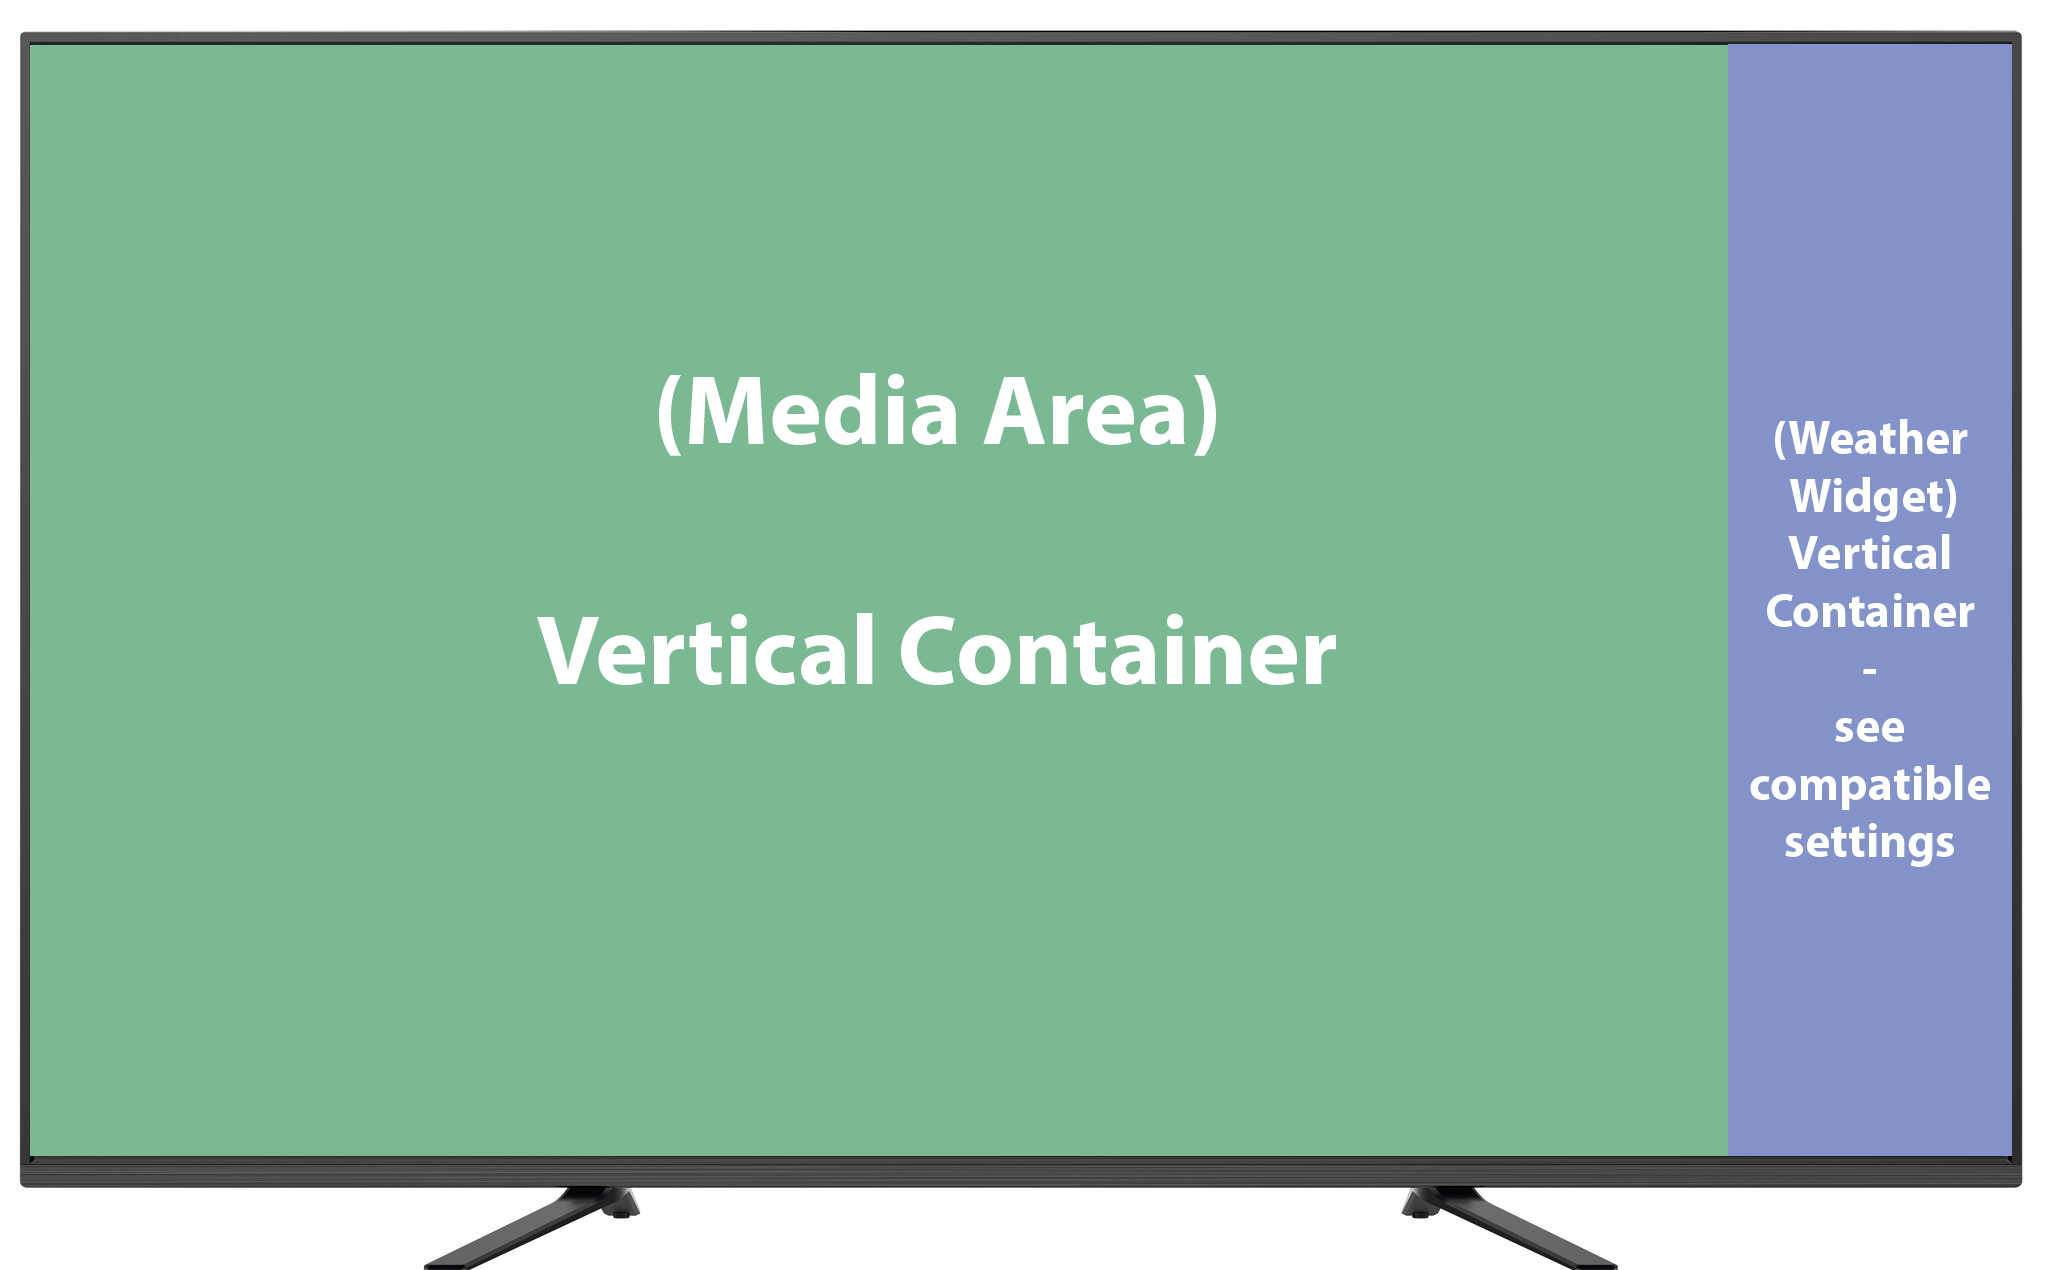
Example #2 - Split Screen - Left / Right
This Layout displays a Media Area on the left along with a Weather Widget on the right
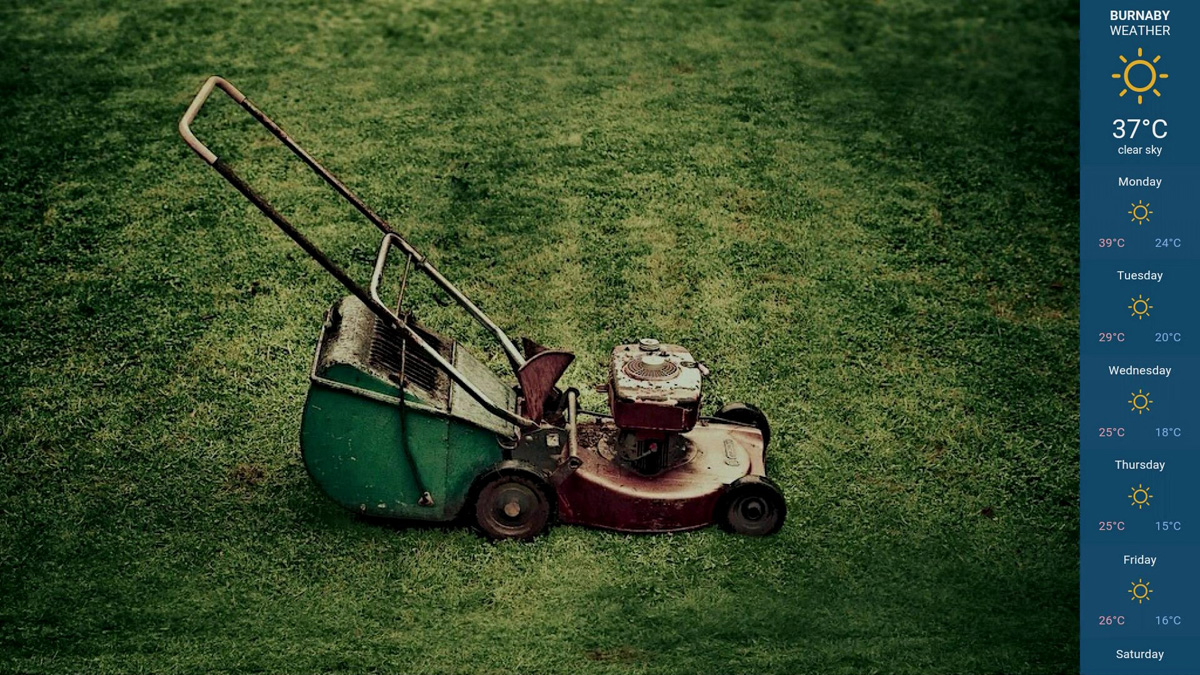
This example assumes a Full HD resolution of 1920 x 1080px (Width x Height)
- Select your desired Layout and select Edit Layout
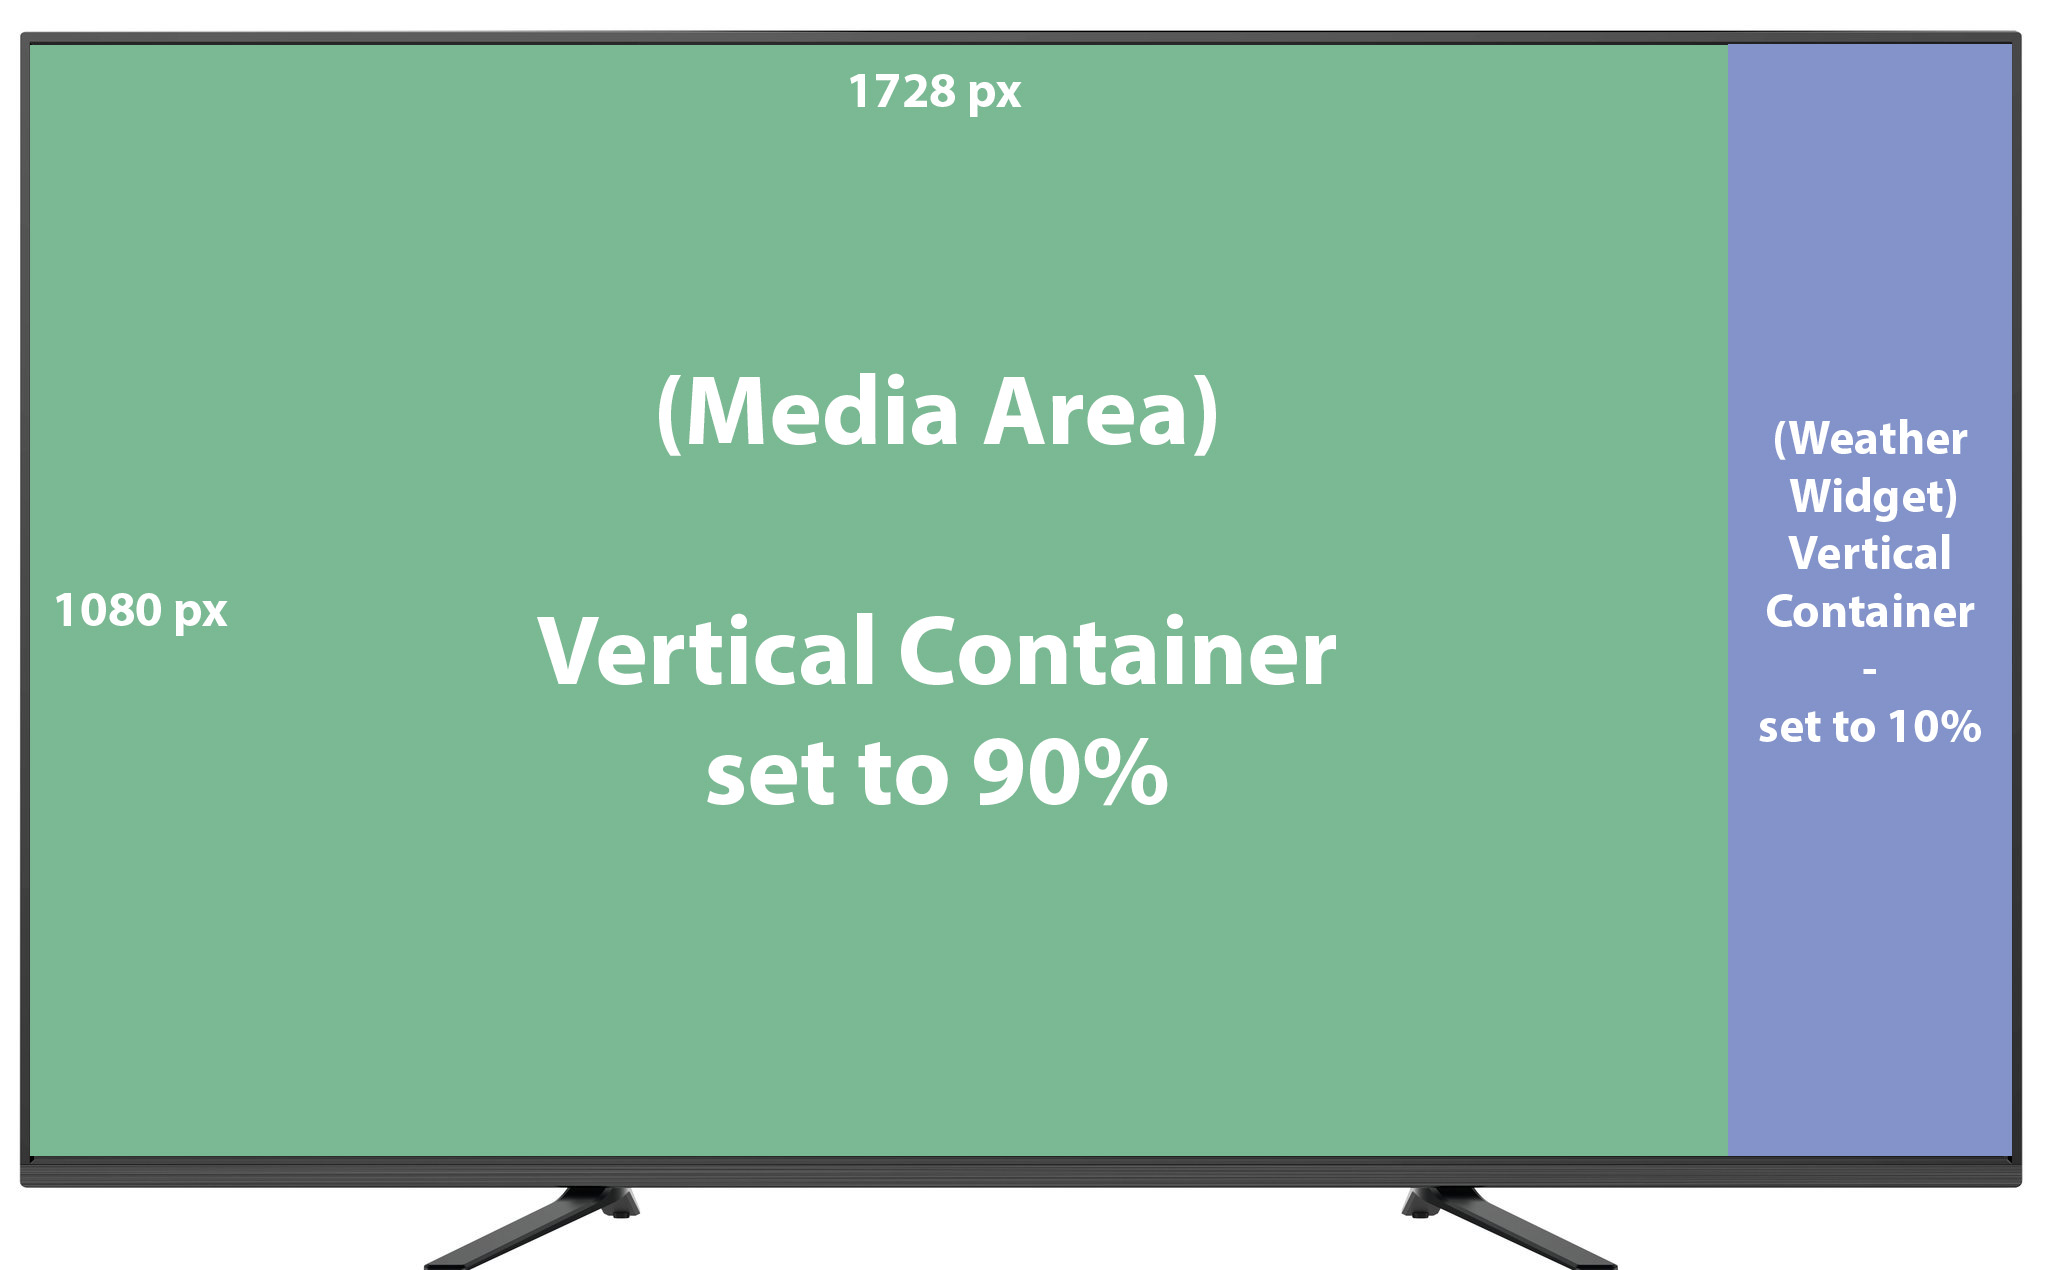
- Select New Vertical Container, name it Media Area, set the Ratio to 90, and select Save Ratio
- Select New Vertical Container, name it Weather Widget, set the Ratio to 10, and select Save Ratio

Connect the Media Area Container to a Channel / Template
In this example, the Media Area dimensions are 1728 x 1080px (Width x Height)- Connect the Weather Widget Container to the previously created Weather Widget WebScript Channel
- Publish the Layout to view it on your NexSigns digital signage device
- You are done!
Recommended Settings
| Orientation | Containers | Percentage | Scaling Mode | |
|---|---|---|---|---|
| Landscape | Horizontal | 12-13% | Default |
|
| Landscape | Horizontal | 8-9% | Native | |
| Landscape | Vertical | 6-12% | Default |
|
| Portrait | Horizontal | 7-8% | Default |
|
| Portrait | Horizontal | 5% | Native |

Applies to
NexSigns 2.x, NexSigns 3.X. OnePass 3.1.x
Related articles
Related tickets
, multiple selections available, Use left or right arrow keys to navigate selected items