How to Setup your TV Matrix / Video Wall Device
- Kuusoft Support
- James Yeoh
Owned by Kuusoft Support
The TV Matrix / Video Wall Device is a powerful piece of hardware that can be used in 2 ways
| TV Matrix | TV Video Wall |
|---|---|
|
|
Topics Covered
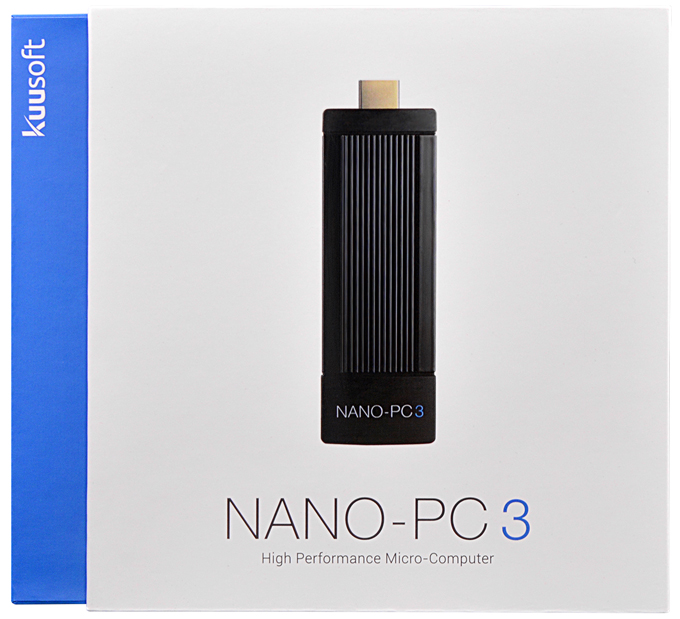
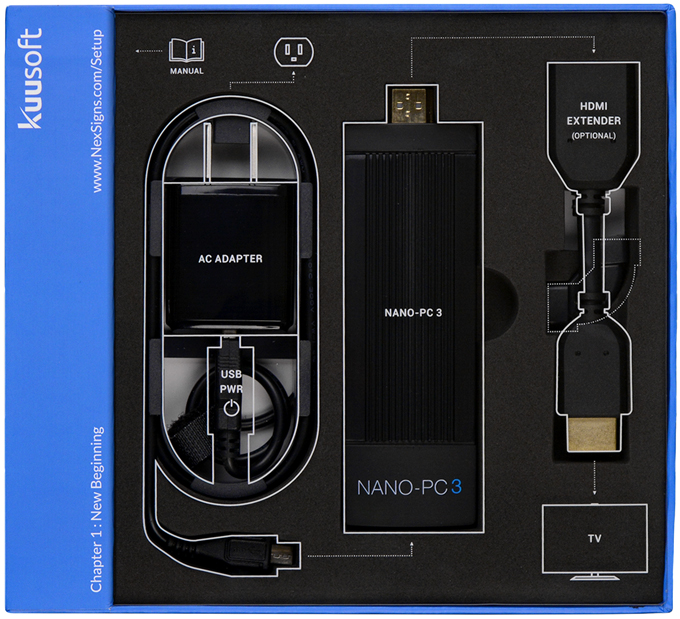
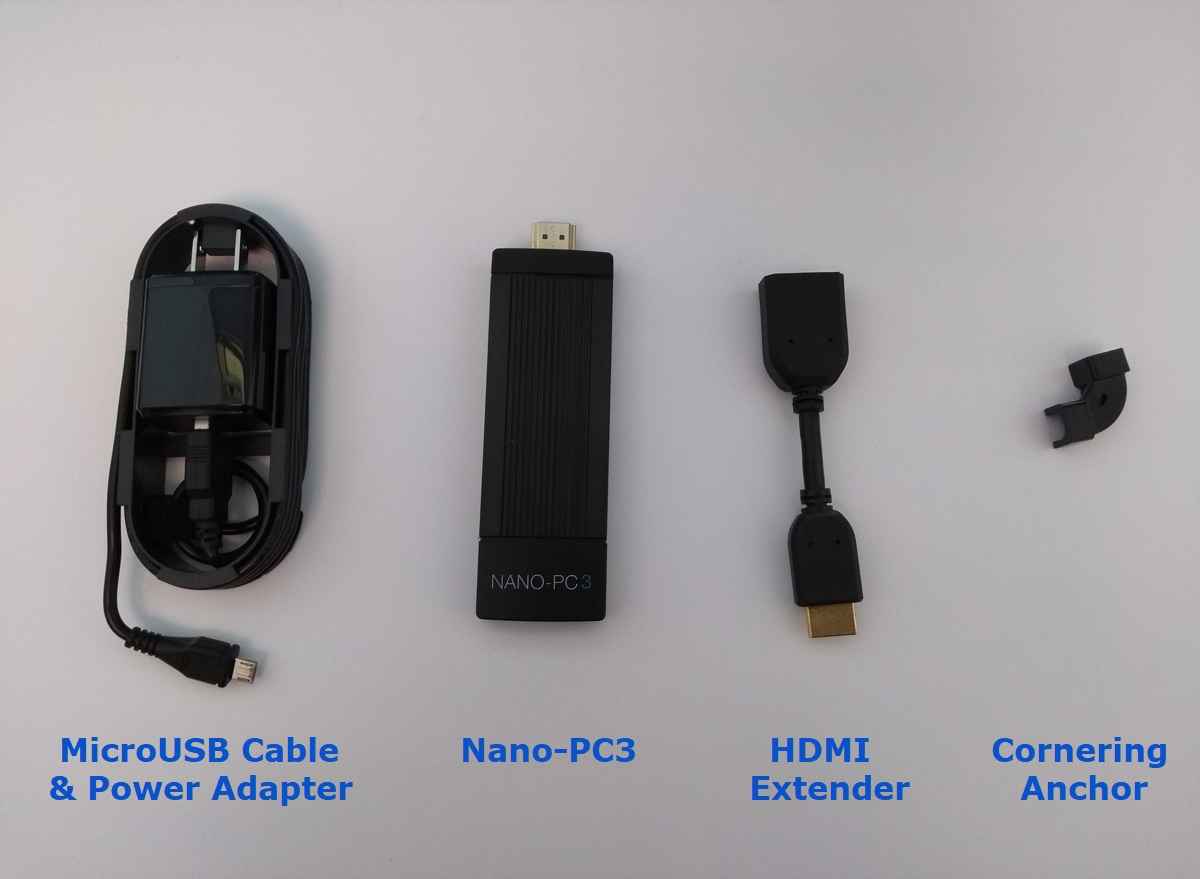
Nano-PC3 Retail Box - Parts Included
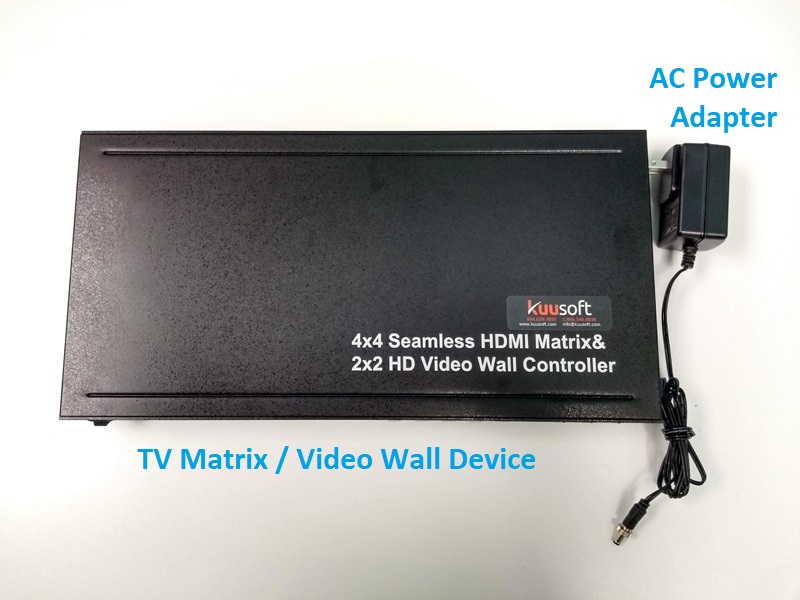
TV Matrix / Video Wall Device Package - Parts Included

Required Parts - Not Included
Setup the TV Matrix / Video Wall Device (Video Wall)
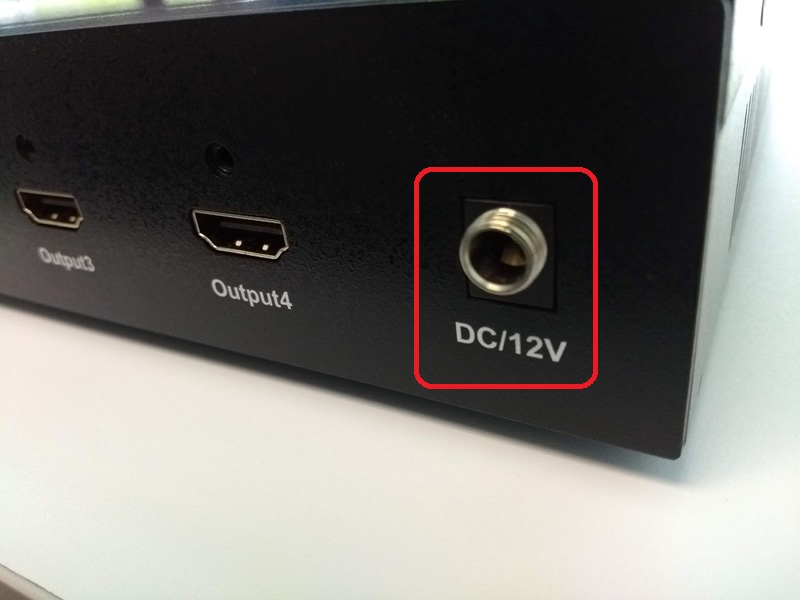
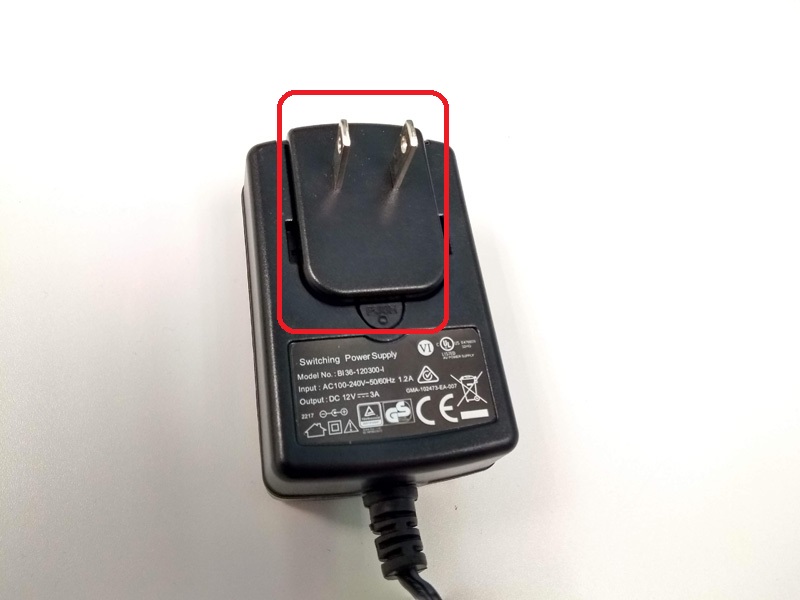
- Insert and screw on the AC Power Adapter to the DC/12V port on the TV Matrix / Video Wall Device
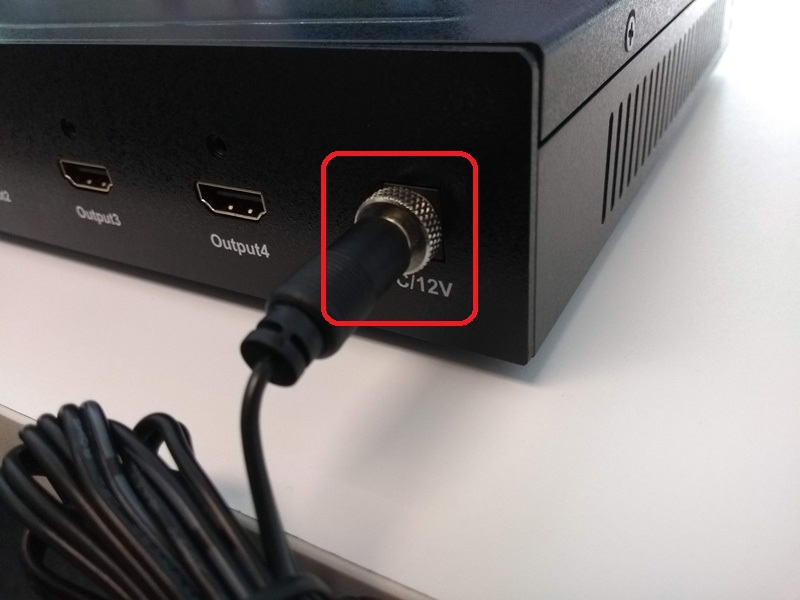
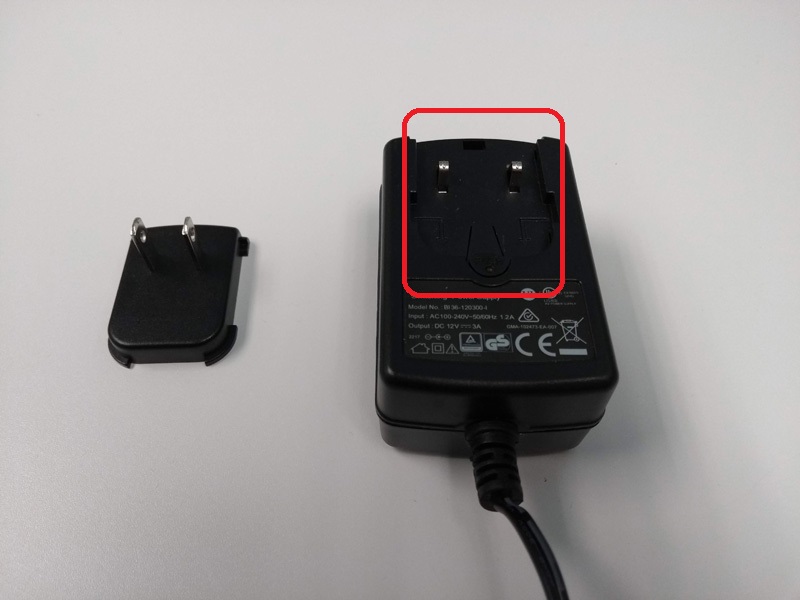
- Insert the appropriate electrical plug to the other end of the AC Power Adapter
- Plug in the other end of the AC Power Adapter into an available Electrical Outlet (or Surge Protector)
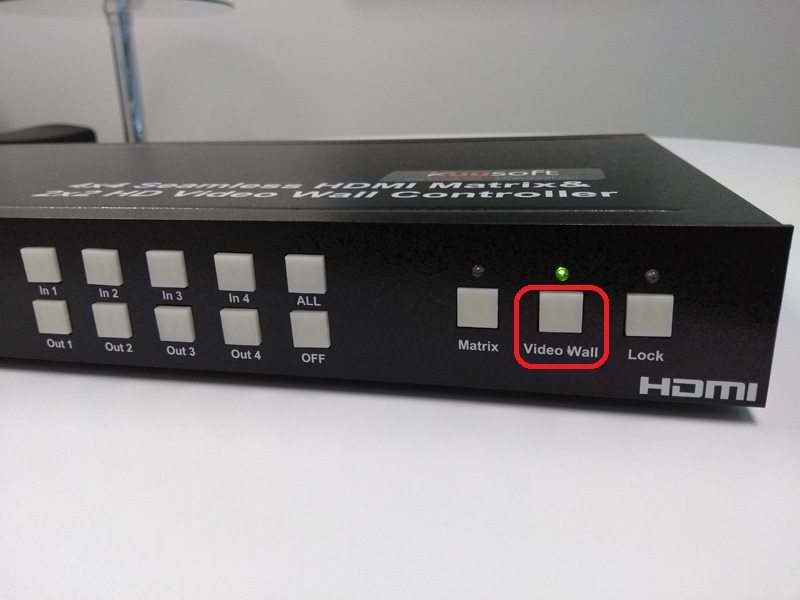
- Press the Video Wall button on the front of the TV Matrix / Video Wall Device
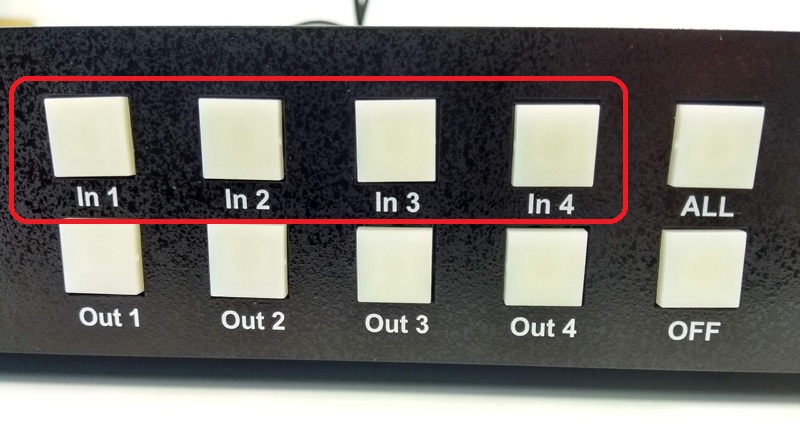
- Select the Input Source by selecting either In 1, In 2, In 3, or In 4 on the front of the TV Matrix / Video Wall Device
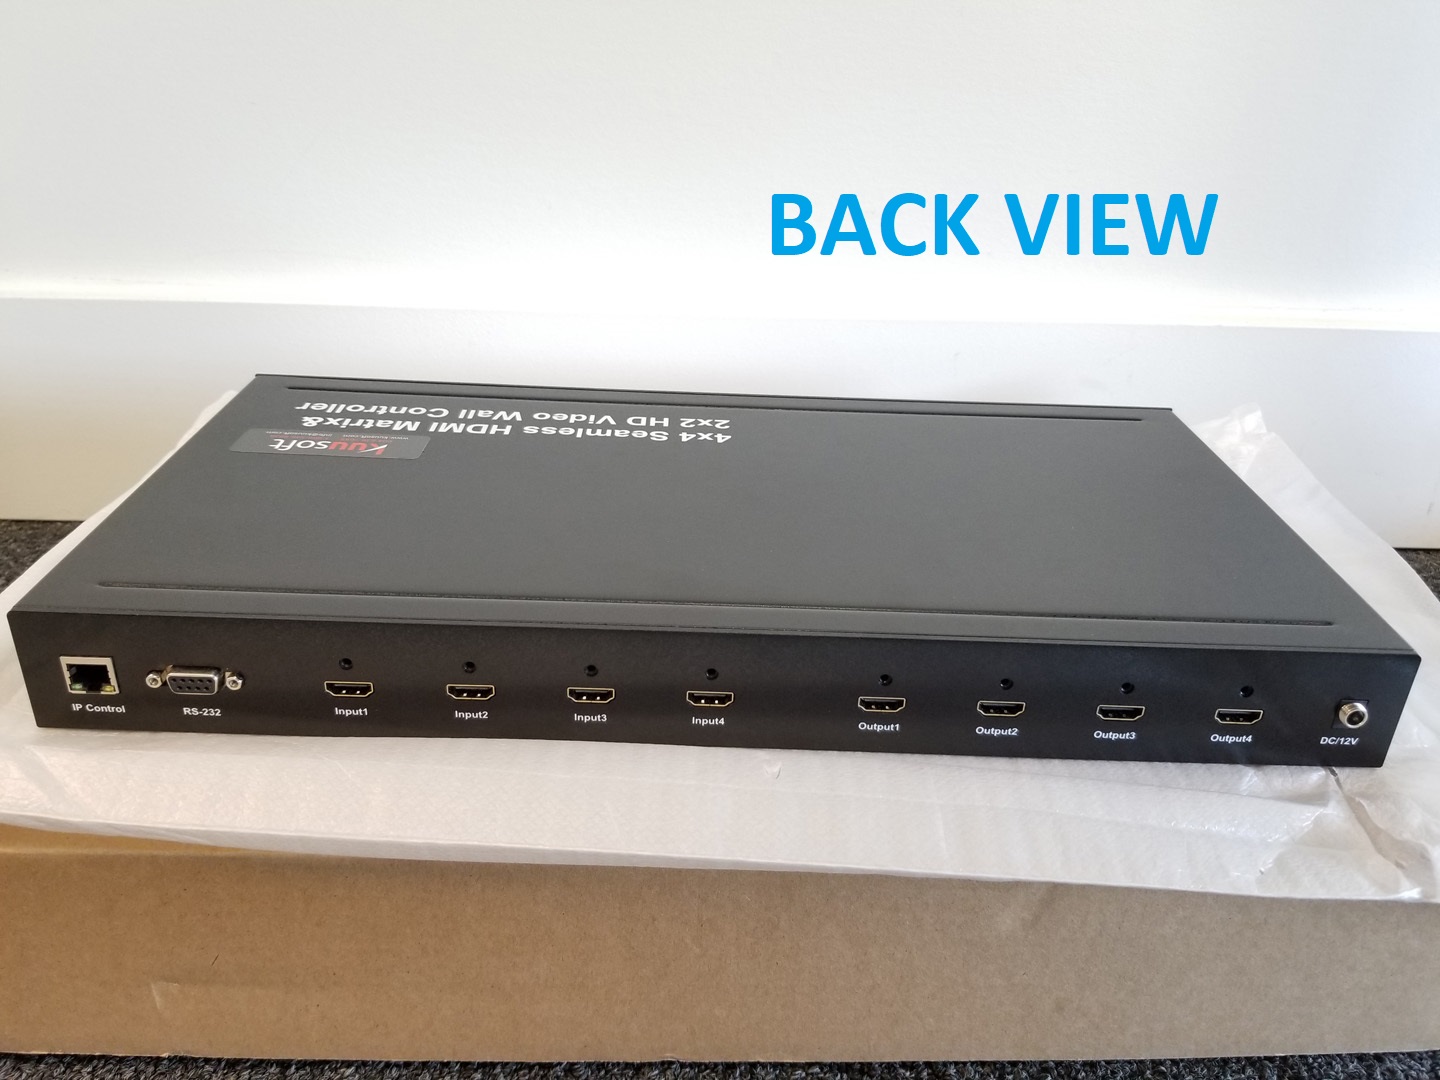
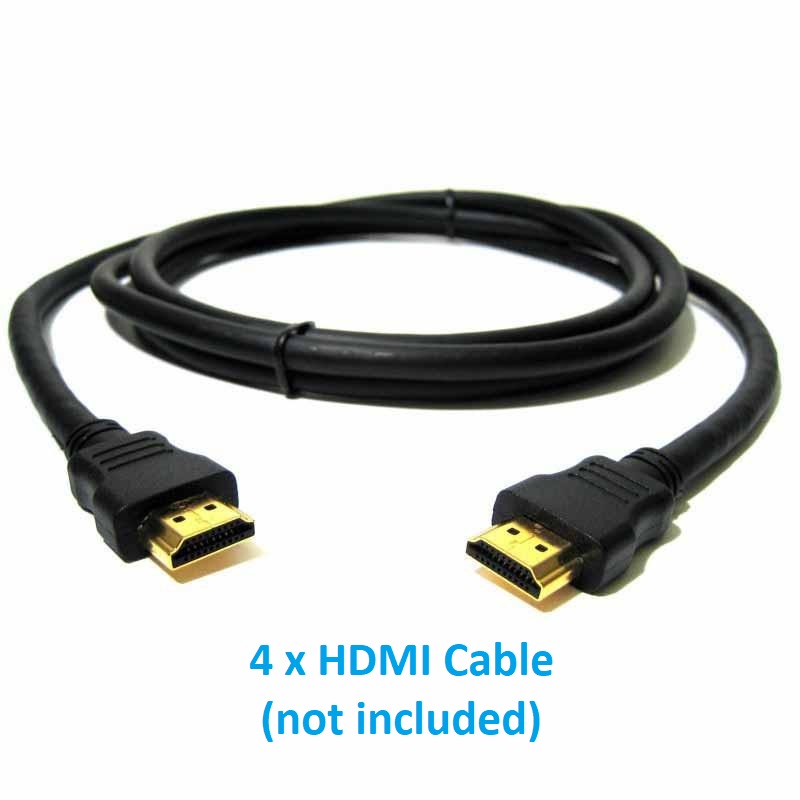
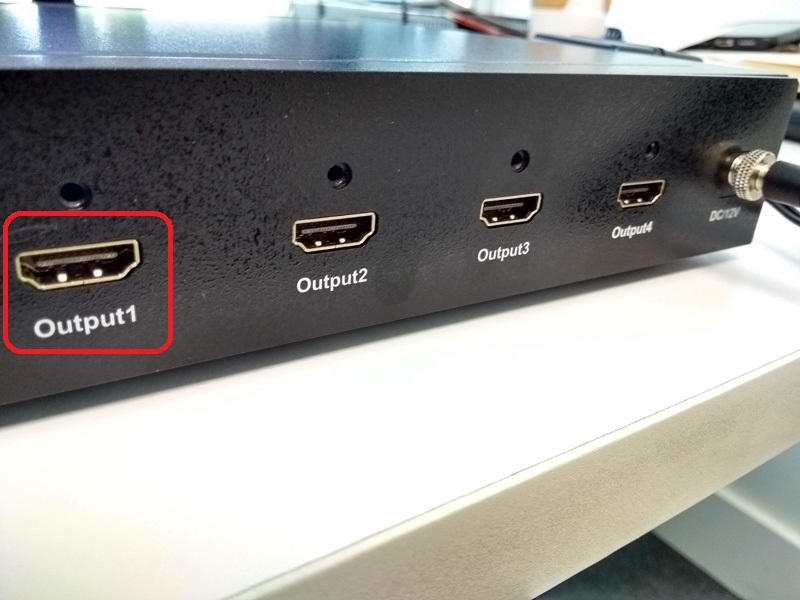
- Connect a HDMI Cable (not included) into Output1 on the back of the TV Matrix / Video Wall Device and connect the other end into an HDMI Input Port on TV #1
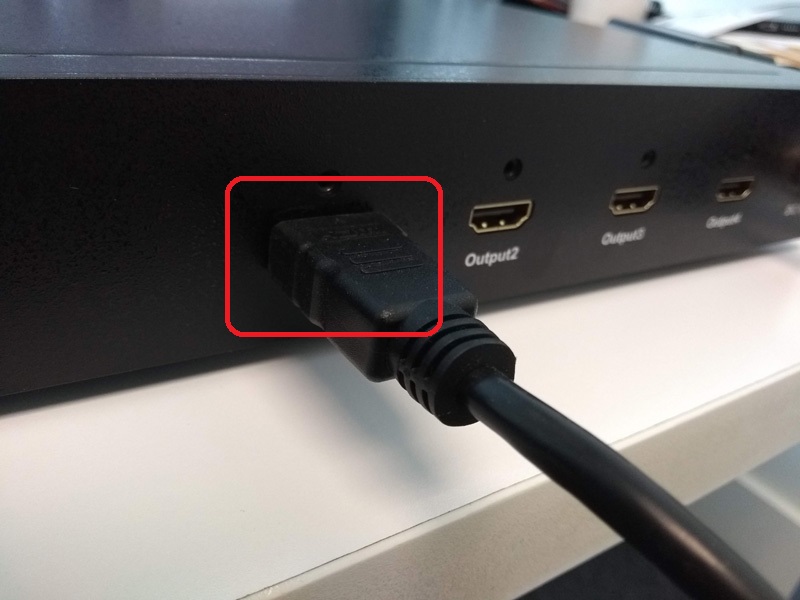
- repeat for Output2 on TV #2, Output3 on TV #3, and Output4 on TV #4,
- repeat for Output2 on TV #2, Output3 on TV #3, and Output4 on TV #4,
Setup a new Nano-PC device
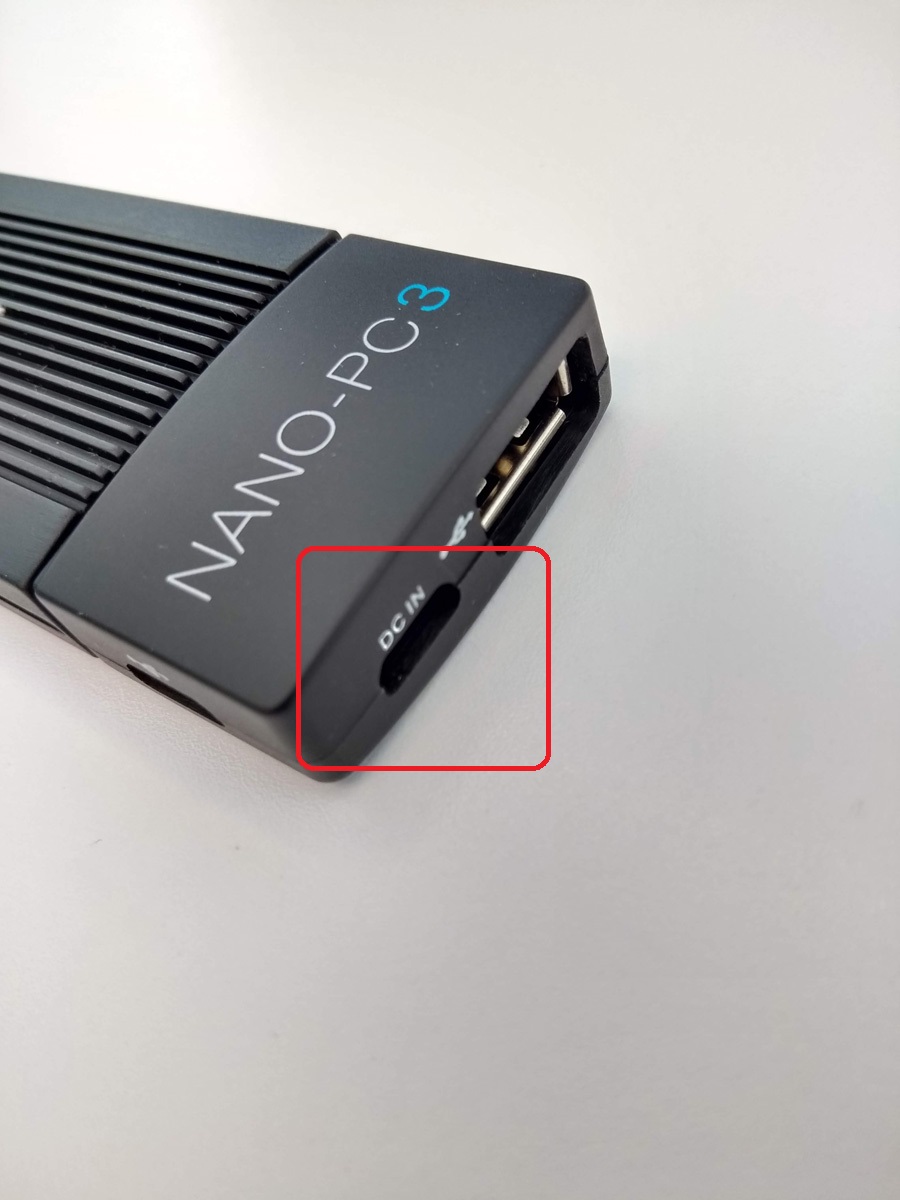
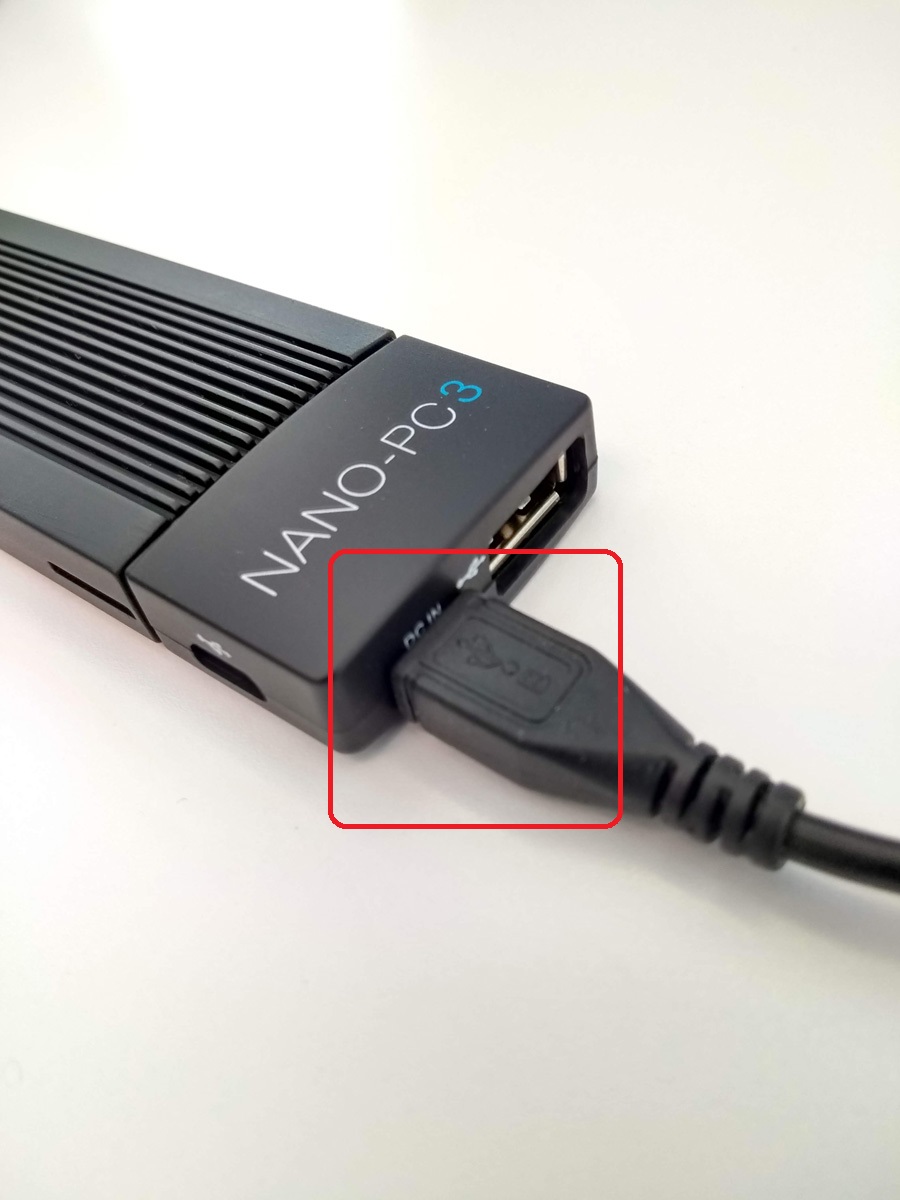
- Plug in the MicroUSB cable into the DC IN port at the bottom of your Nano-PC3
Use the HDMI Extender (optional but recommended)
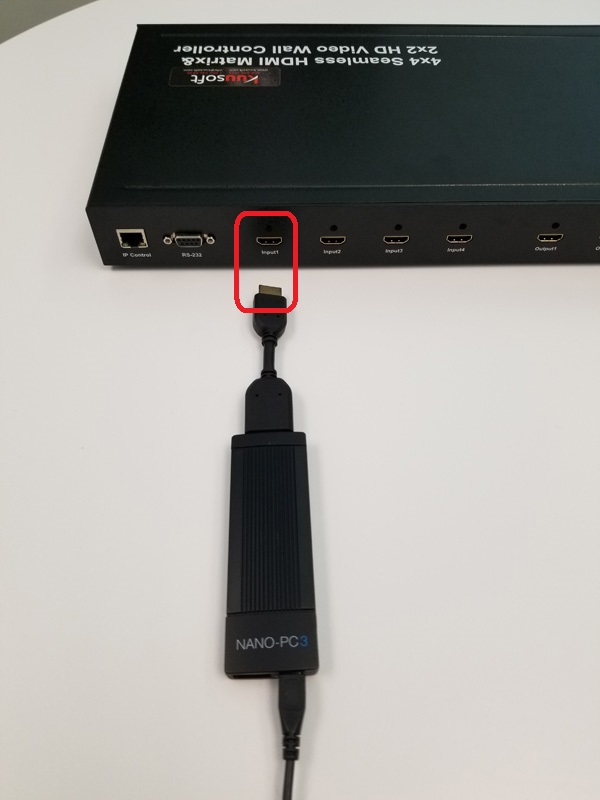
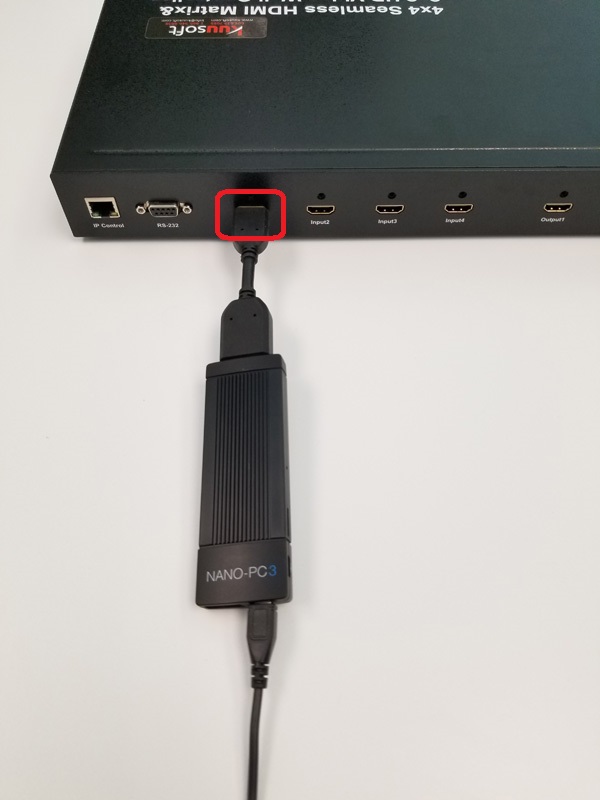
The HDMI Extender is useful to prevent the Nano-PC from blocking additional HDMI Ports and helps with cable management.- Plug in the Nano-PC into the HDMI Extender
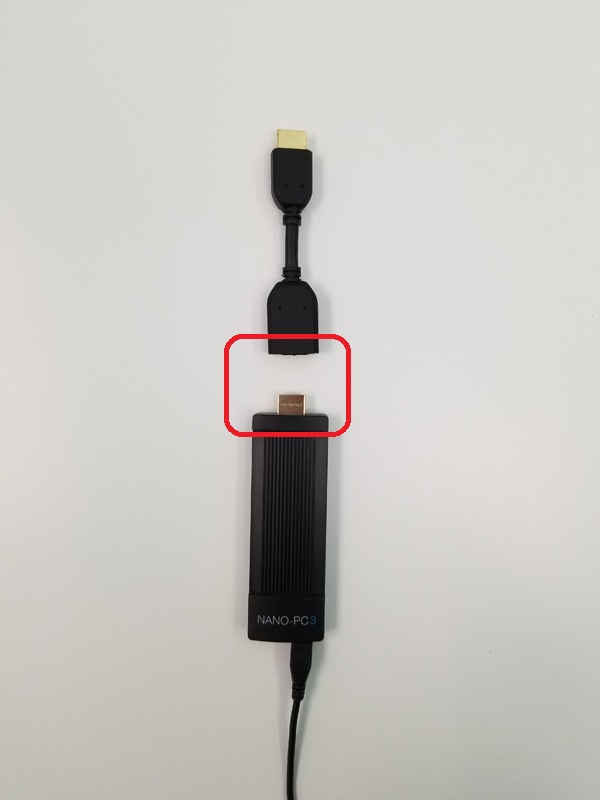
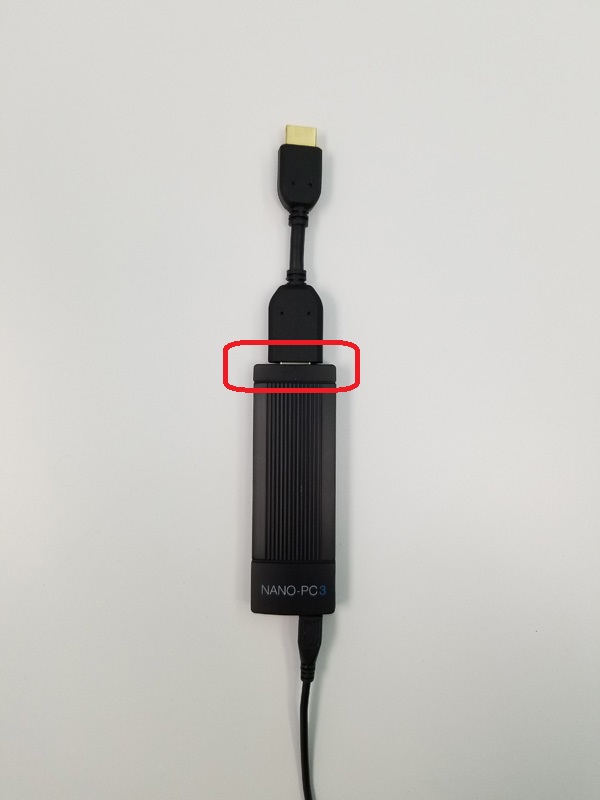
- Plug in the Nano-PC into the HDMI Extender
- Plug in the HDMI Extender (with the Nano-PC attached) into the previously selected HDMI Input Port (either Input 1, Input 2, Input 3, or Input 4)
- Power the Nano-PC Device with the included Power Adapter
- Plug in the Power Adapter into an available Electrical Outlet (or Surge Protector)
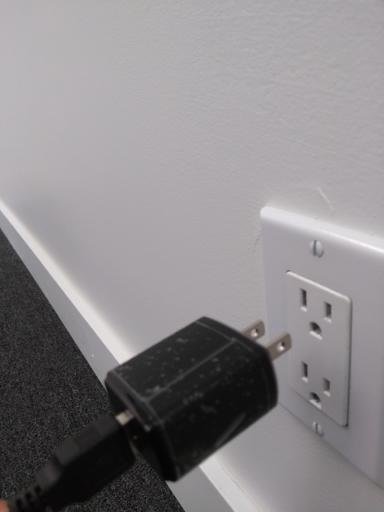
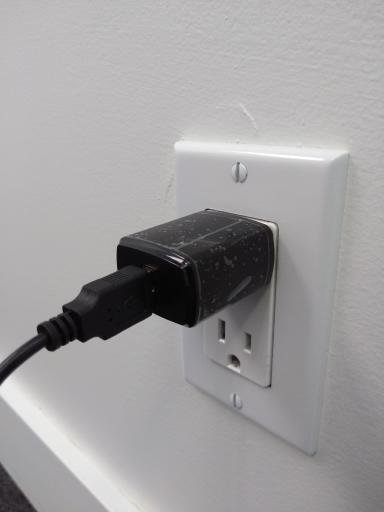
- Plug in the Power Adapter into an available Electrical Outlet (or Surge Protector)
Turn on the TVs
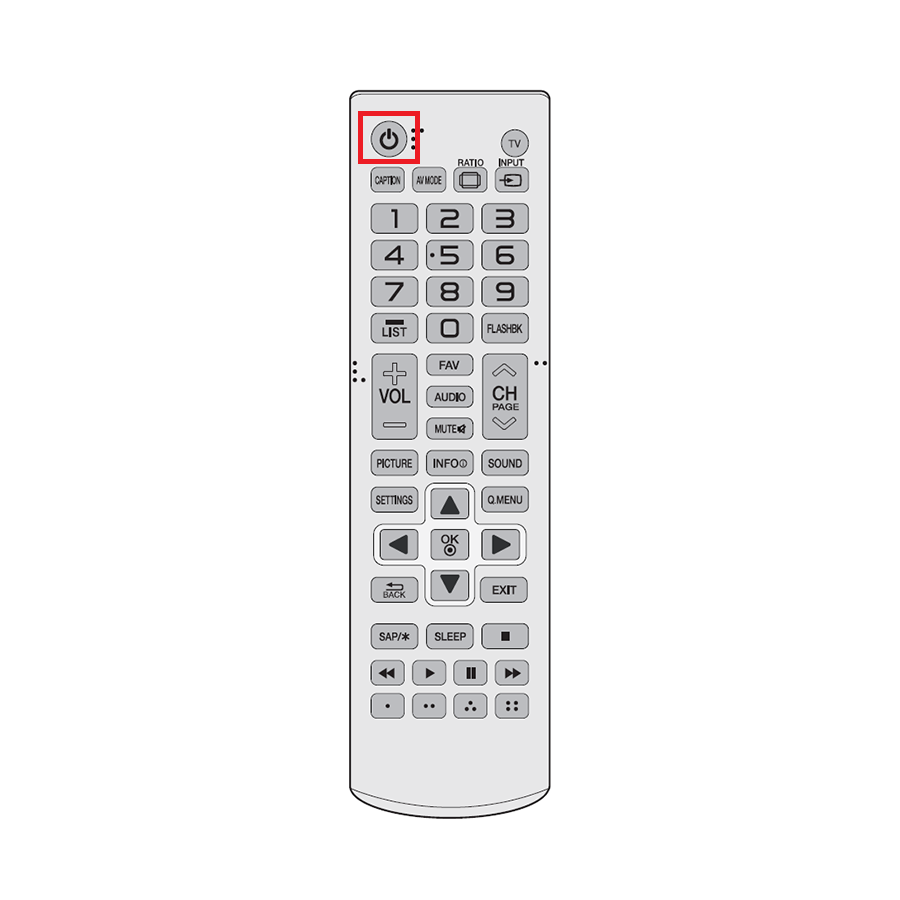
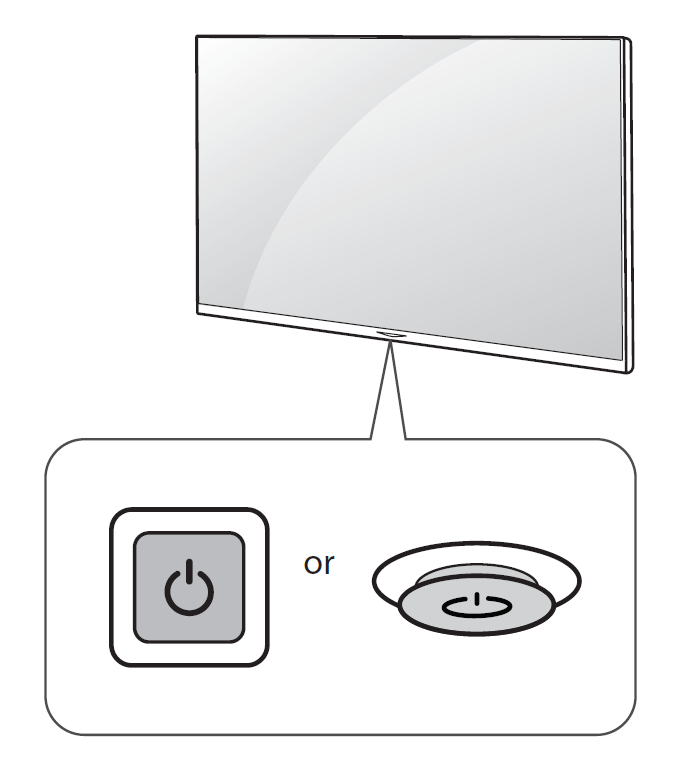
- Use either the Remote or the physical Power Button the TV (Remote and Power Button will vary depending on the TV model)
- Change the TV Input to the respective HDMI Port
- Repeat for each of the installed TVs
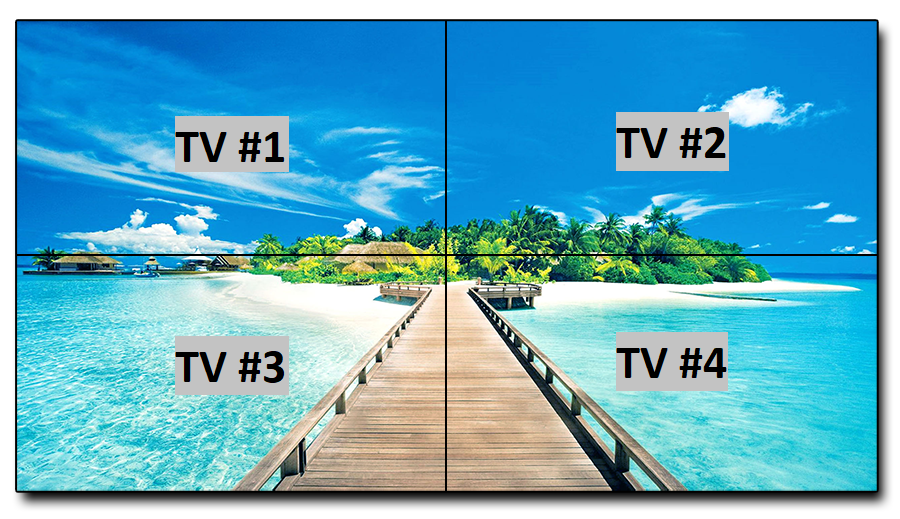
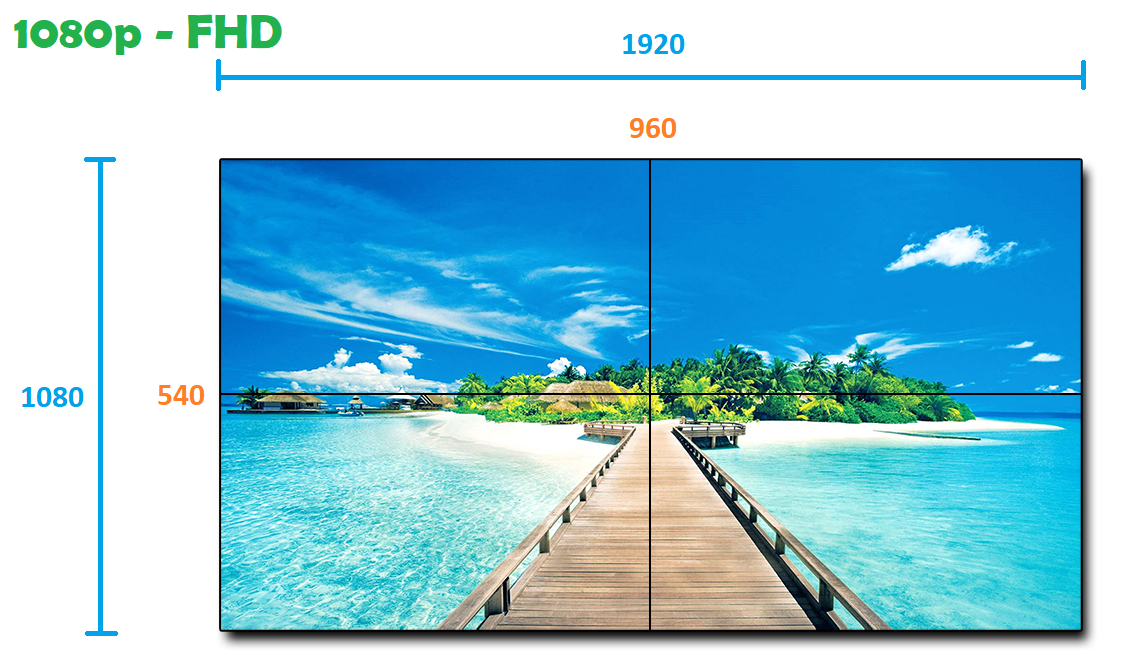
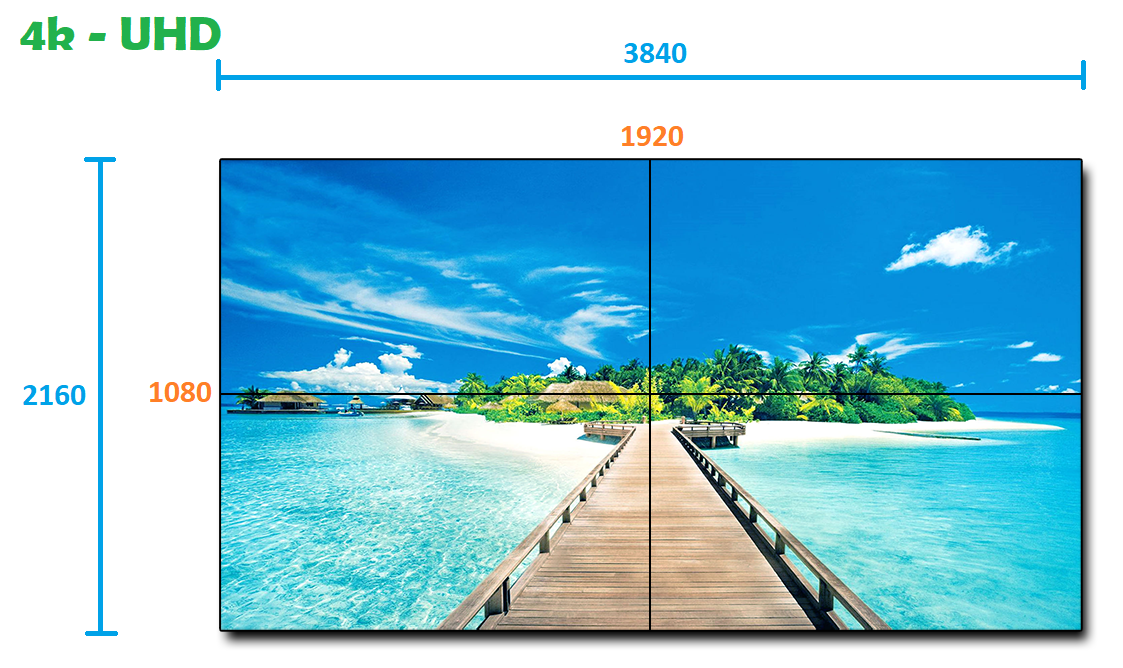
While designing Assets for a TV Video Wall, we recommend avoiding the bezels whenever possible for optimal results
Applies to
Nano-PC2, Nano-PC3
Related articles