How to Manage Role Policy Groups (Permission Groups)
- James Yeoh
Owned by James Yeoh
Last updated: Feb 28, 2024
This article will cover how to manage Role Policy Groups (Permission Groups) for your OnePass sub-users. This will help manage permissions and maximize security when Granting Access to your OnePass Account.
Related Articles
Topics Covered
Create a Role Policy
- Login to OnePass - (For more information, see How to access OnePass)
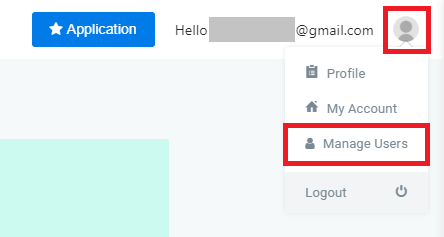
- Click on the Account Menu icon located at the right top corner of the page and select Manage Users
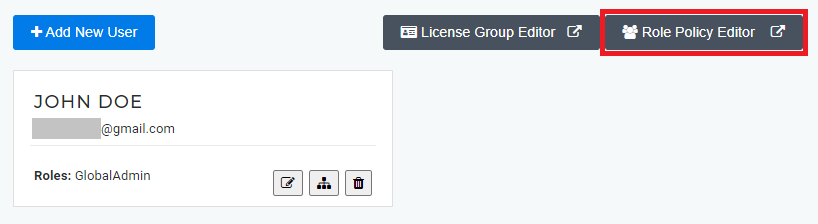
- Click on Role Policy Editor
- Click on + Add New Role Policy

- Enter Name, Description, select the desired Permissions, and click on Create New

- You have successfully Created a Role Policy

Edit a Role Policy
- Login to OnePass - (For more information, see How to access OnePass)
- Click on the Account Menu icon located at the right top corner of the page and select Manage Users
- Click on Role Policy Editor
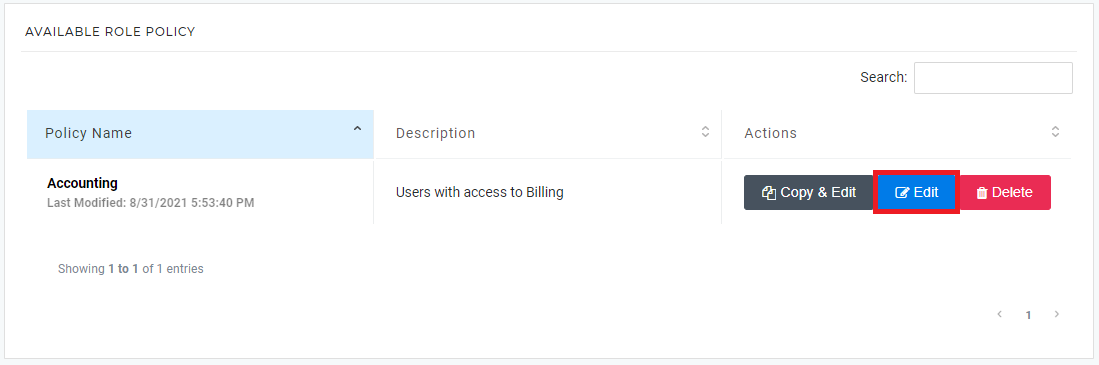
- Find the desired Role Policy and click on Edit
- Update the Name, Description, select the desired Permissions, and click on Save Changes
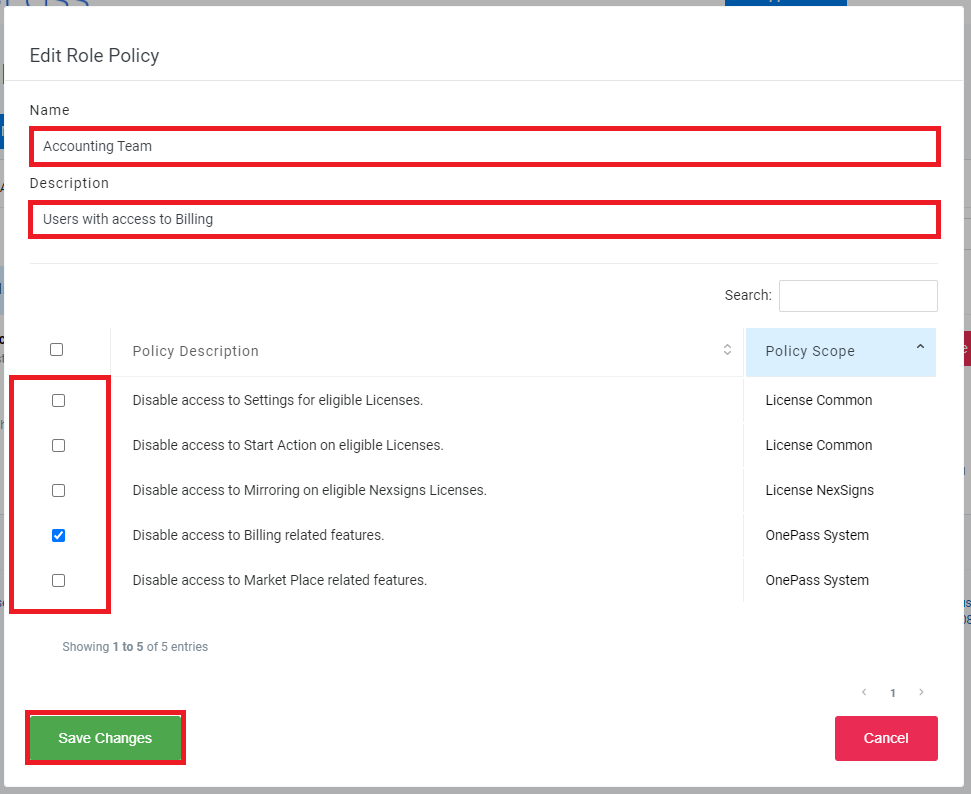
- You have successfully Edited a Role Policy
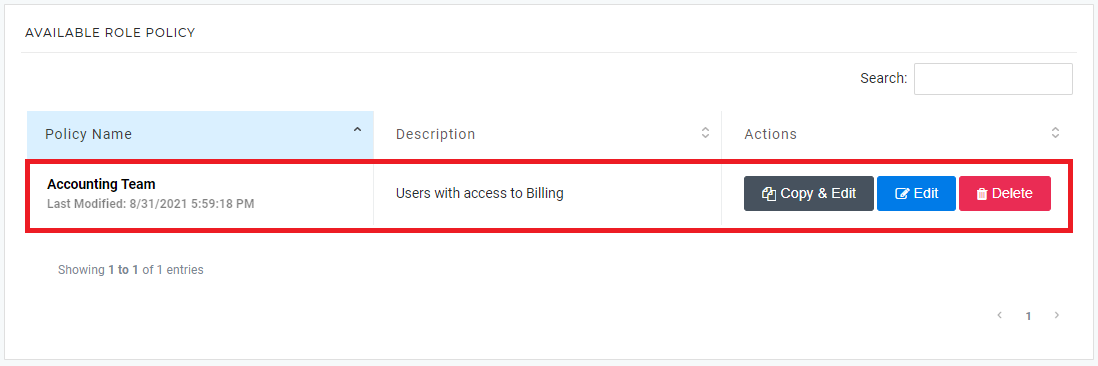
Delete a Role Policy
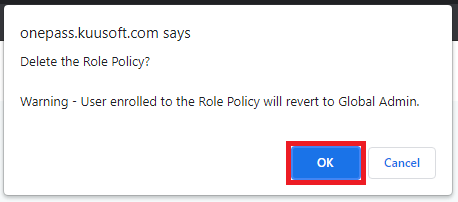
Users enrolled to a deleted Role Policy will revert to Global Admin
- Login to OnePass - (For more information, see How to access OnePass)
- Click on the Account Menu icon located at the right top corner of the page and select Manage Users
- Click on Role Policy Editor
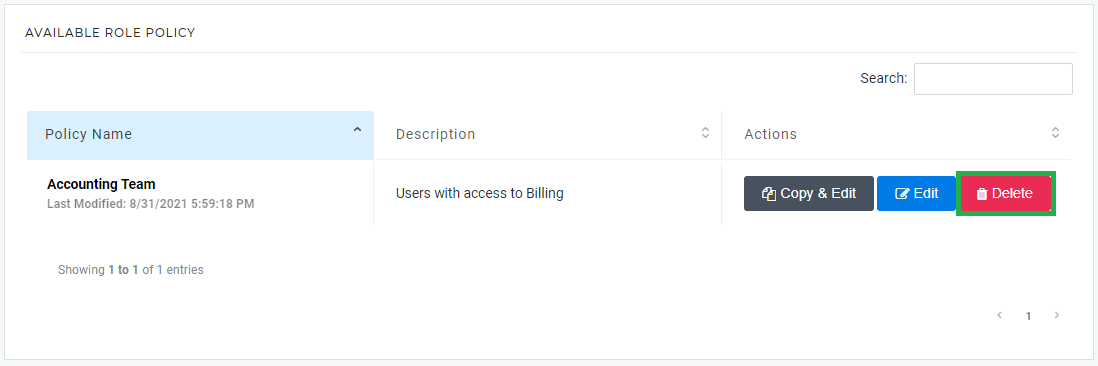
- Find the desired Role Policy and click on Delete
- Click on OK
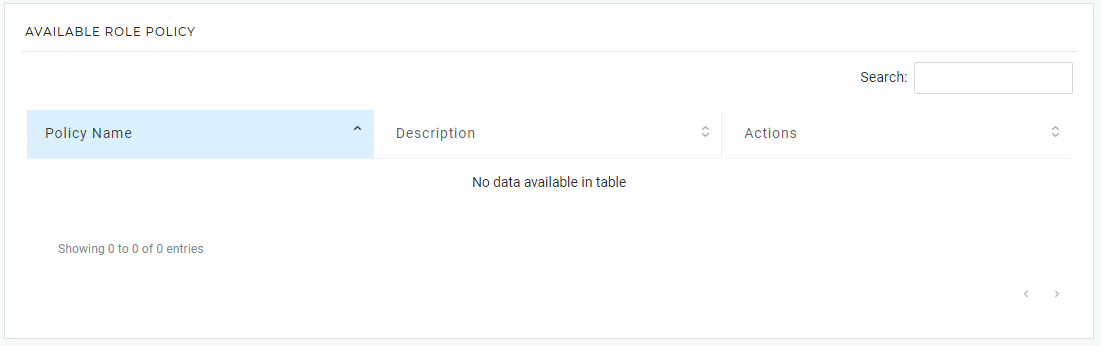
- You have successfully deleted a Deleted a Role Policy
Assign a Role Policy
You need to Grant Access to your OnePass Account before Assigning a Role Policy
- Login to OnePass - (For more information, see How to access OnePass)
- Click on the Account Menu icon located at the right top corner of the page and select Manage Users
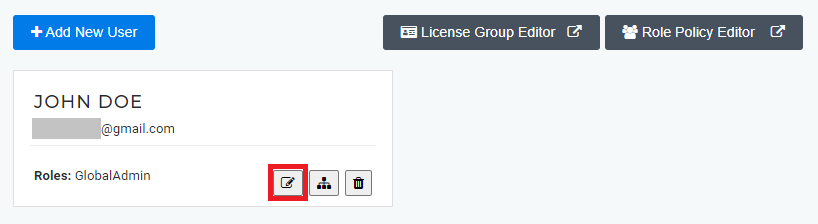
- Find the desired Sub-User and Click on the Edit Icon
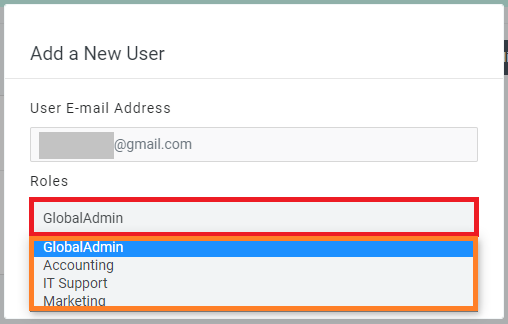
- Click on the Roles dropdown box and select the desired Role Policy
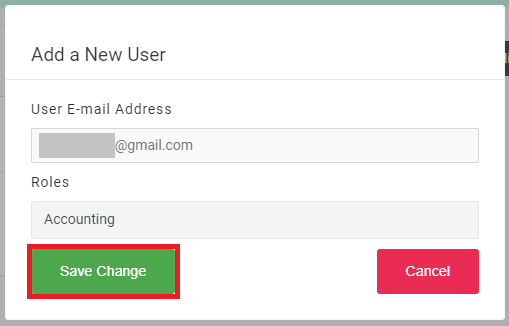
- Click on Save Change
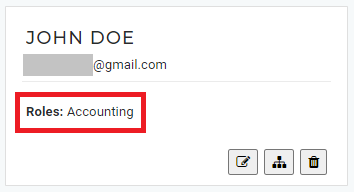
- You have successfully Assigned a Role Policy
Related articles
, multiple selections available, Use left or right arrow keys to navigate selected items