Setup a Location for the Wait Queue Management System
- James Yeoh
This tutorial will cover instructions on how to Setup a Location for the Wait Queue Management System.
Topics Covered
Create a New Location
Login to OnePass and Access the Location Manager (Wait Management Console)
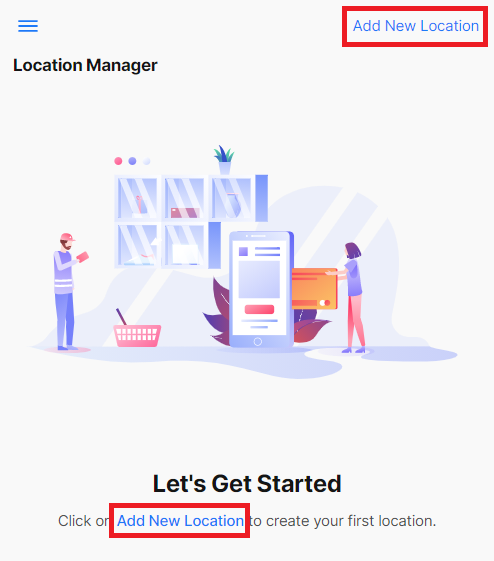
Don't have an account? - Sign up and Get Started with Wait- Click on Add New Location
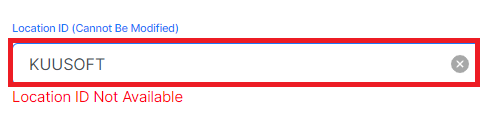
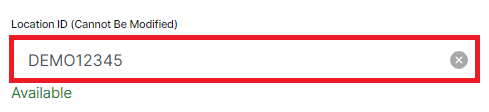
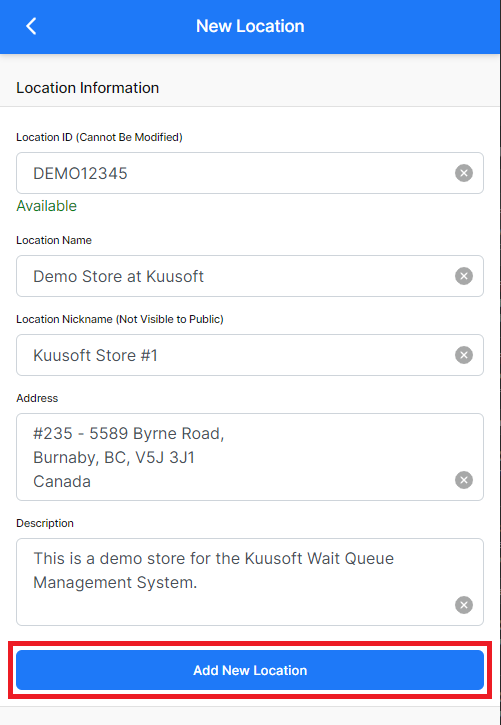
Enter the Location ID
Helpful Hints
Choose a Location ID that describes the location and is easy to type. The Location ID must be 6-10 characters and cannot be modified after being created.
Our system will validate the entry and let you know if the Location ID is available.
- Enter the Location Name, Location Nickname, Address, and Description
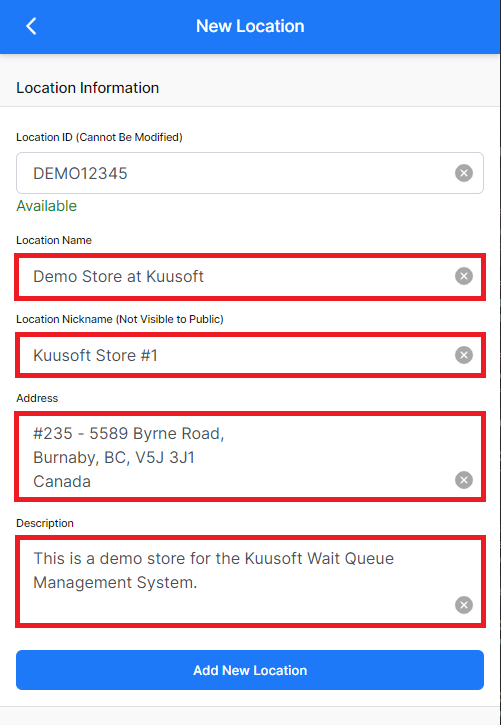
- Click on Add New Location
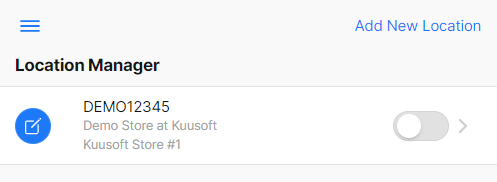
- You have successfully Added a Location for the Wait Queue Management System.
Select and Configure a Single-Queue Location
Login to OnePass and Access the Location Manager (Wait Management Console)
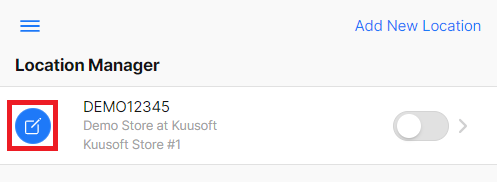
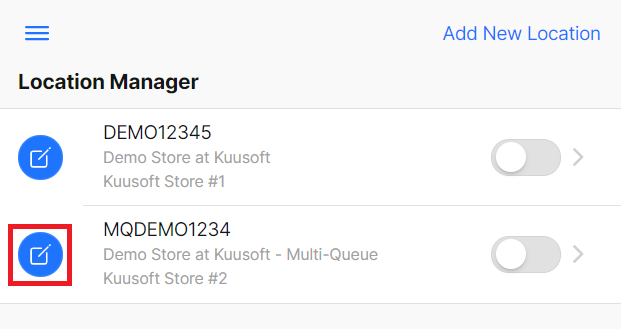
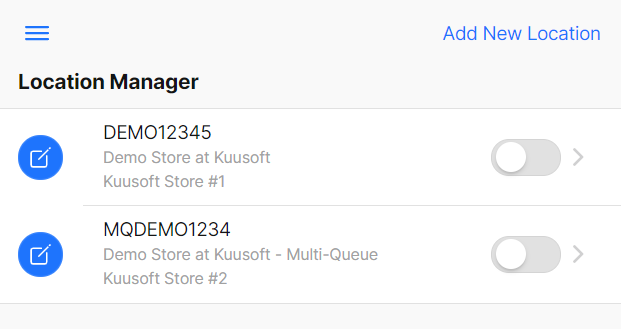
Don't have an account? - Sign up and Get Started with Wait- Find the desired location, and click on the blue Edit button
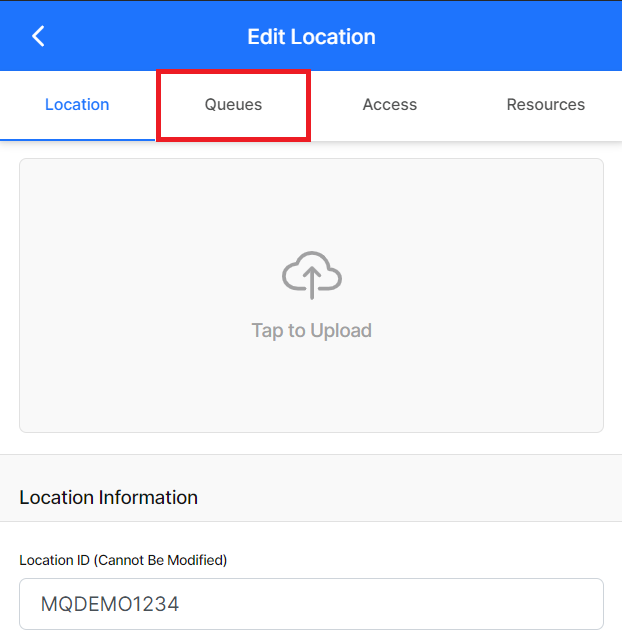
Click on Queues
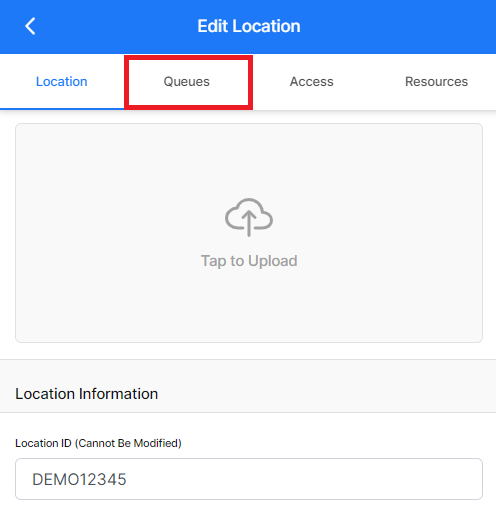
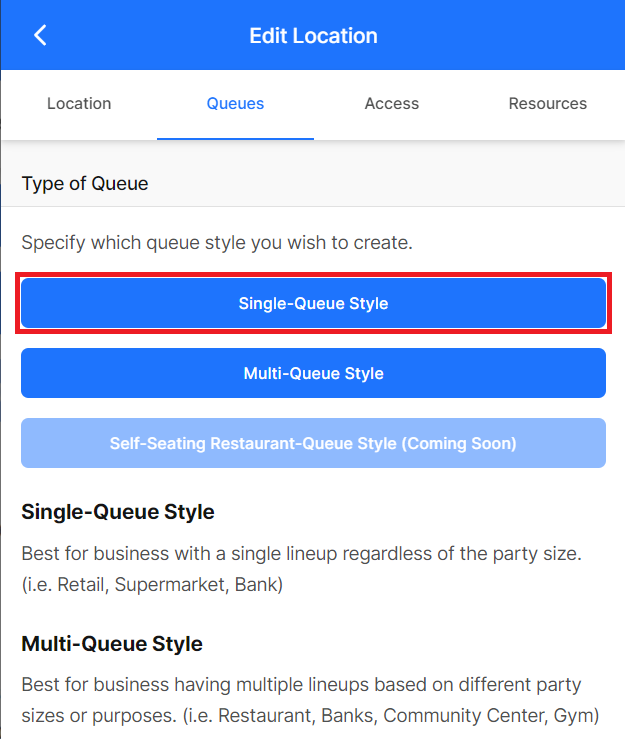
Click on Single-Queue Style.
Helpful Hint
The Queue Type cannot be modified after being selected.
 -
-Modify the desired Settings
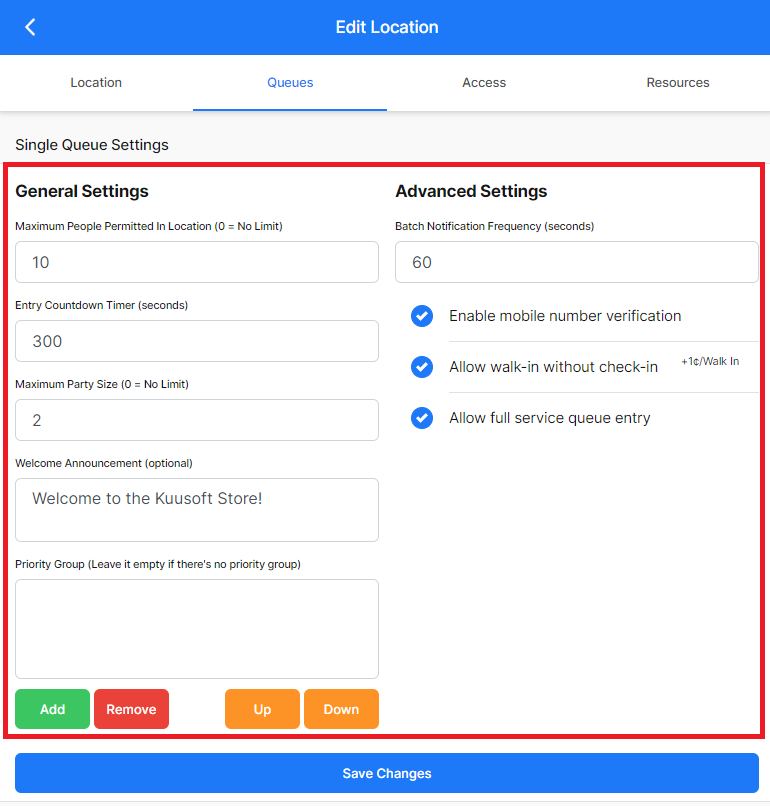
DefinitionsSetting Explanation The maximum number of guests allowed in the location at one time The amount of time that the guest has to enter with the "Green Pass" The maximum size of each party allowed Optional - A welcome message that will show while joining the Wait at the location Optional - Ability to prioritize certain groups
example - web order pickup, walk-in, VIP
The amount of time that the Wait system will check and send new updates Enable mobile number verification Verifies the mobile phone number before joining the queue. Allow walk-in without check-in Allows guests to enter the location without joining the queue Allow full-service queue entry Allows staff to check-in users manually on the Location Console - Click on Save Changes
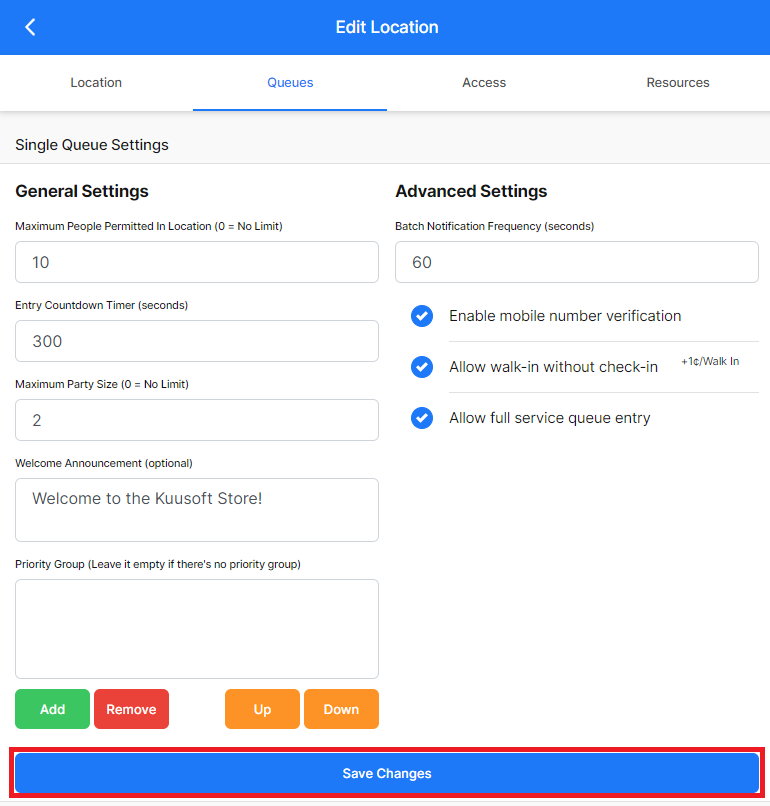
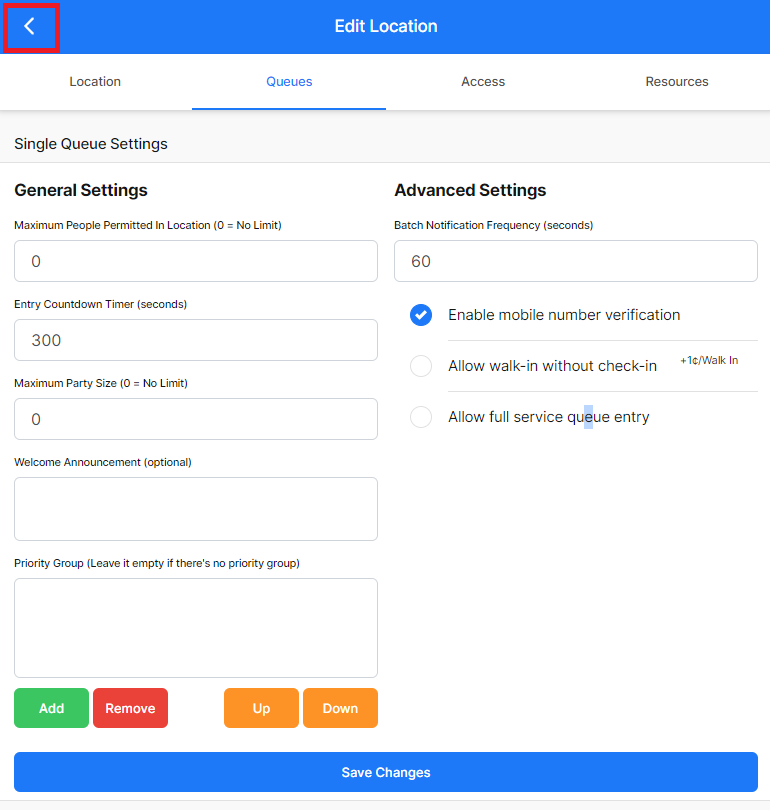
- You have successfully Selected and Configure a Single-Queue Location. Click on the Back Arrow to return to the Location Manager
Select and Configure a Multi-Queue Location
Login to OnePass and Access the Location Manager (Wait Management Console)
Don't have an account? - Sign up and Get Started with Wait- Find the desired location, and click on the blue Edit button
Click on Queues
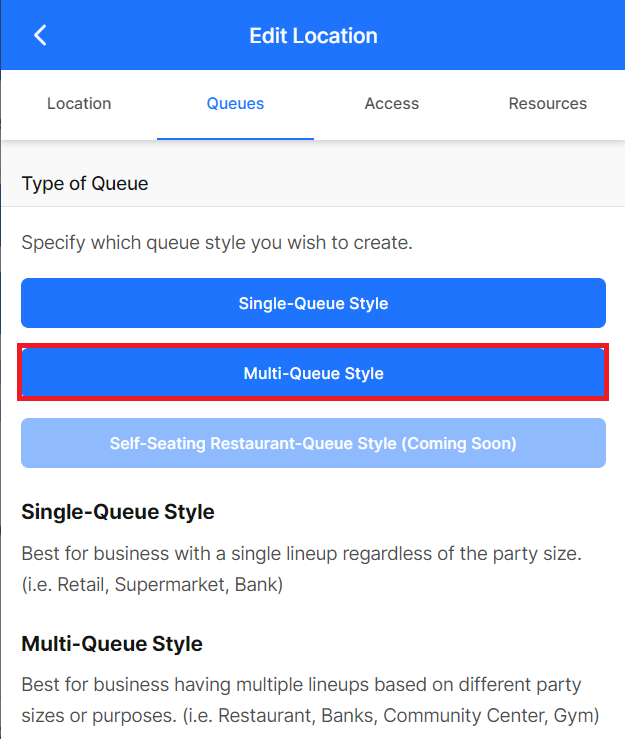
Click on Multi-Queue Style
Helpful Hint
The Queue Type cannot be modified after being selected.
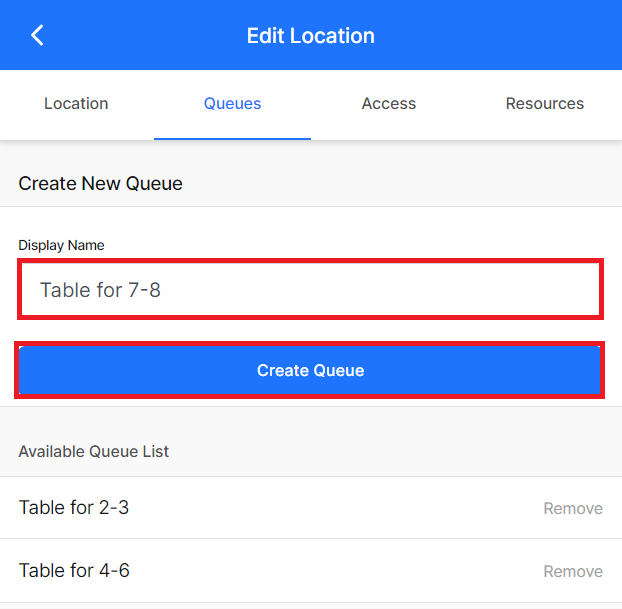
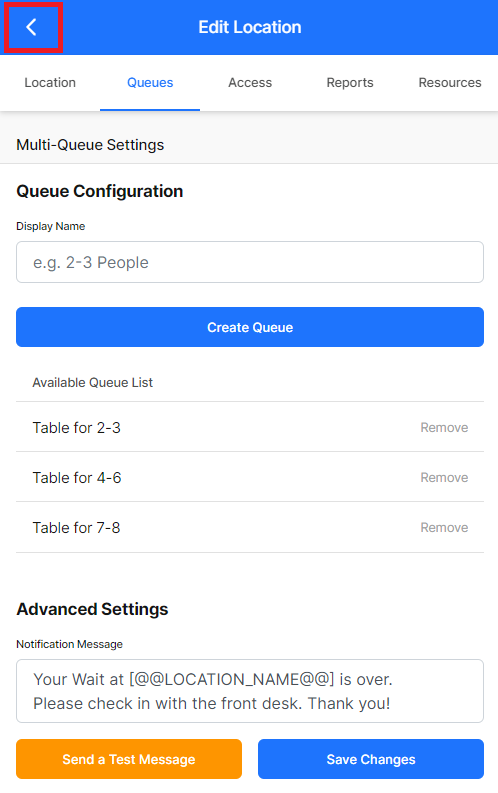
Create the desired Queues by entering a Display Name clicking on Create Queue
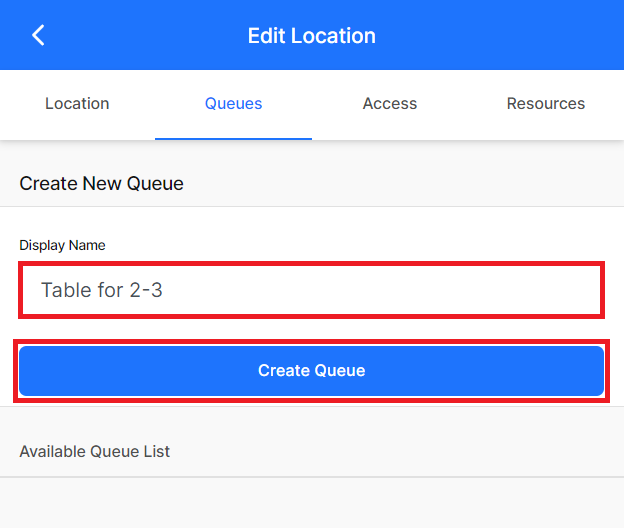
Repeat as desired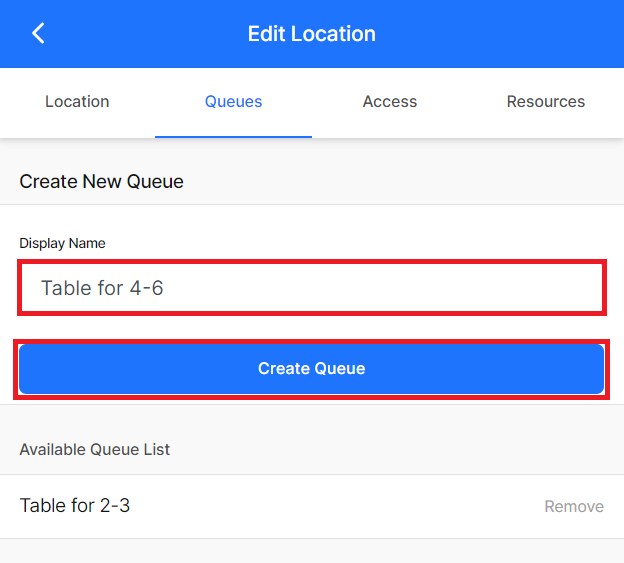
Modify the desired Settings
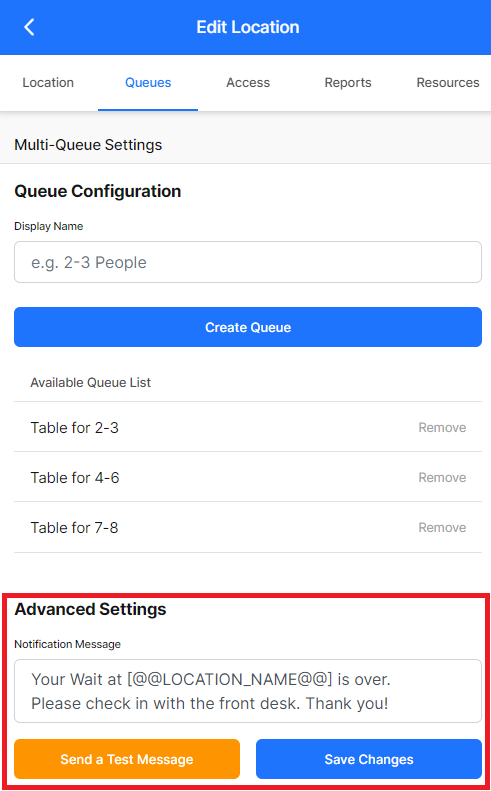
DefinitionsSetting Explanation This will update the notification text message sent to the end user.
@@LOCATION_NAME@@ will copy the information from the
Location Name field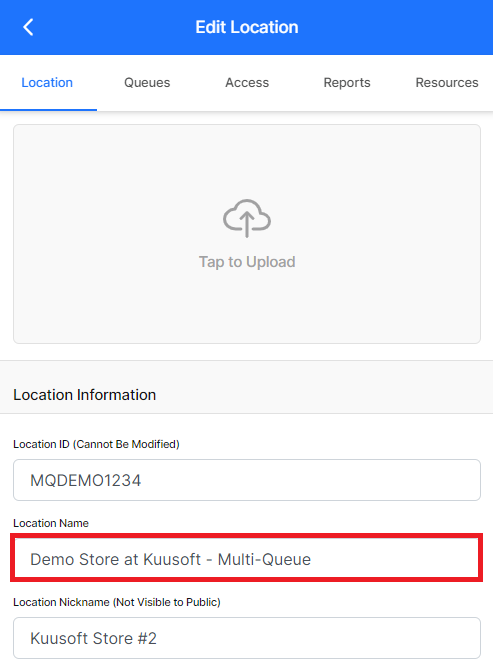
Send a Test Message will send a sample text of the Notification Message

Default Notification Message:
Your Wait at [@@LOCATION_NAME@@] is over. Please check in with the front desk. Thank you!
- You have successfully Selected and Configure a Multi-Queue Location. Click on the Back Arrow to return to the Location Manager
Share Location Console Access
Login to OnePass and Access the Location Manager (Wait Management Console)
Don't have an account? - Sign up and Get Started with Wait- Find the desired location, and click on the blue Edit button
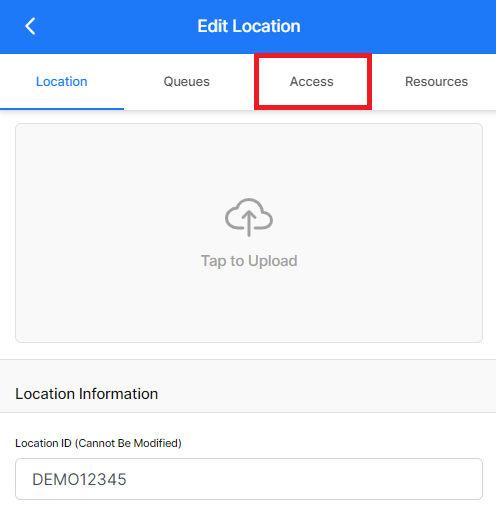
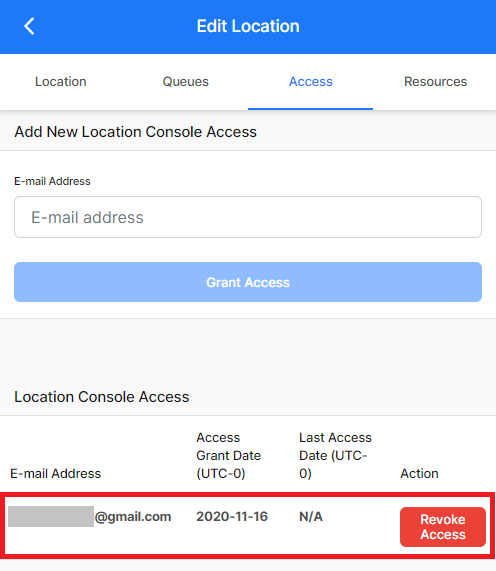
Click on Access
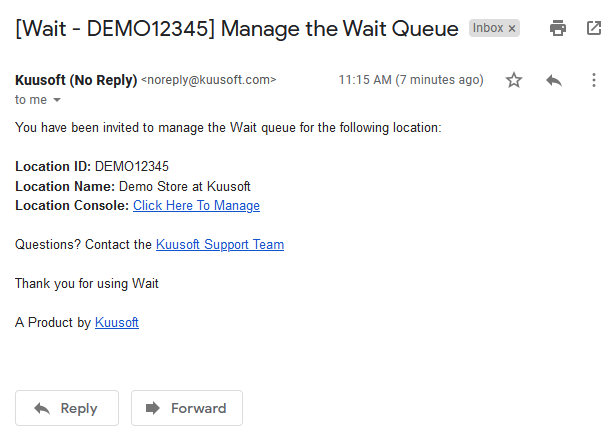
Enter an Email Address and click on Grant Access.
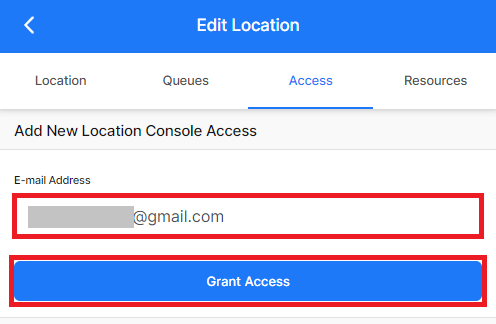
- An email will be sent to the user that includes a link to access the Location Console
- You have successfully Shared Location Console Access. Click on Back Arrow to return to the Location Manager
Next Step - Start Using Wait
Managing a Single-Queue Location (Location Console) - Link
Managing a Multi-Queue Location (Location Console) - Link
Applies to
OnePass 3.1.x
Related articles