Configure Wi-Fi Settings on a Nano-PC3 (USB Flash Drive)
These steps will help users configure the Wi-Fi Settings on a Nano-PC3 device using a USB Flash Drive.
This article is intended for Expert Users trying to complete large-scale setting updates on multiple devices.
For any standard Wireless Network setting updates - How to Configure the Wi-Fi Settings on a Nano-PC (USB Mouse)
Configuration requires a USB Flash Drive (not included). Recommended settings for the USB Flash Drive:
- File System
- FAT32
- Allocation Unit Size
- Default Allocation Size
- Capacity
- 16GB or under
Here are additional Wireless Network Requirements.
Topics Covered
Configure the Setting File (setting.conf)
- Download the setting.conf file (If the Kuusoft Support Team emailed you a pre-configured Setting File, skip to Step 3)
Open the setting.conf file with Notepad, NotePad++, TextEdit, or another Text Editor
Note that the Wi-Fi SSID and Password are both case-sensitive and space-sensitive
- Replace WiFiNetworkName with your Wi-Fi Network Name
- Replace WiFiPassword with your Wi-Fi Password
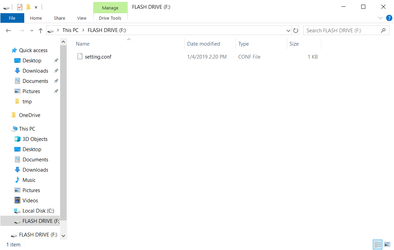
- Save the configured setting.conf file onto the root of the USB Flash Drive
Apply the Setting File
- Unplug the Power Cable from the DC-IN port of your Nano-PC3 (The Nano-PC3 can stay connected to your TV)
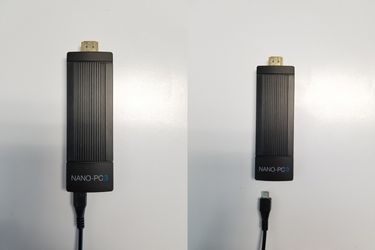
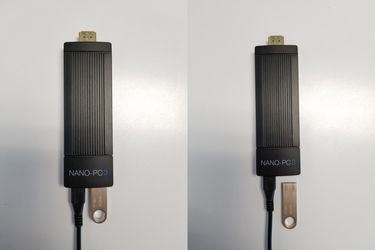
- Insert the USB Flash Drive into your Nano-PC3 (located on the bottom of the device)

- Plug in the Power Cable into the DC-IN port of your Nano-PC3

- The Nano-PC3 will update the Wi-Fi Settings and will automatically reboot your device.
- Wait until the Nano-PC3 is back online
- Remove the USB Flash Drive from your Nano-PC3
- You are done!
Applies to
Nano-PC3
Related articles