This tutorial will cover instructions on how to use the Multi-Queue- Location Console for the Wait Queue Management System.
Topics Covered
Access the Multi-Queue Location Console (from the Location Manager)
Login to OnePass and Access the Location Manager (Wait Management Console)
Don't have an account? - Sign up and Get Started with Wait- Find the desired location and click on the entry
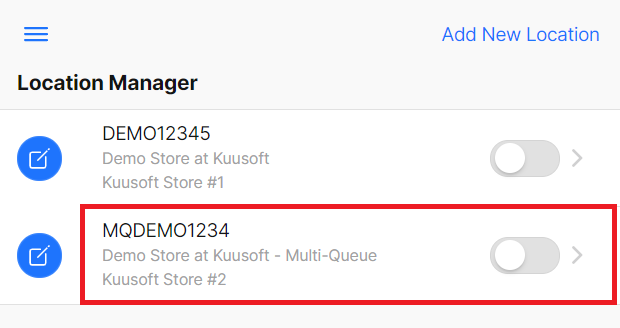
- You have successfully accessed the Multi-Queue Location Console from the Location Manager
Access the Multi-Queue Location Console (from an Email Invitation)
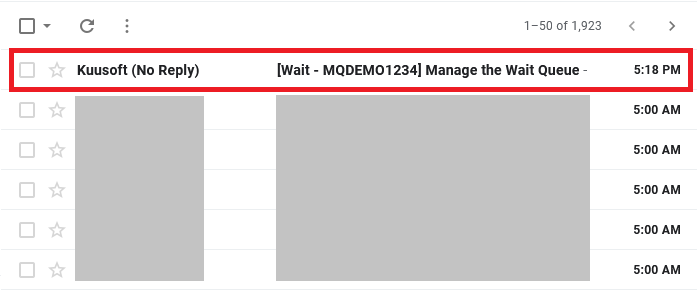
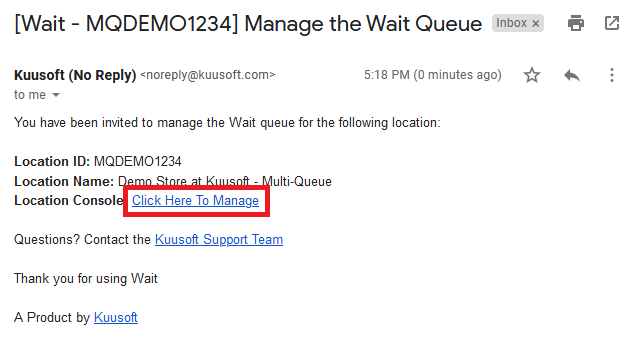
Login to your Email Account and access the Email Invitation
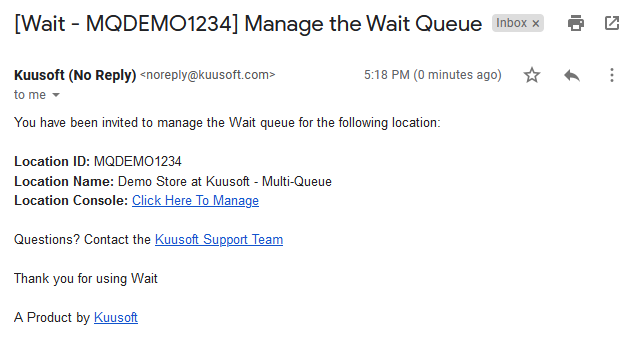
- Click on Click Here To Manage
- You have successfully accessed the Multi-Queue Location Console from an Email Invitation
Open / Close the Queue from the Multi-Queue Location Console
Guests may only join the queue when it is set to Open
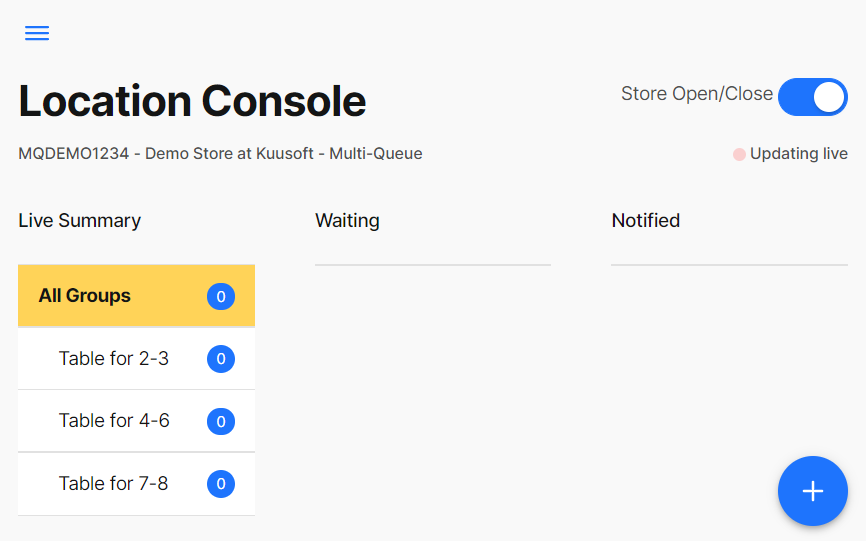
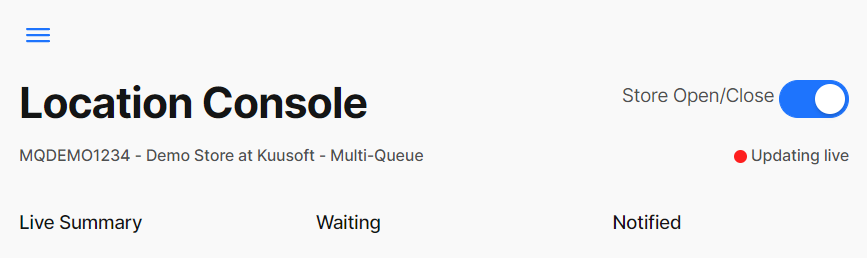
Access the Multi-Queue Location Console
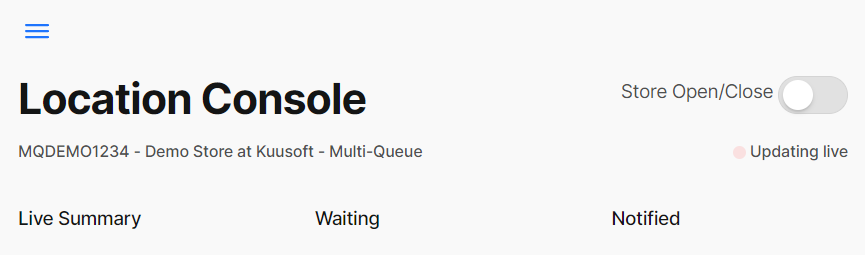
- Click on the Store Open / Close slider to toggle from Open to Closed
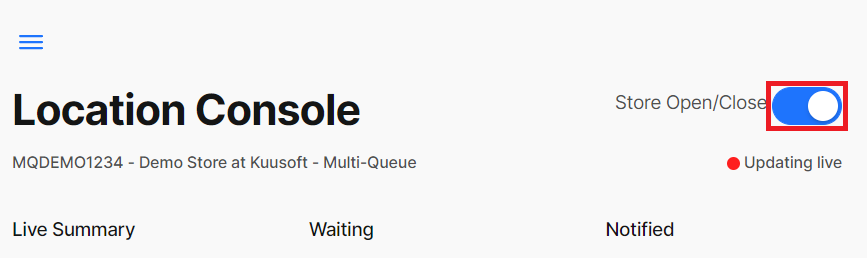
Queue Open
- Queue Closed
Managing a Multi-Queue Location
These topics will help staff manage a Multi-Queue Location.
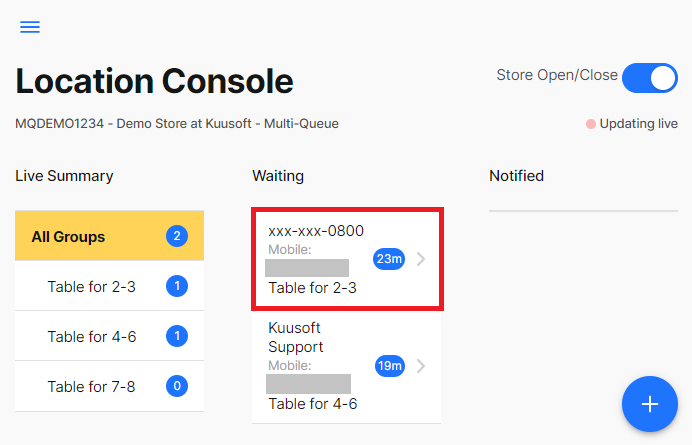
Send a notification to a Wait Guest
- Find and select the desired Wait Guest then click on Send Notification
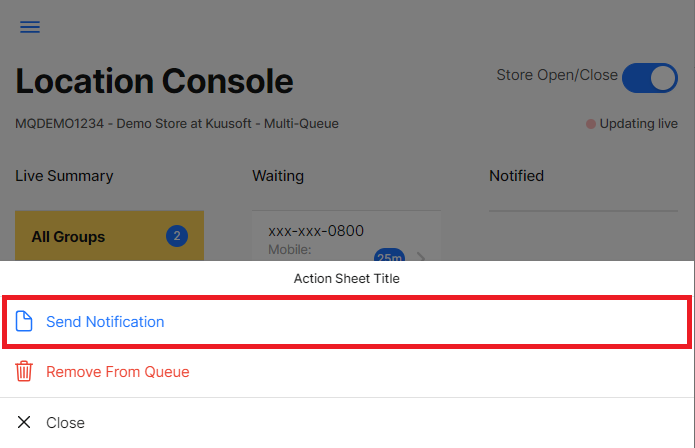
- You have successfully sent a notification to a Wait Guest
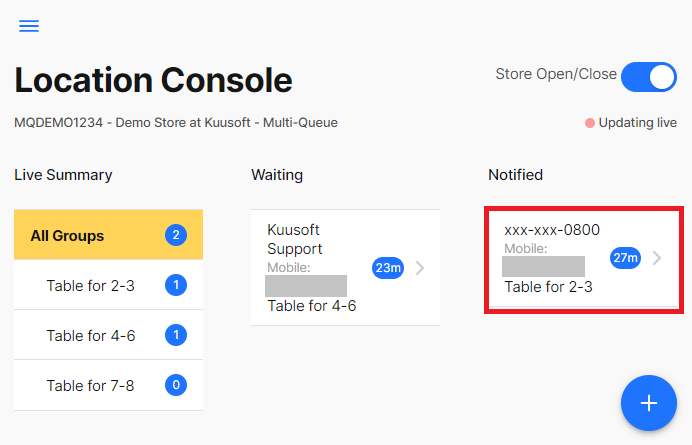
Remove a Wait Guest from the Queue
- Select the desired Wait Guest then click on Remove from Queue
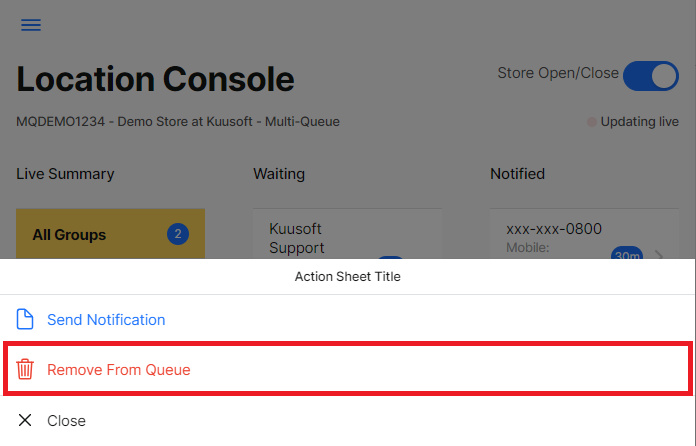
- You have successfully removed a Wait Guest from the Queue

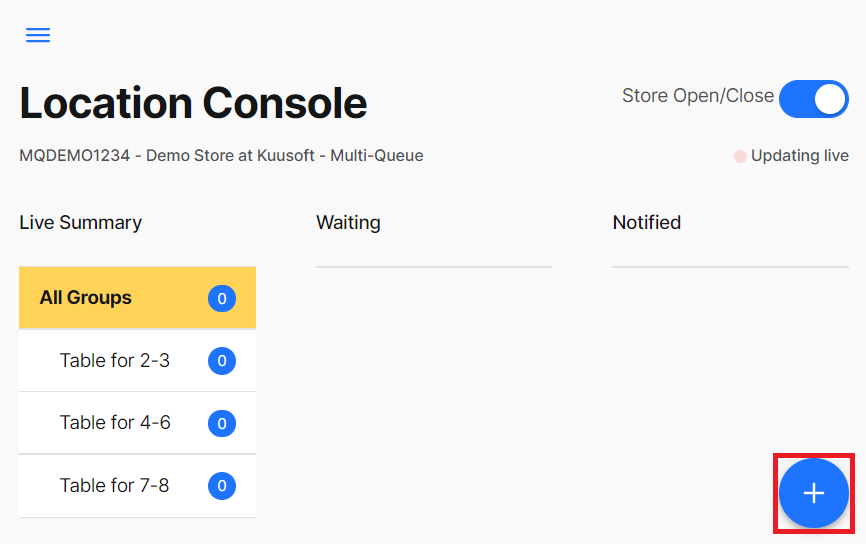
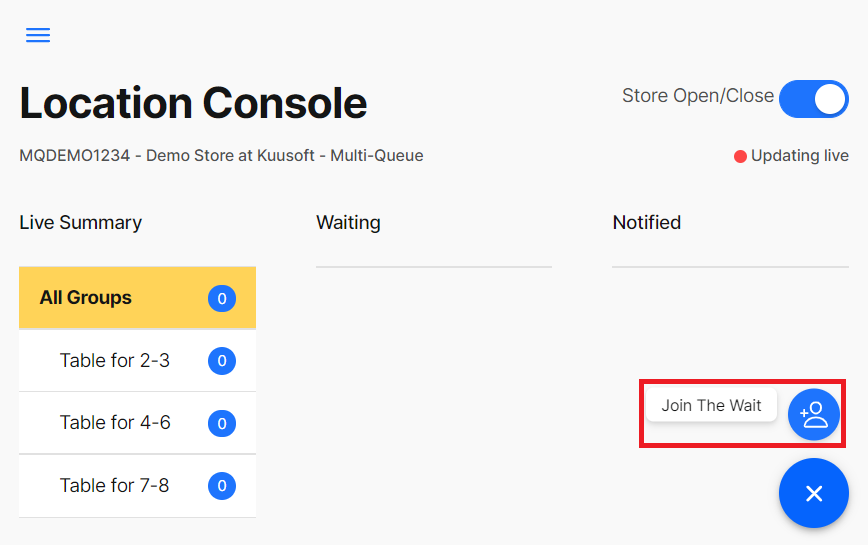
Adding a Guest to the Wait Queue
- Click the + button then select Join the Wait
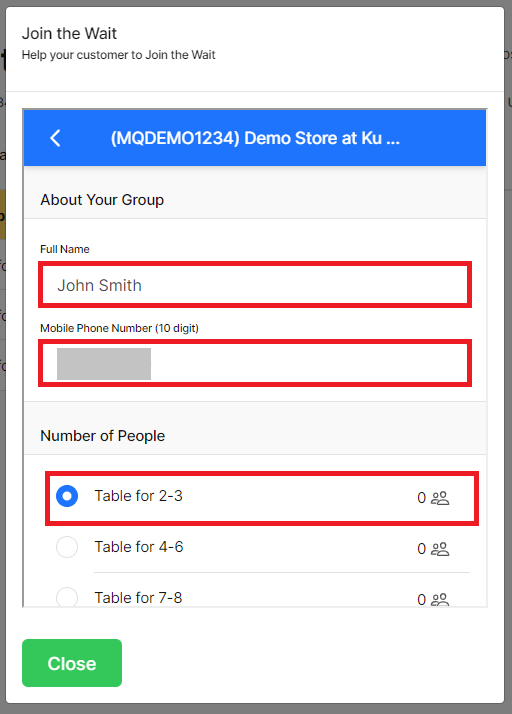
- Enter the Name, Phone Number, select the Desired Queue, and click on Continue
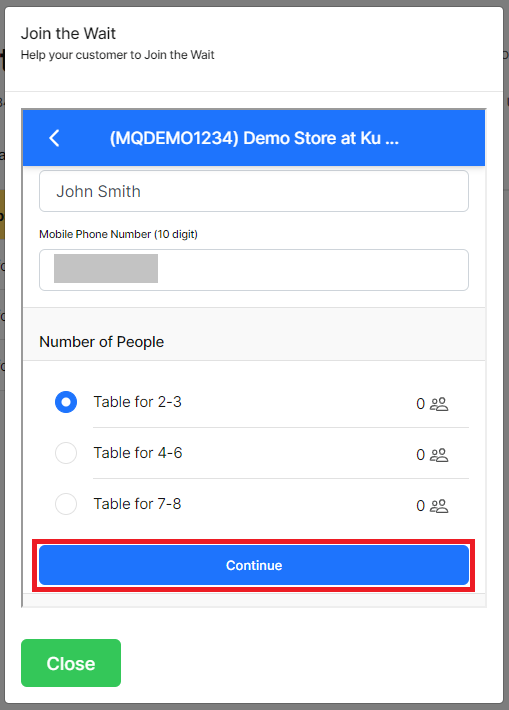
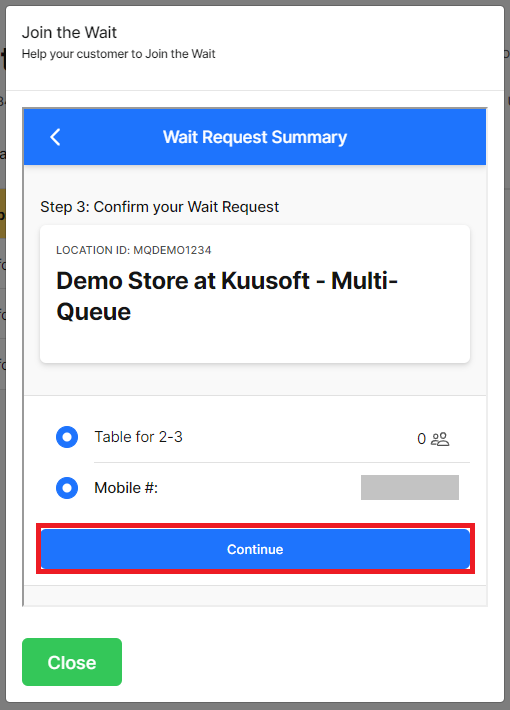
- Verify the information, and click on Continue
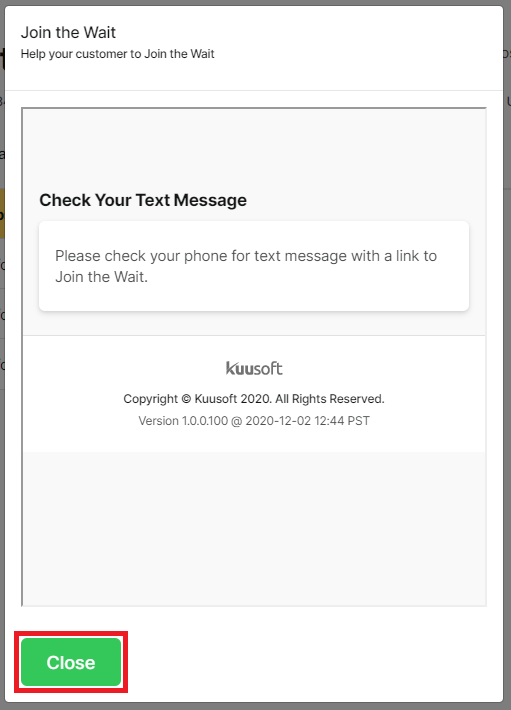
- You have successfully Added a Guest to the Queue. Click on Close to return to the Location Manager
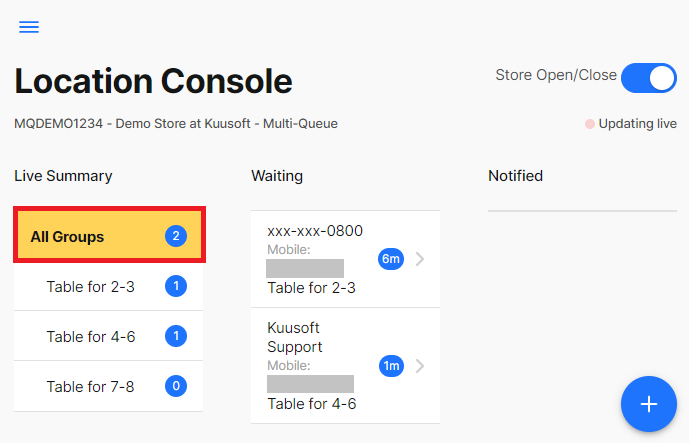
View the desired Wait Queue
Click on All Groups to view all waiting parties
Click on the desired Multi-Queue name to filter respectively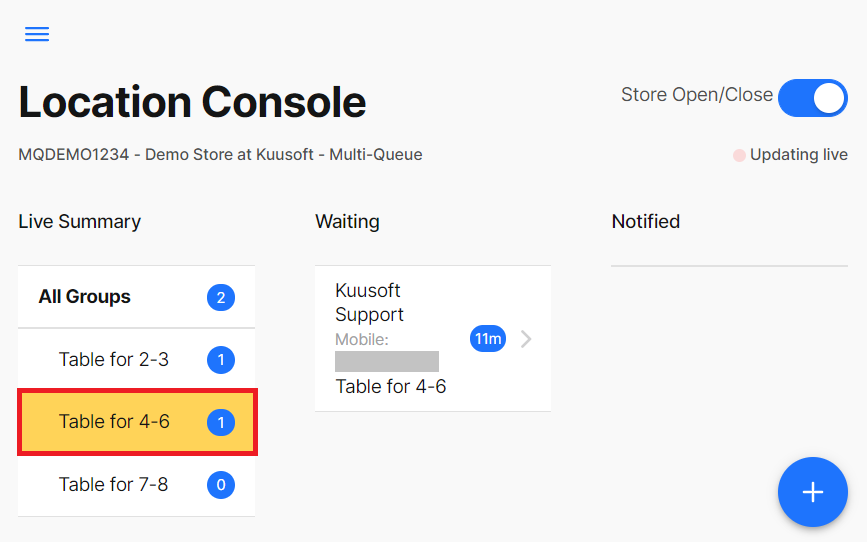
Applies to
OnePass 3.1.x
Related articles