How to Setup your Nano-PC (Wi-Fi)
There are 2 options to power your Nano-PC device.
| Powered by TV USB Port | Powered by Power Adapter (included) | |
|---|---|---|
| Pros |
| |
| Cons |
|
|
Kuusoft recommends powering the Nano-PC with the TV USB Port when possible. All standard Displays (TVs), sold by Kuusoft, support powering the Nano-PC devices by the TV USB Port.
Topics Covered
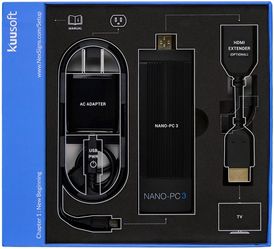
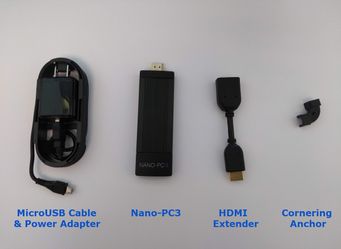
Nano-PC3 Retail Box - Parts Included

Setup a new Nano-PC device
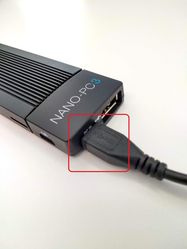
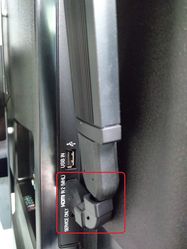
- Plug in the MicroUSB cable into the DC IN port at the bottom of your Nano-PC3

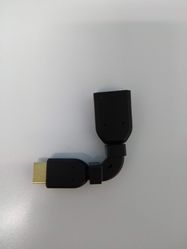
Use the HDMI Extender and Cornering Anchor (optional but recommended)
The HDMI Extender and Cornering Anchor is useful to hide the Nano-PC behind the TV, prevents the Nano-PC from blocking the TV USB port, and helps with cable management.- Bend the HDMI Extender to the desired angle and apply the Cornering Anchor to secure it in place
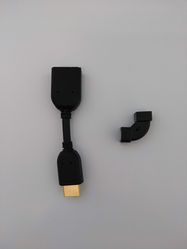
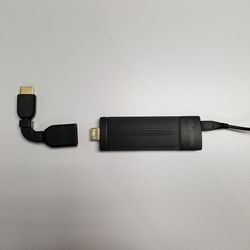
- Plug in the Nano-PC into the HDMI Extender
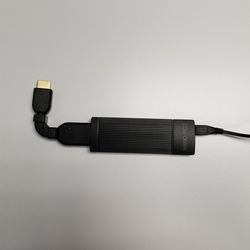
- Bend the HDMI Extender to the desired angle and apply the Cornering Anchor to secure it in place
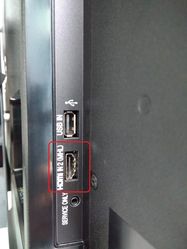
- Plug in the HDMI Extender (with the Nano-PC attached) into your TV's HDMI port (location of the HDMI port may vary depending on the TV model)
- Power the Nano-PC Device (complete EITHER of the following)
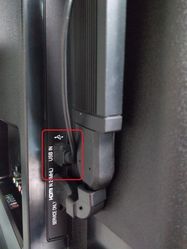
- Power the Nano-PC with the TV USB Port (recommended)
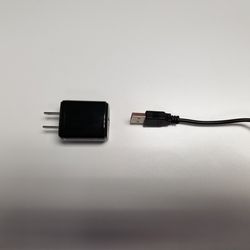
- Remove the USB Cable from the Power Adapter
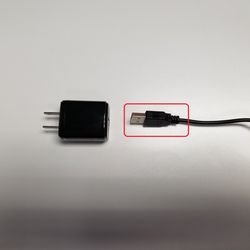
- Plug in the USB Cable directly into the TV USB Port
- Remove the USB Cable from the Power Adapter
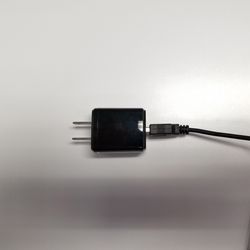
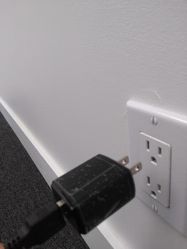
- Power the Nano-PC with the included Power Adapter
- Plug in the Power Adapter into an available Electrical Outlet (or Surge Protector)
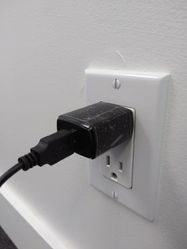
- Plug in the Power Adapter into an available Electrical Outlet (or Surge Protector)
- Power the Nano-PC with the TV USB Port (recommended)
- Turn ON the TV
- Use either the Remote or the physical Power Button the TV (Remote and Power Button will vary depending on the TV model)
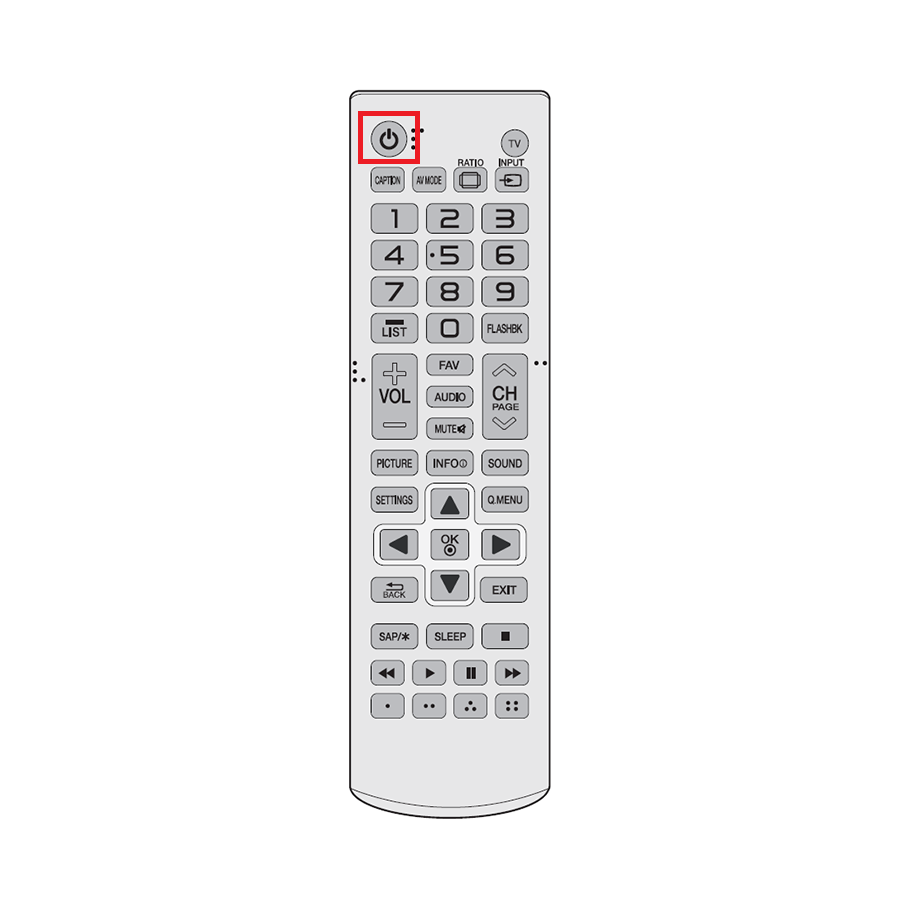

- Use either the Remote or the physical Power Button the TV (Remote and Power Button will vary depending on the TV model)
- Change the TV Input to the installed HDMI Port
- You are done!
Nano-PC devices are typically shipped and preconfigured to connect to your Wi-Fi network.
Here is a tutorial on how to Configure the Wi-Fi Settings on a Nano-PC (requires a USB Mouse)
Applies to
Related articles