These steps will help users configure advanced Wi-Fi Settings on both Nano-PC2 / Nano-PC3 devices using a USB Mouse.
Configuration requires any standard Wired USB Mouse or Wireless USB Mouse (not included).
This article is intended for Expert Users trying to accomplish any of the following Advanced Network Configurations
- Proxy
- Enterprise Networks
- Certificates
- Static IPs
For any standard Wireless Networks, view this article - How to Configure the Wi-Fi Settings on a Nano-PC (USB Mouse)
If required, view this article on how to Change the Android Language Setting on a Nano-PC
Configure Advanced Wi-Fi Settings on a Nano-PC device
- Setup your Nano-PC - How to Setup your Nano-PC
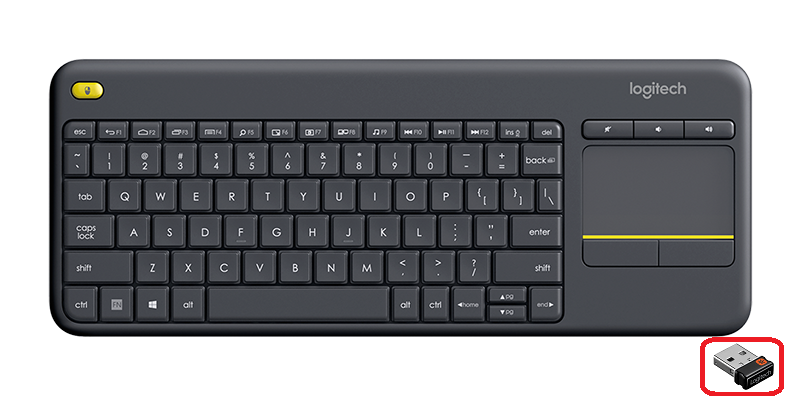
- Connect a USB mouse or a Wireless Keyboard Mouse Combo
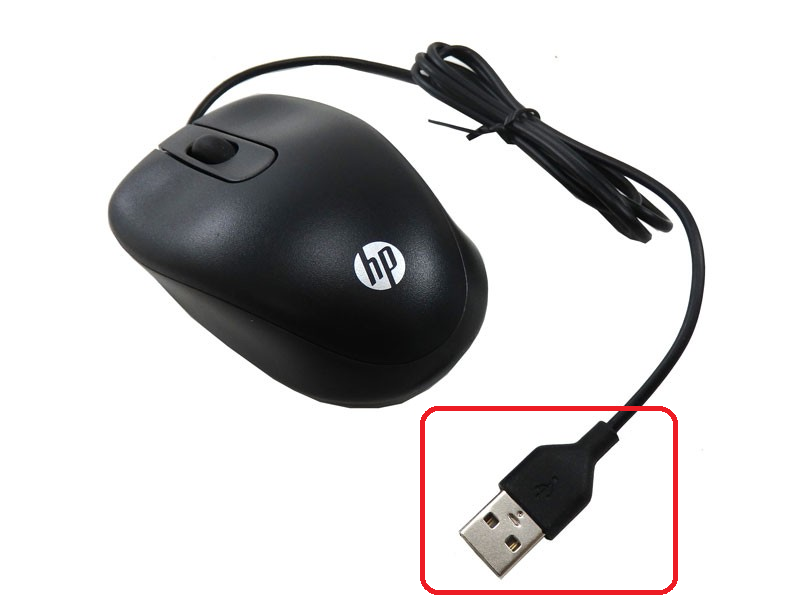
- Wired Mouse (Good) - insert the USB adapter into the Nano-PC device (located on the bottom beside the Power Cable)
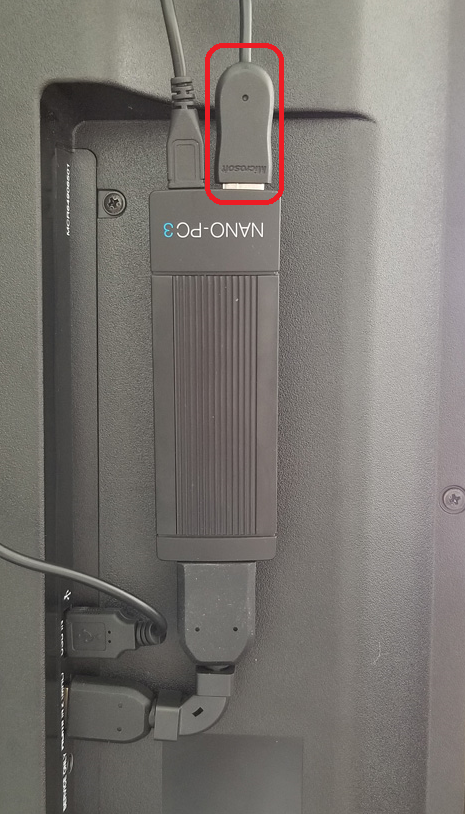
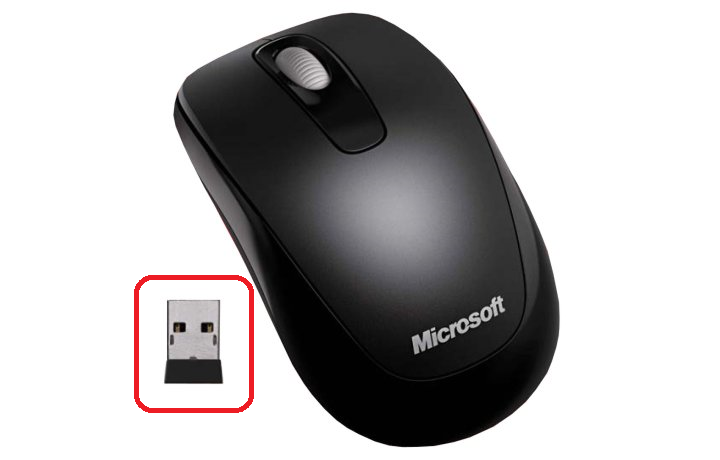
- Wireless Mouse (Better) - insert the USB Dongle into the Nano-PC device (located on the bottom beside the Power Cable)
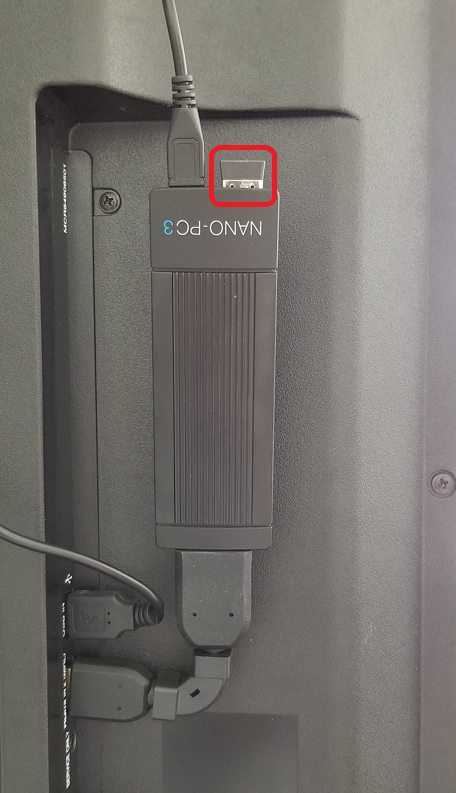
- Wireless Keyboard Mouse Combo (Best) - insert the USB Dongle into the Nano-PC device (located on the bottom beside the Power Cable)
- Wired Mouse (Good) - insert the USB adapter into the Nano-PC device (located on the bottom beside the Power Cable)
- Scroll to the top of the screen and drag the menu bar down


- Click on the status bar, and drag it downwards


- Click on the Settings Menu Bar to expand it

- Click on the Settings button

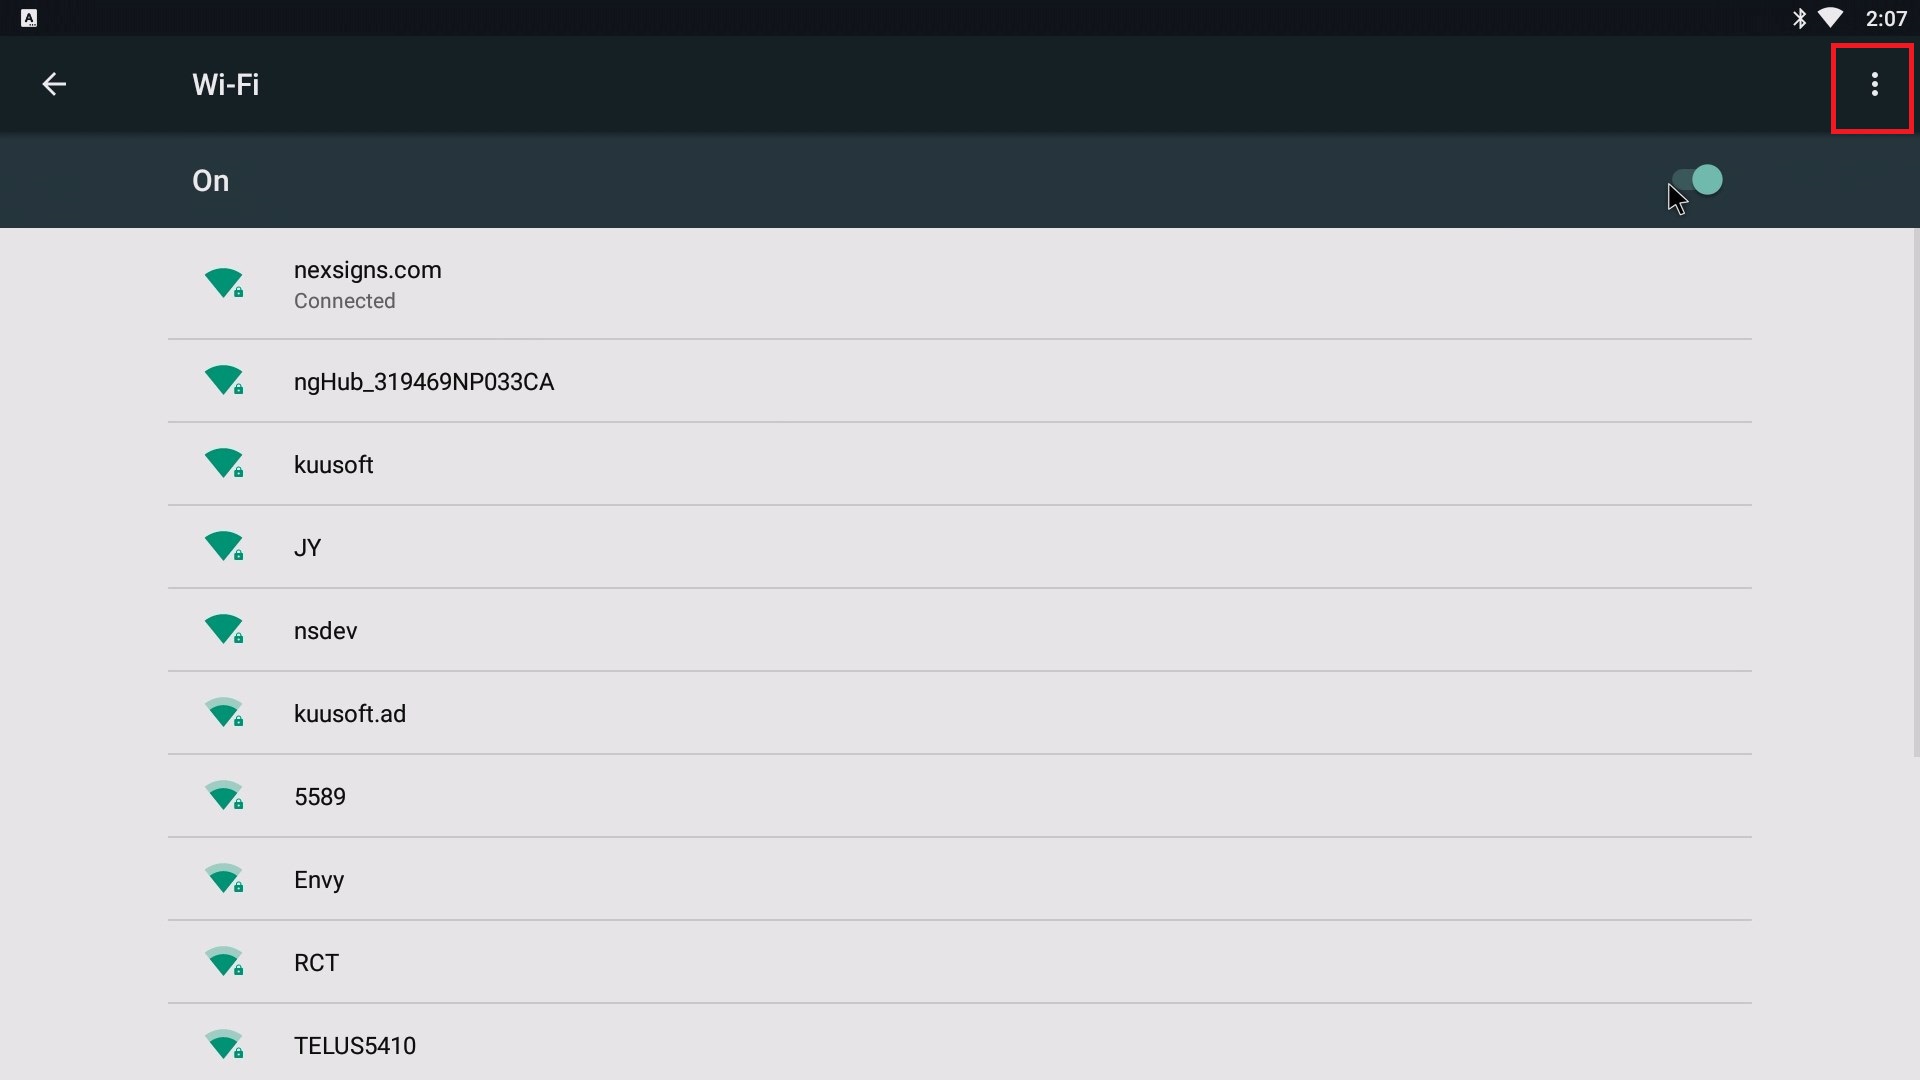
- Click on Wi-Fi

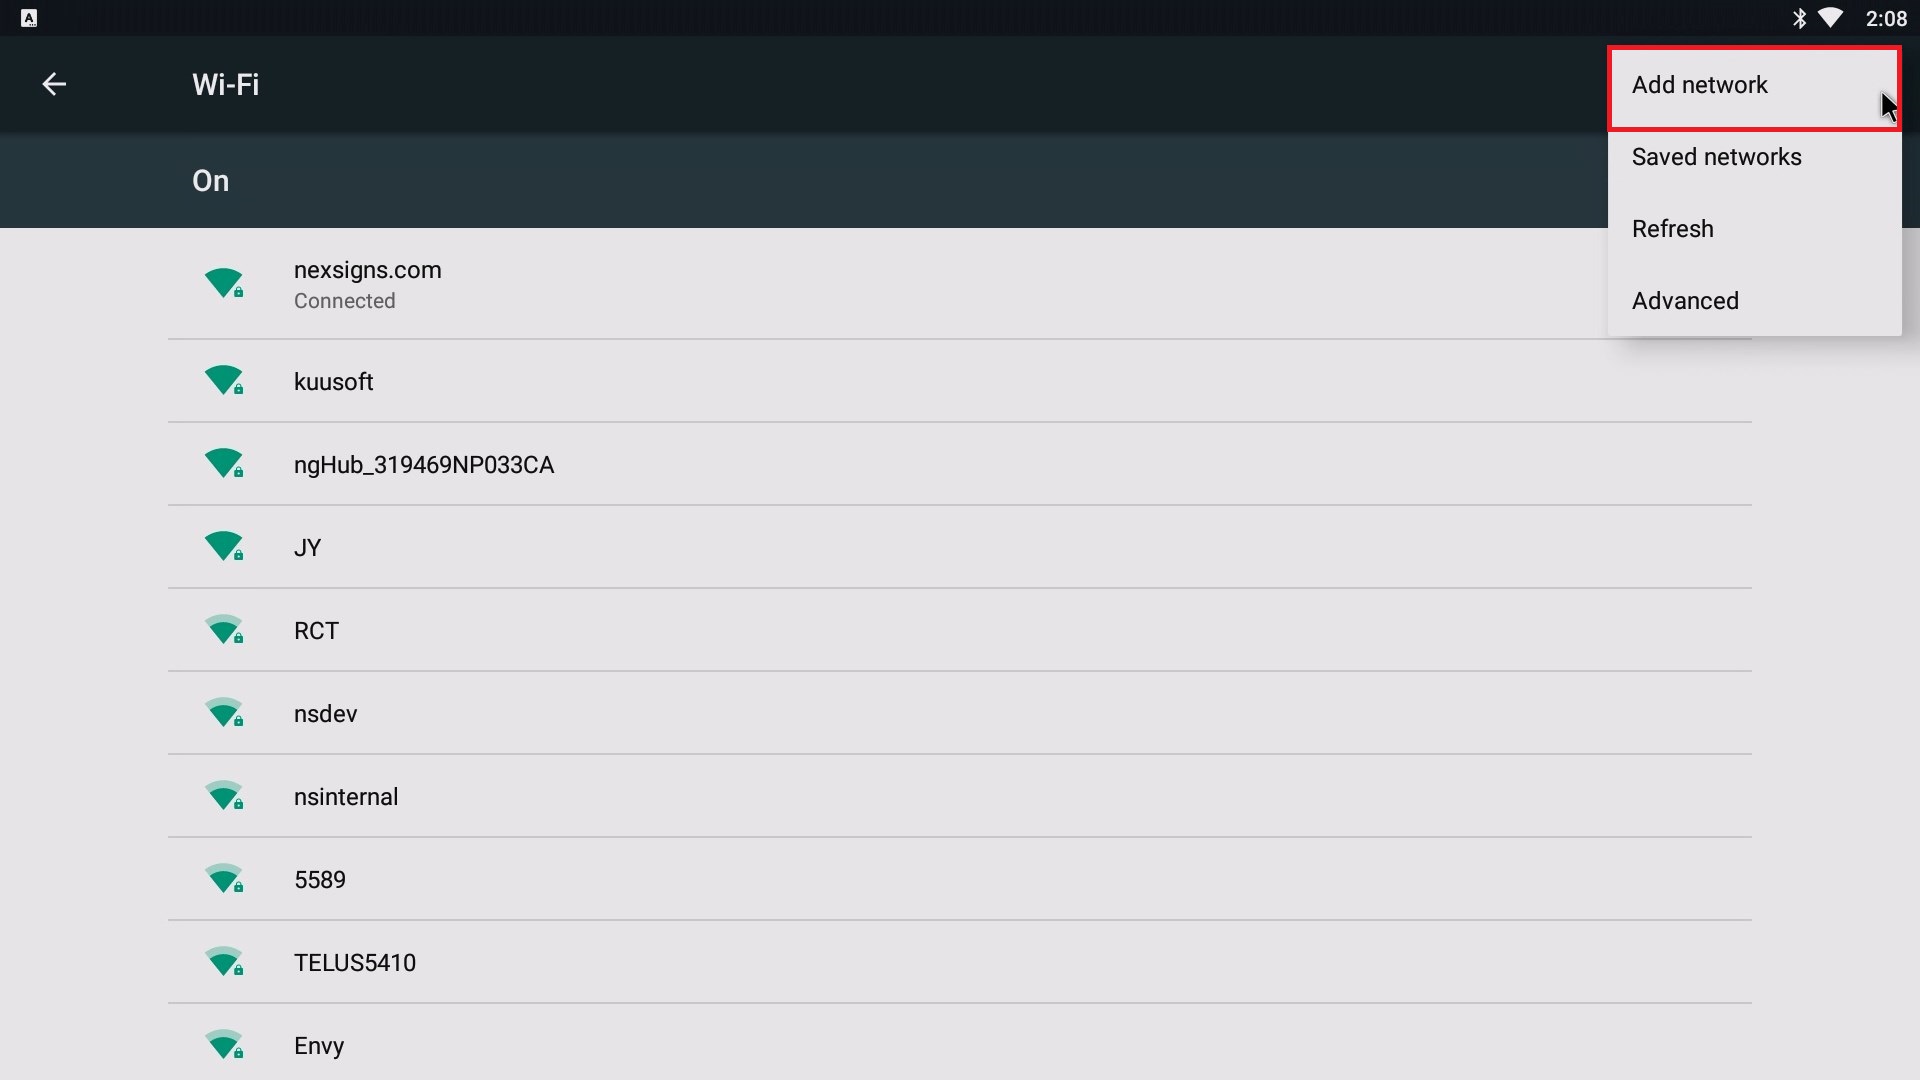
- Click on the More Options button and then select Add network
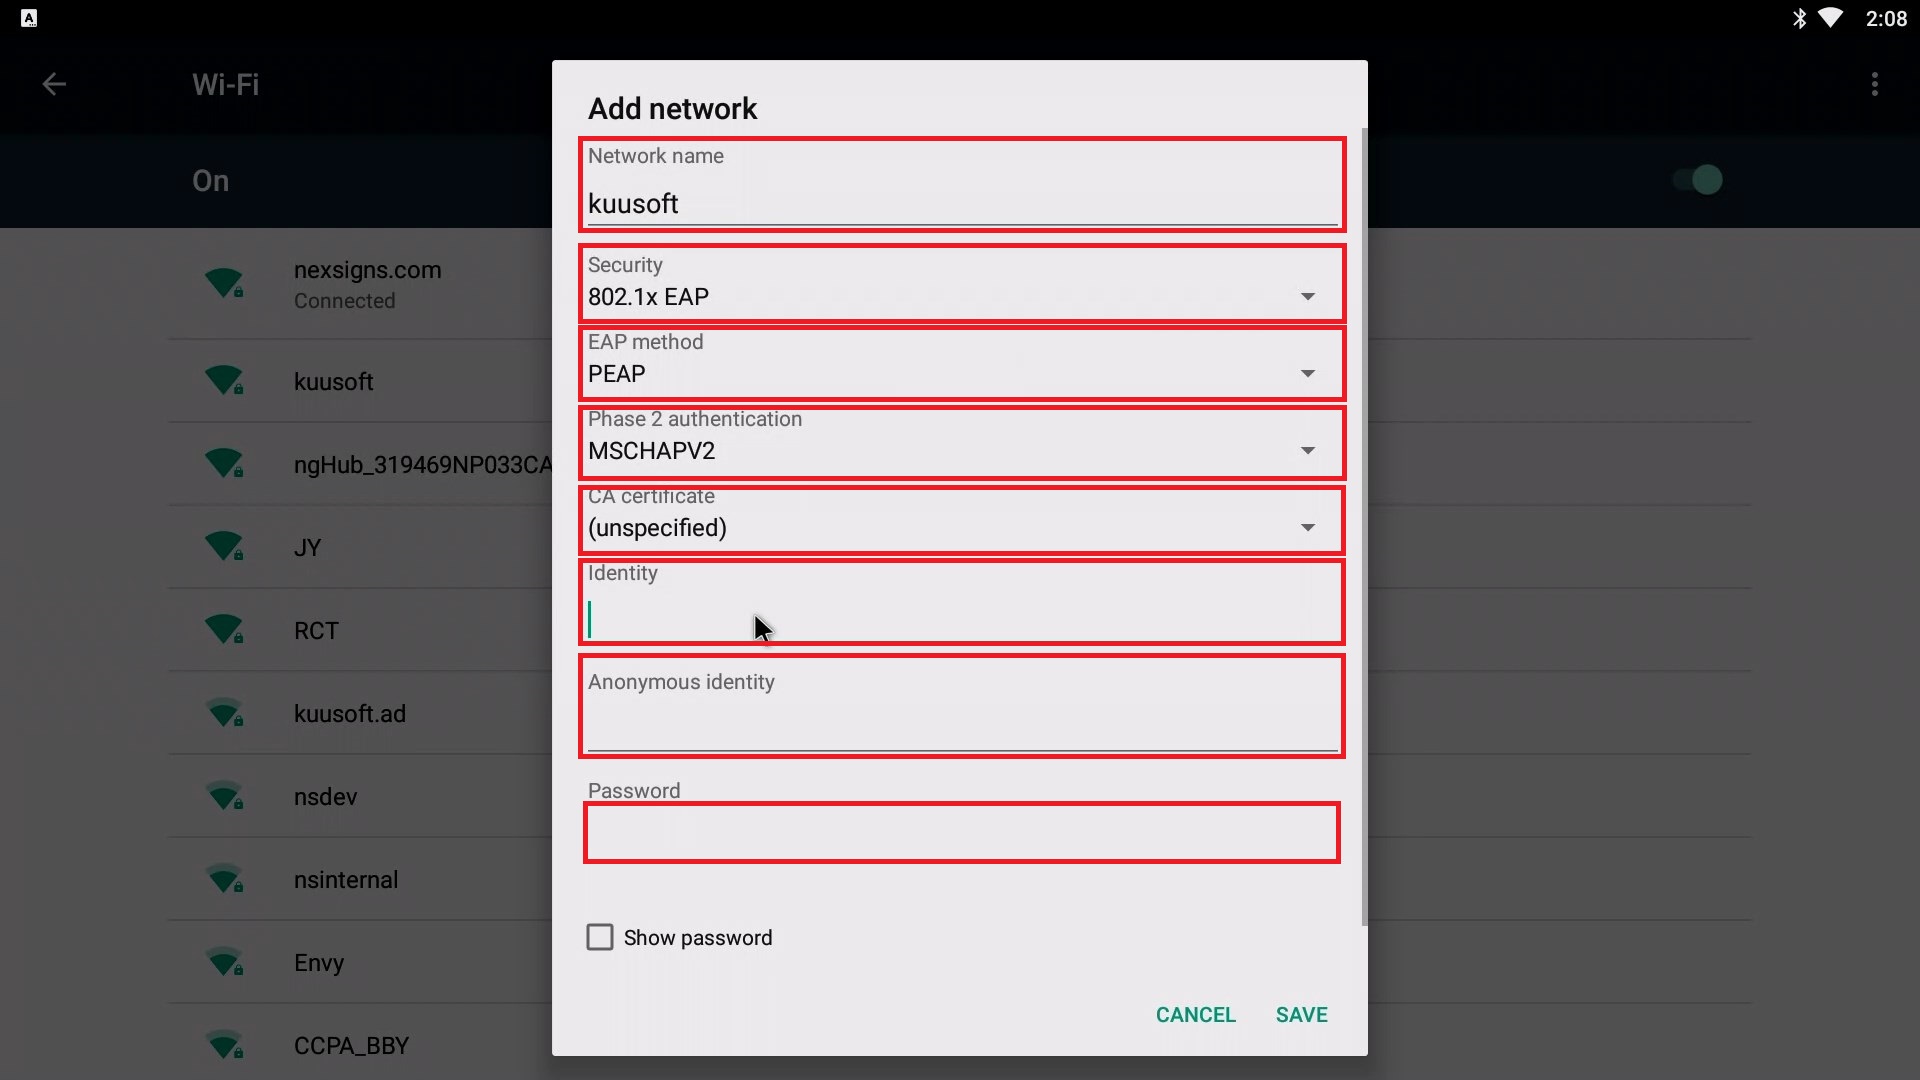
Input the desired Network Details, Security Settings, and Authentication information.
Note that the Wi-Fi SSID and Wi-Fi Password are both case-sensitive and space-sensitive
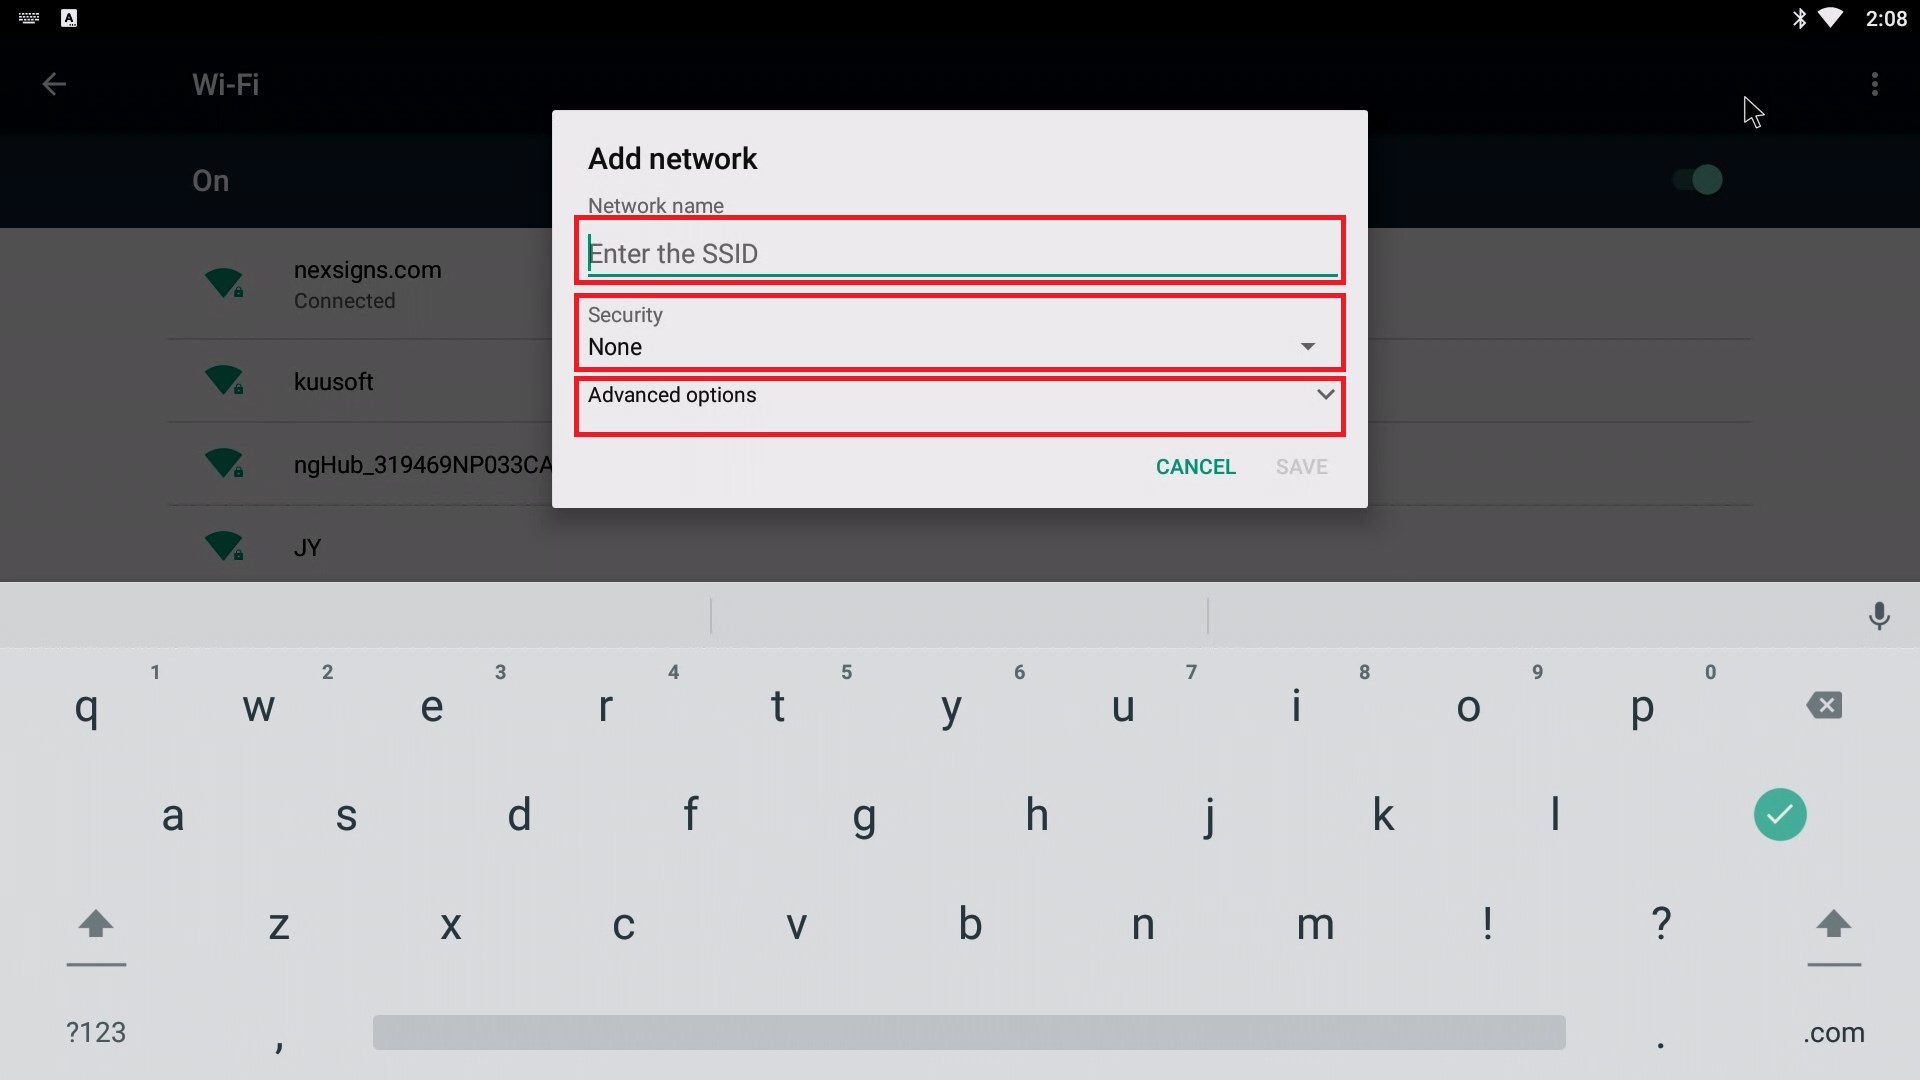
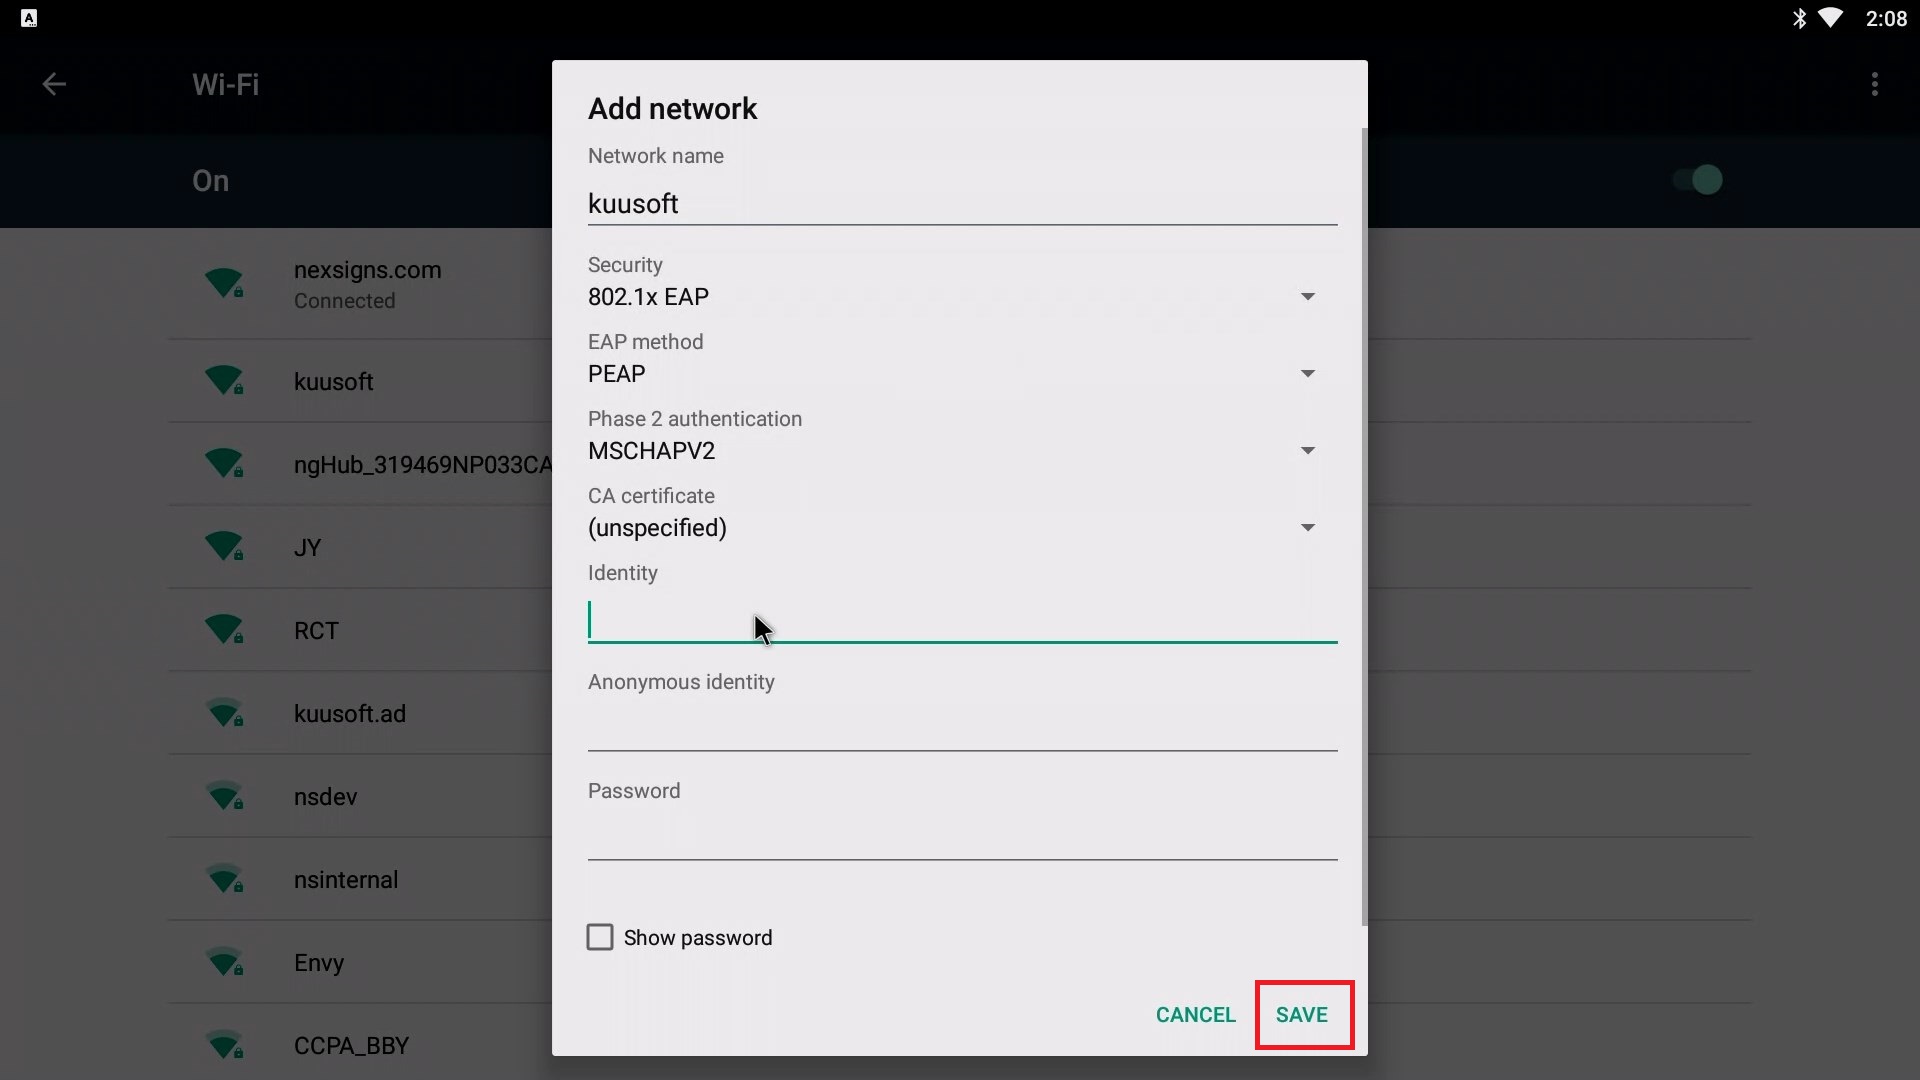
- Click on Save
- Reboot your Nano-PC device
- Remove the USB Mouse from your Nano-PC
- You are done! When your Nano-PC device restarts, it will use your new Advanced Wi-Fi Settings
Applies to
Nano-PC2, Nano-PC3
Related articles