These steps will help users configure the Wi-Fi Settings on both Nano-PC2 / Nano-PC3 devices using a USB Mouse.
Configuration requires any standard Wired USB Mouse or Wireless USB Mouse (not included).
Here are additional options to configure your Wi-Fi Settings on your Nano-PC device,
Configure Wi-Fi on a Nano-PC2 (requires a MicroSD)
Configure Wi-Fi on a Nano-PC3 (requires a USB Flash Drive)
Configure the Wi-Fi Settings on the Nano-PC device
- Setup your Nano-PC - How to Setup your Nano-PC
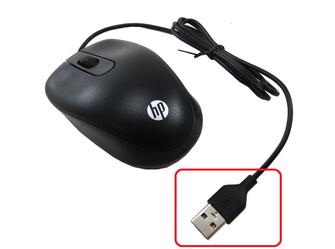
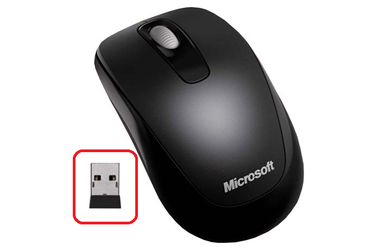
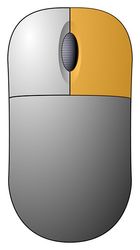
- Connect a USB mouse (complete either of the following)
- Wired Mouse - insert the USB adapter into the Nano-PC device (located on the bottom beside the Power Cable)
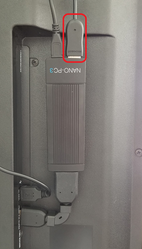
- Wireless Mouse (USB Dongle) - insert the USB Dongle into the Nano-PC device (located on the bottom beside the Power Cable)
- Wired Mouse - insert the USB adapter into the Nano-PC device (located on the bottom beside the Power Cable)
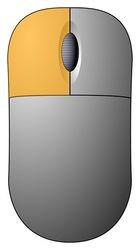
- Press the Right Mouse Button to launch the NexSigns Engineer Menu
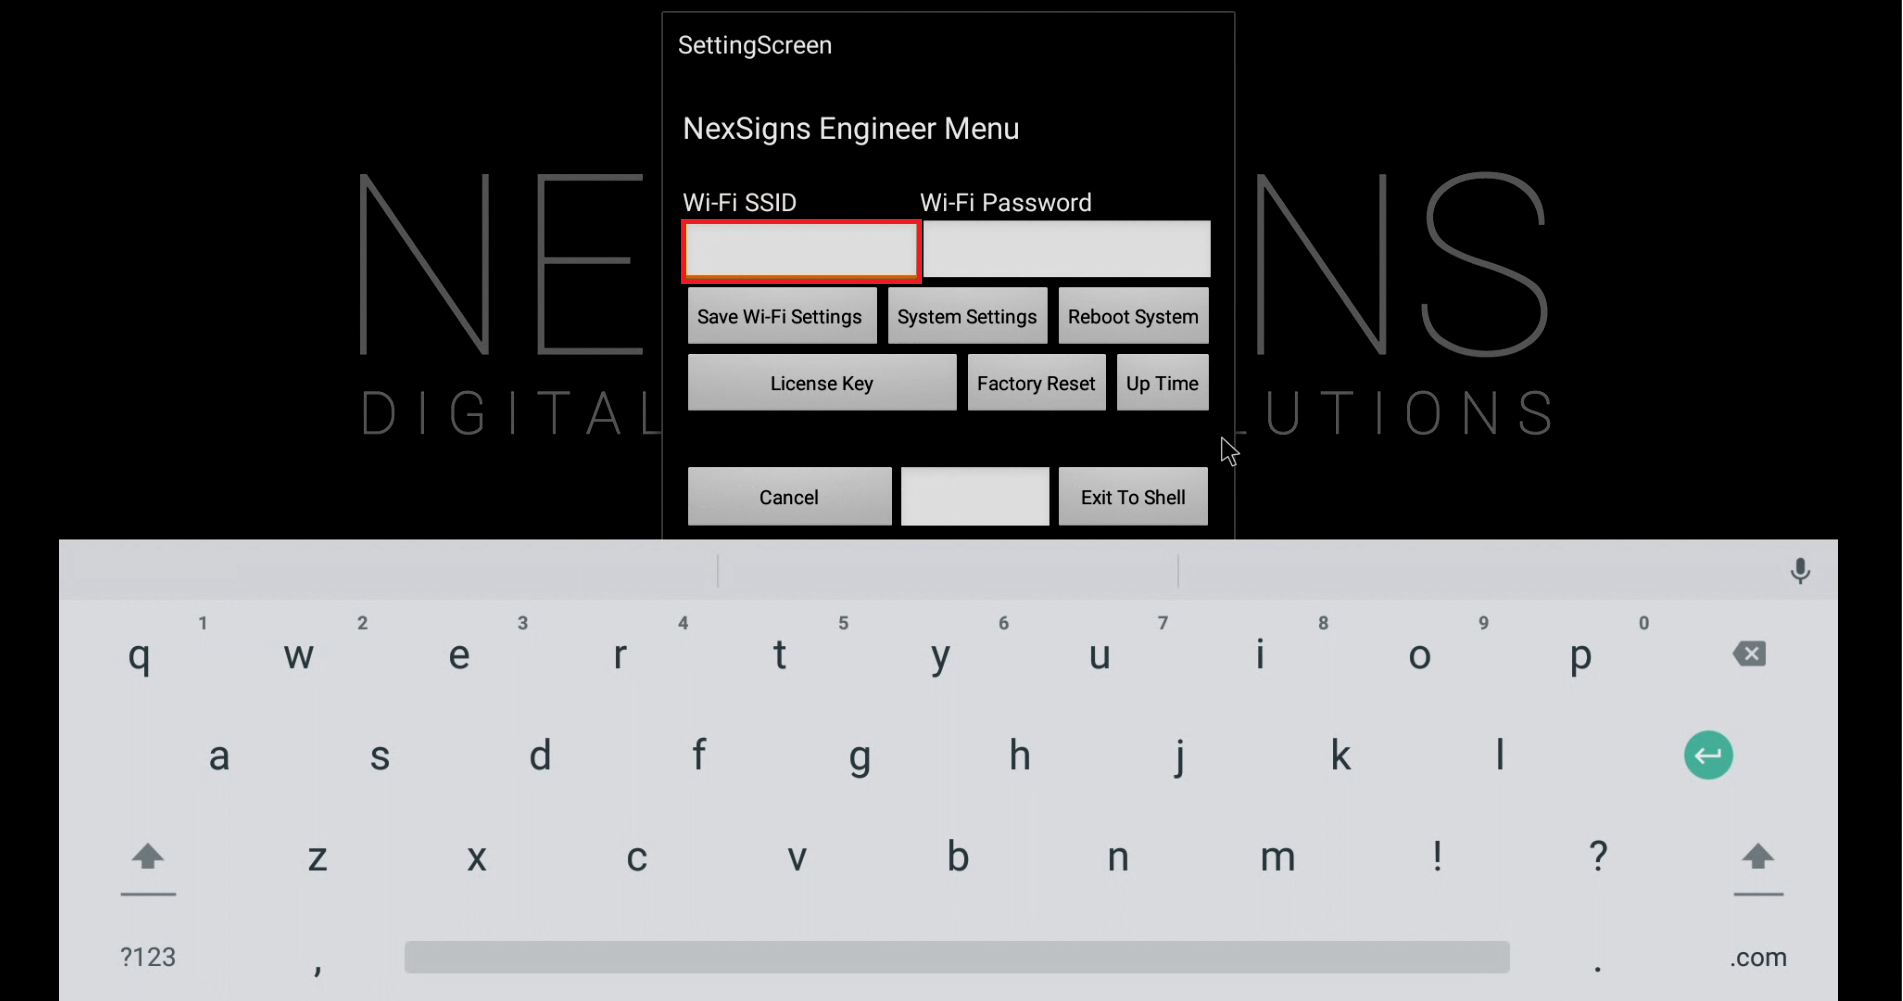
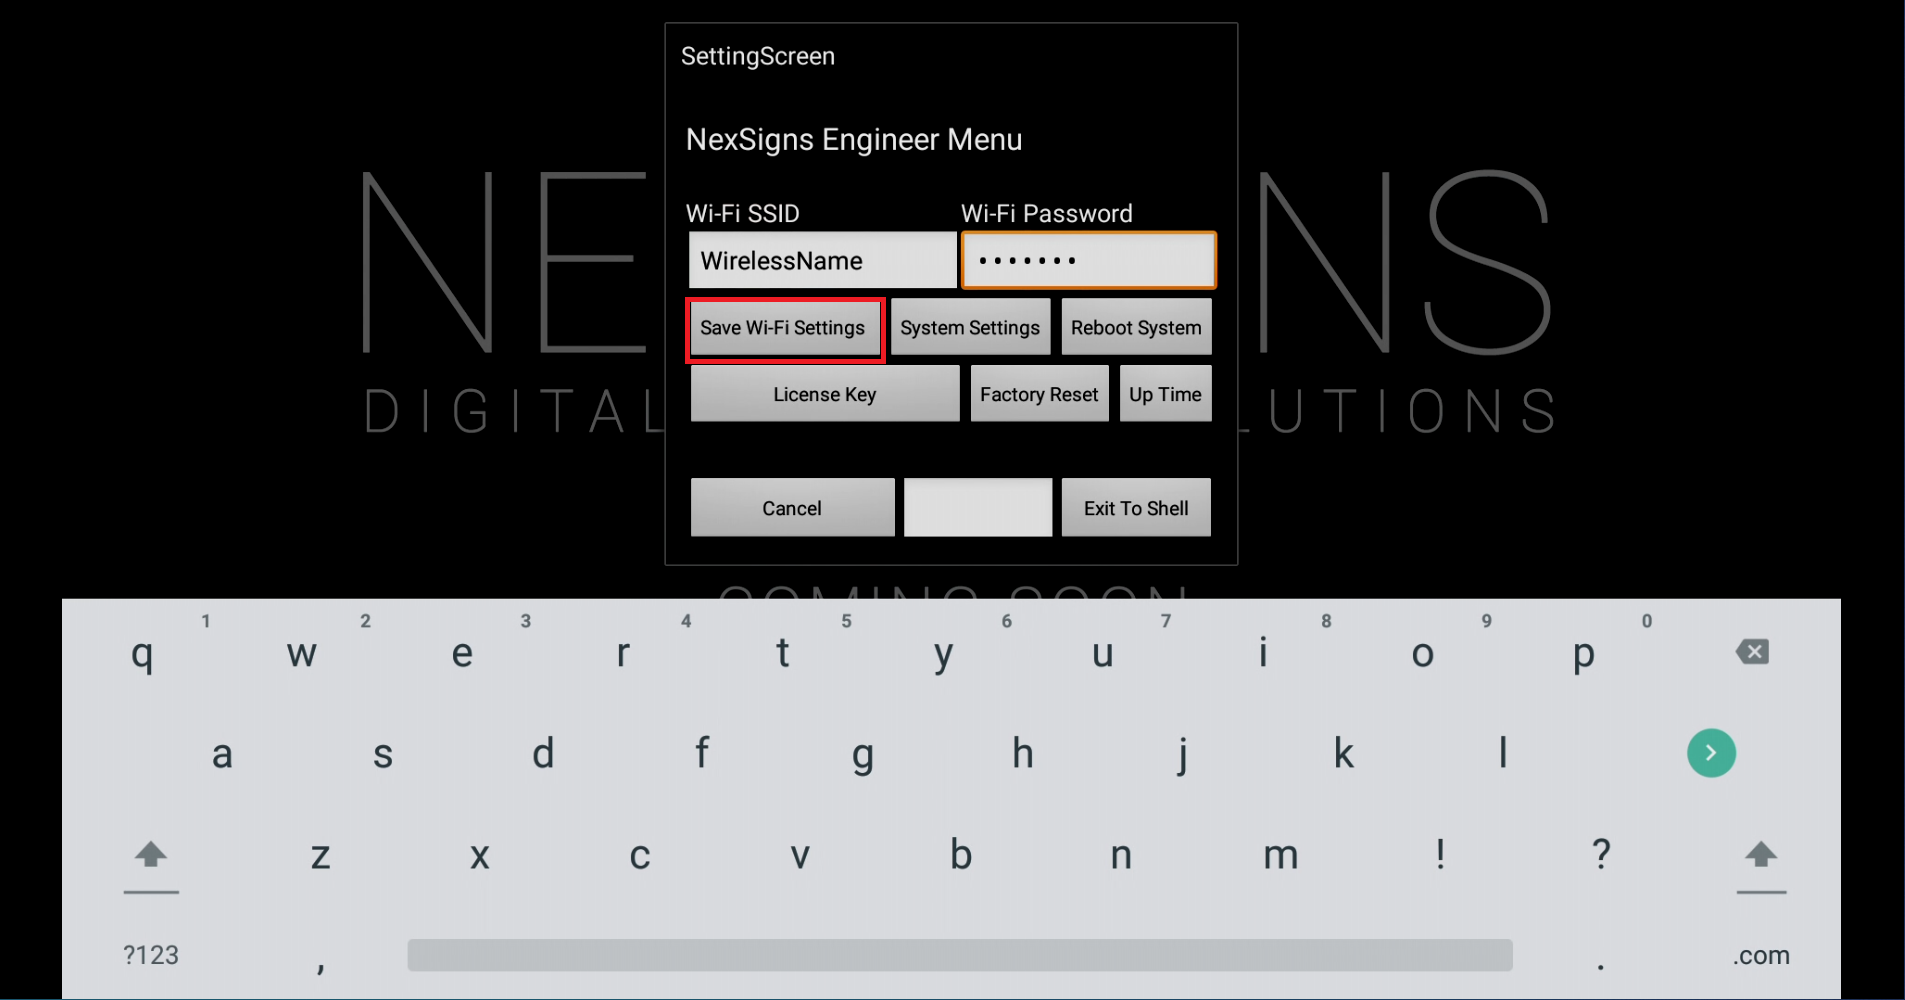
Left Click on the Text Box below Wi-Fi SSID. Use the On-Screen Keyboard to enter your Wireless Name (SSID).
Note that the Wi-Fi SSID and Password are both case-sensitive and space-sensitive
- Left Click on the Text Box below Wi-Fi Password. Use the On-Screen Keyboard to enter your Wireless Password.
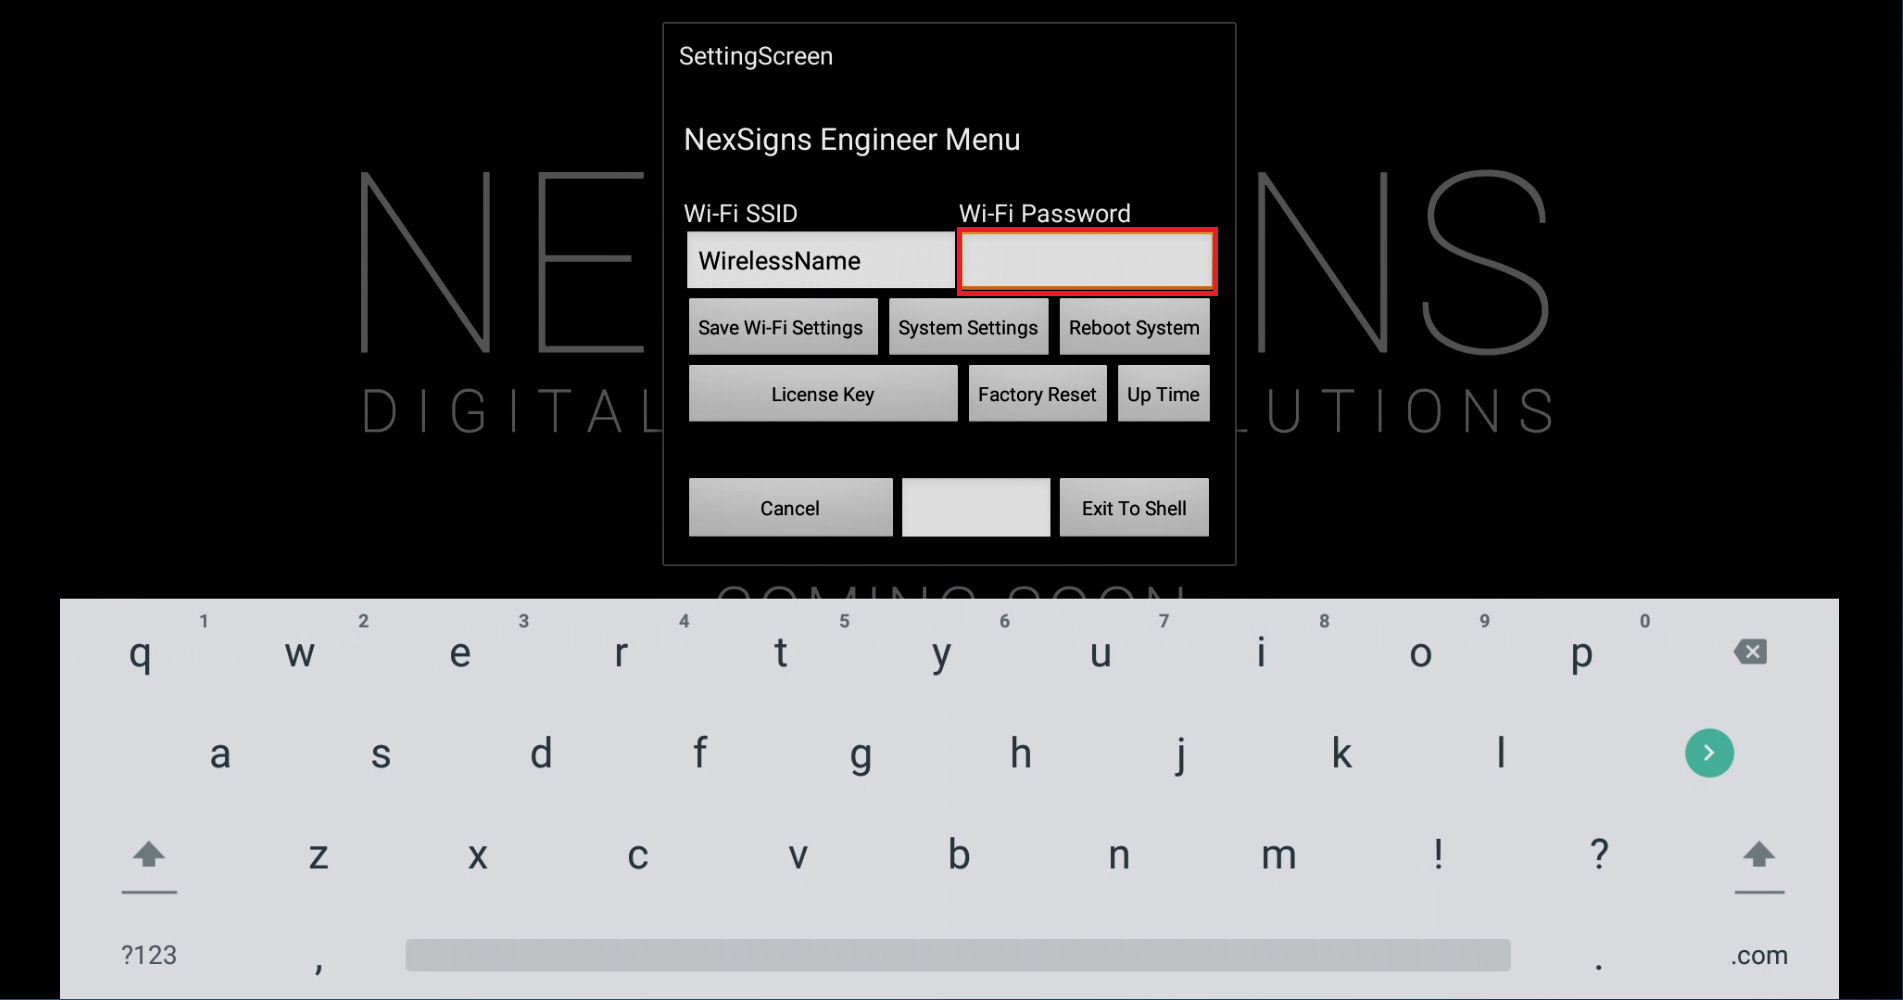
- Left Click on Save Wi-Fi Settings
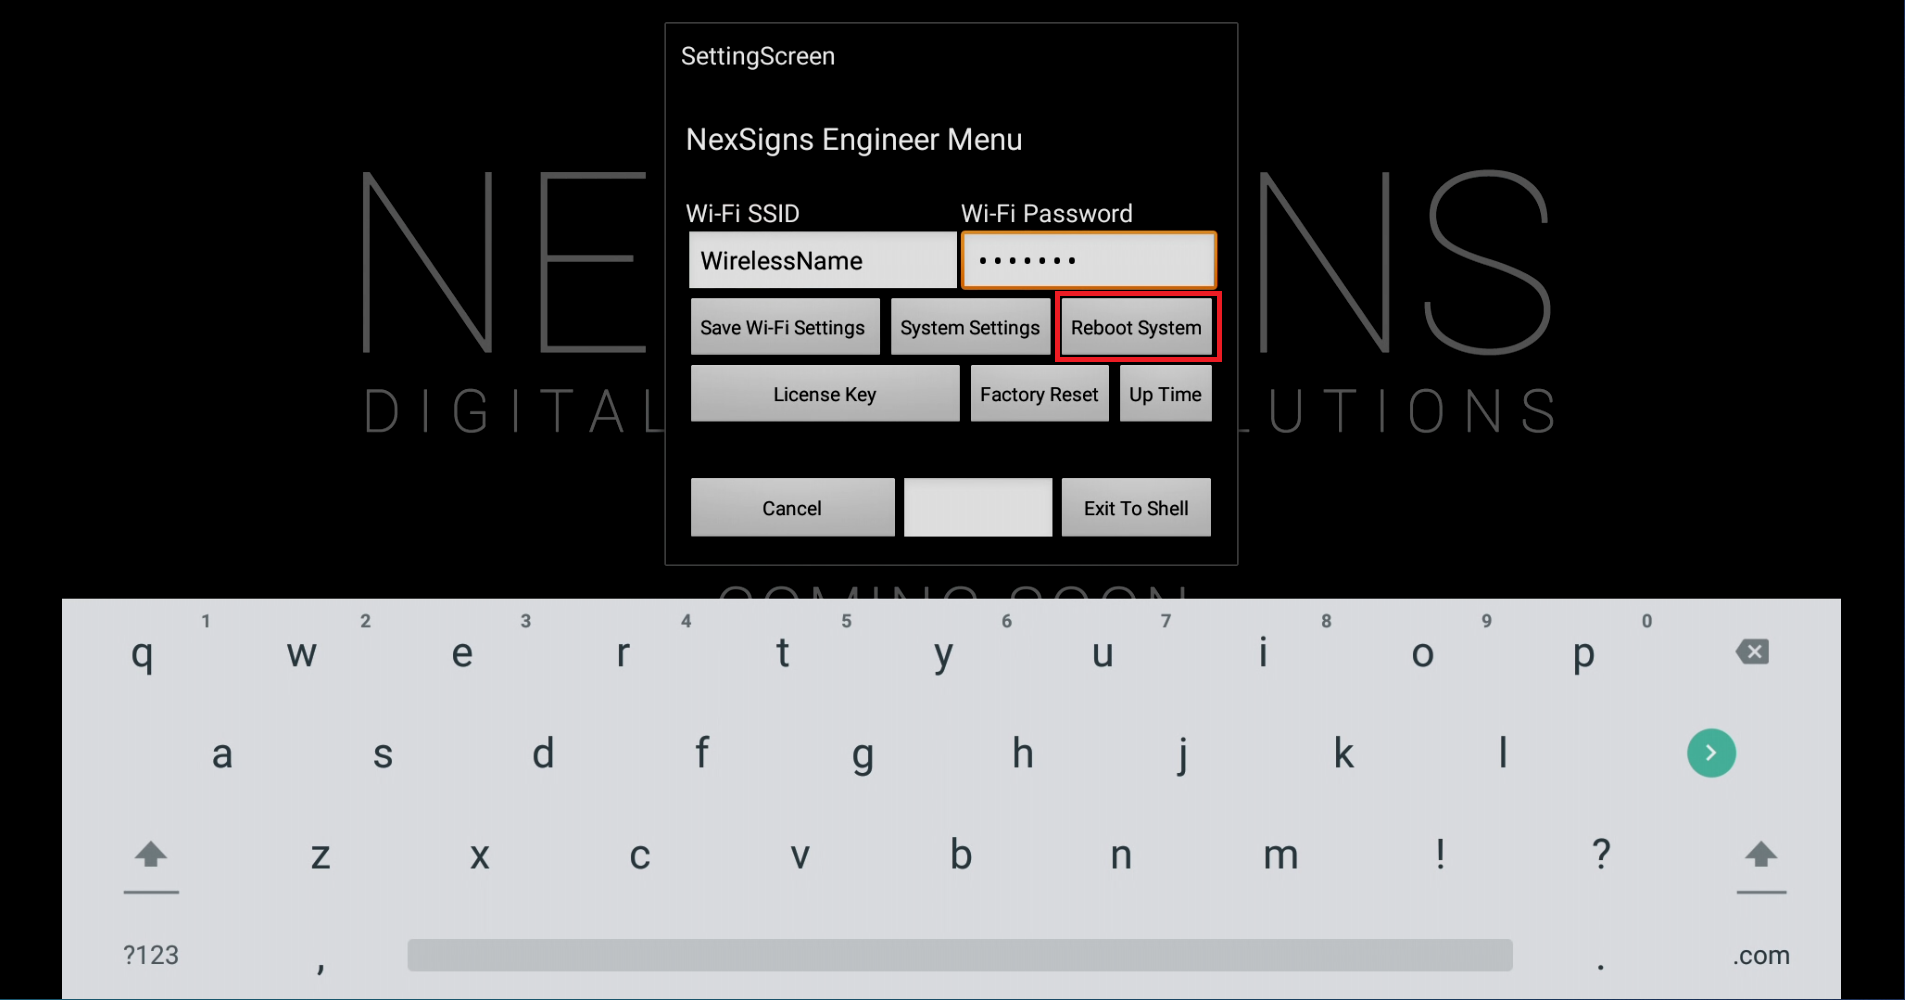
- Left Click on Reboot System
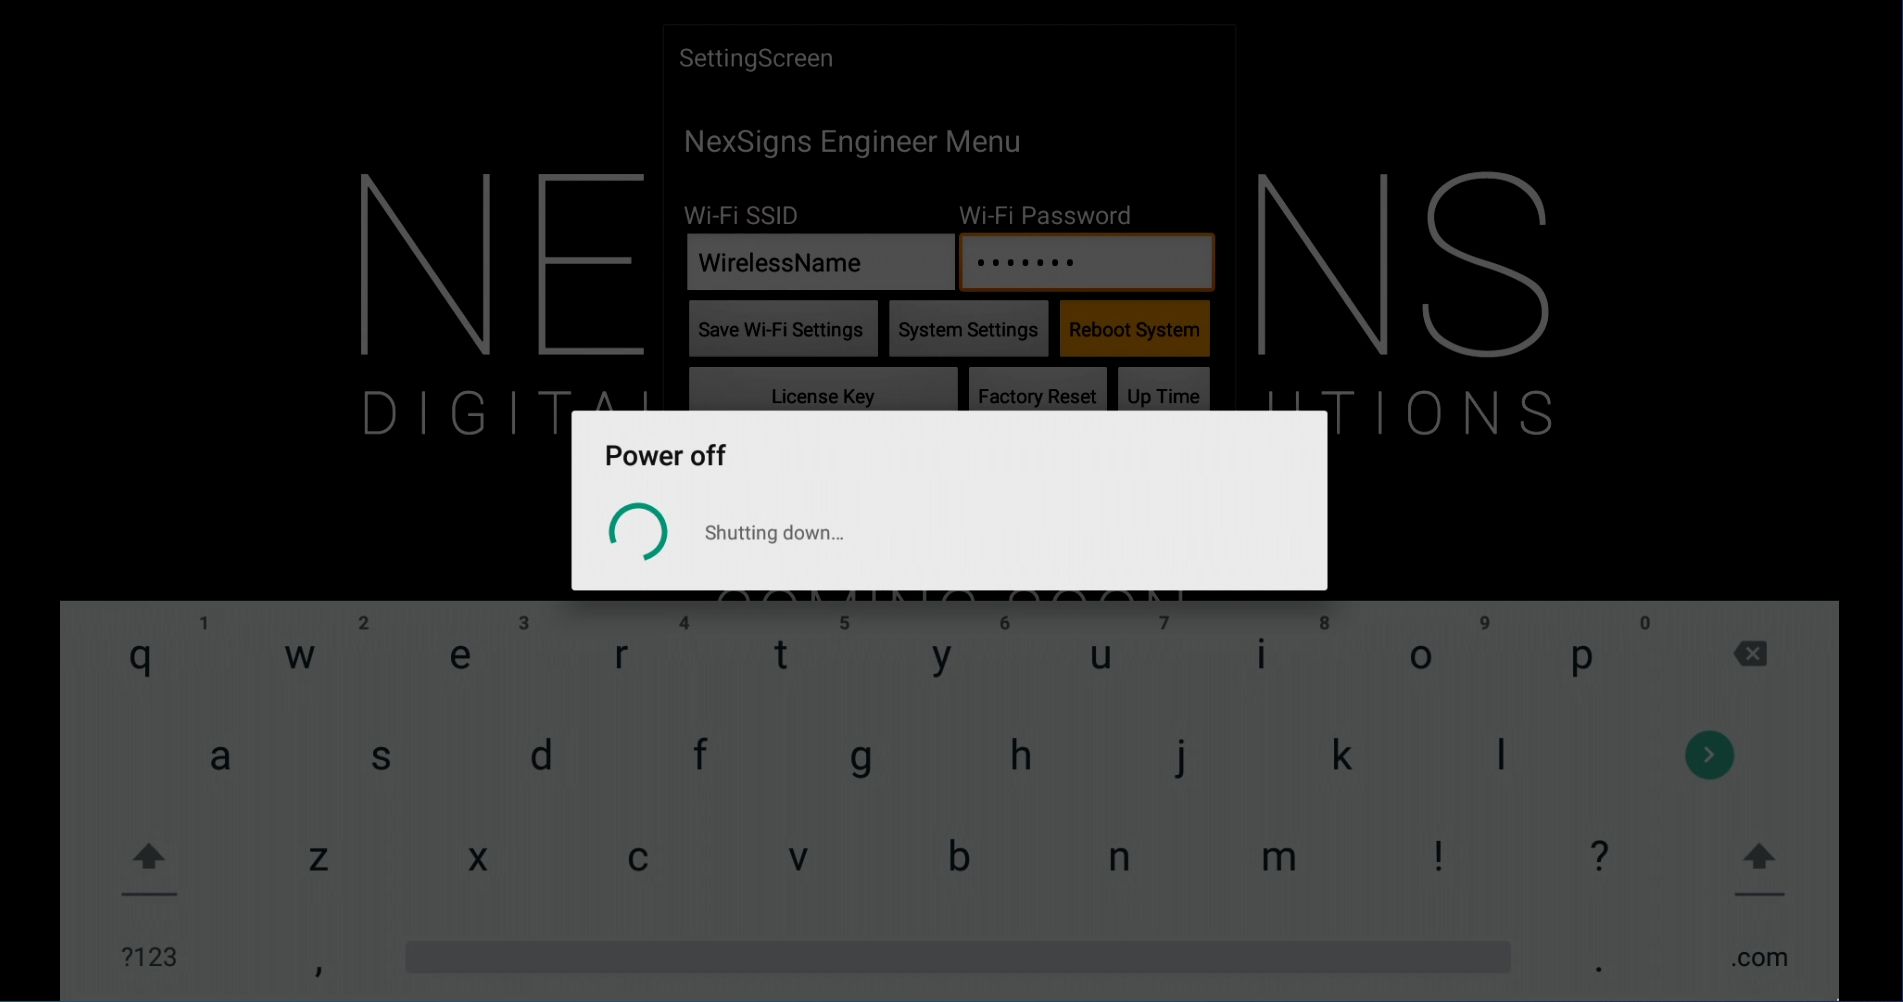
- Your Nano-PC will now Reboot
- Remove the USB Mouse from your Nano-PC
- You are done! When your Nano-PC device restarts, it will use your new Wi-Fi Settings
Applies to
Nano-PC2, Nano-PC3
Related articles