Templates are pre-configured Video designs with editable Image and Text Fields. In this article, we will explore how to add and set up a Template.
| Info | ||
|---|---|---|
| ||
Tutorial - Create and Publish a NexSigns Template |
Login to OnePass and navigate to the NexSigns Template Marketplace
- Login to OnePass - (For more information, see How to access OnePass)
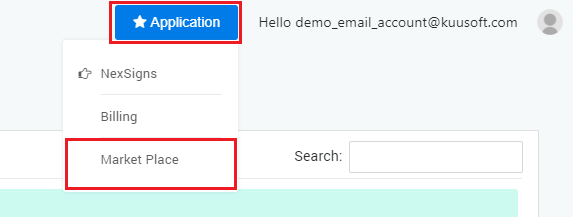
- Click on Application then select Market Place
- You have successfully navigated to the NexSigns Template Marketplace
...
Navigate to the NexSigns Template Configuration Page
- Login to OnePass - (For more information, see How to access OnePass)
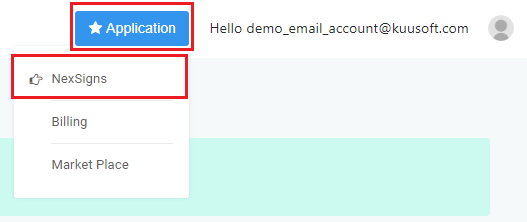
- Click on Application then select NexSigns
- Click on Start Action on your intended Product License

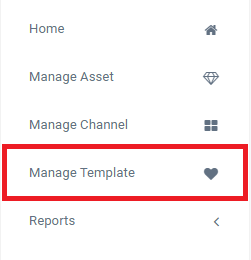
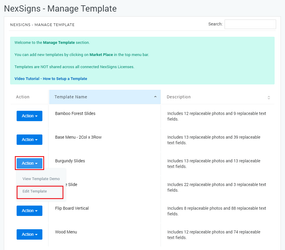
- Located your desired Template, click on Action and select Edit Template
- You have successfully navigated to the NexSigns Template Configuration Page
...
- Navigate to the NexSigns Template Configuration Page
Click on Choose Files and select the desired Add all Images by Browsing from PC
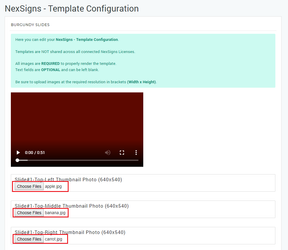 or Browse from Asset Library
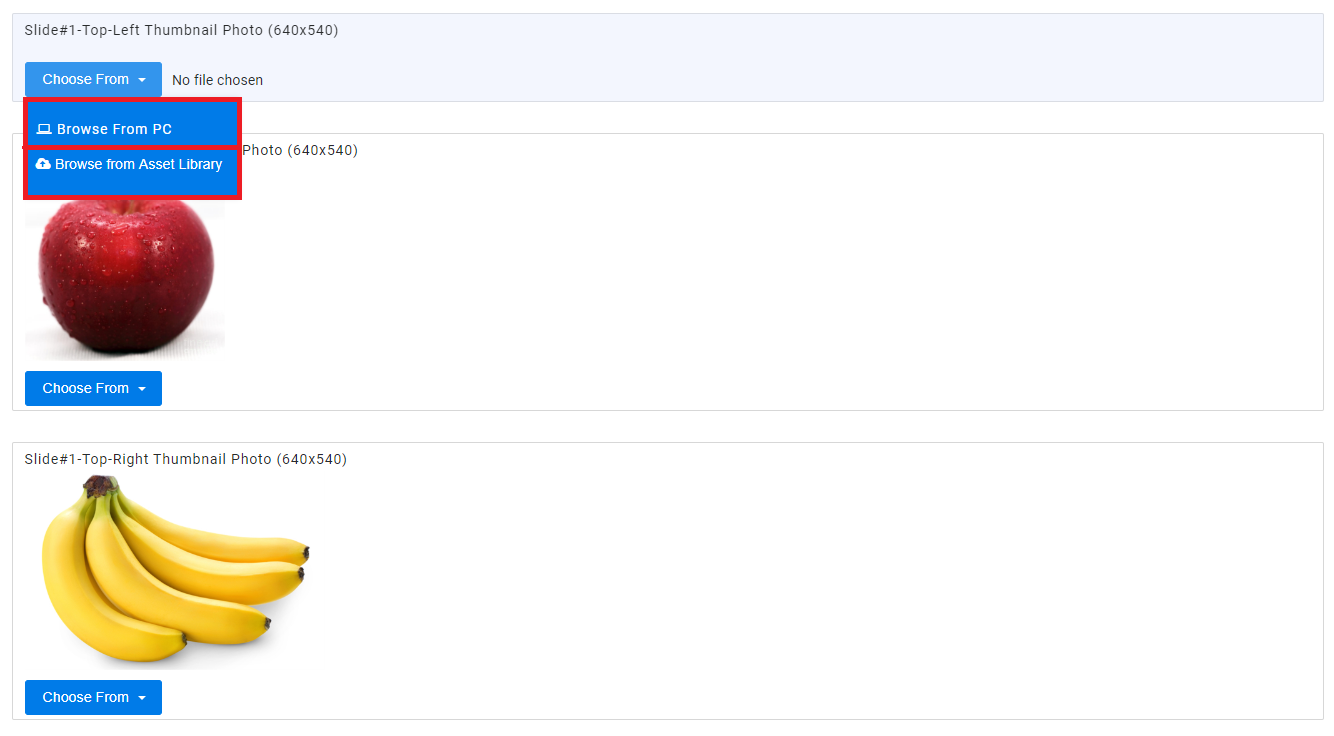
Warning All images are REQUIRED to successfully render a template. Failure to upload all images will cause the rendering to fail.
Required Image dimensions are shown in pixels (Width x Height) - in this example, the images should have a Width of 640 and a Height of 480 in pixels.
- Scroll down and select Save Changes

- You have successfully added Images to a Template
...