These steps will help users setup a Kuusoft 6 Display TV Wall PC (KS-GIA-G330-I5-6TV).
...
6 Display Video Wall PC (KS-GIA-G330-I5-6TV) - Parts Included
(shipping box image)
Setup a Kuusoft 6 Display Video Wall PC (KS-GIA-G330-I5-6TV)
- Plug in the AC Adapter into the DC-IN port of the TV Wall PC
Connect a Network Cable (not included).
Info A Wireless Network Adapter is not included. Compatible USB Wireless Adapters are available. - Connect one end of a Network Cable (not included) into the LAN port of the TV Wall PC.
- Plug in the other end of a Network Cable (not included) into a network port with an active Internet Connection
- Connect one end of a Network Cable (not included) into the LAN port of the TV Wall PC.
Connect the TV Displays into the available DisplayPort ports (DisplayPort Cables are not included)
Info Kuusoft recommends connecting the TV Displays from LEFT to RIGHT, TOP to BOTTOM (TV 01 to TV 06). The Main Display should be TV 01. - example of 3 x 2 Video Wall
- example of 2 x 3 Video Wall
- example of 6 x 1 Video Wall
- example of 3 x 2 Video Wall
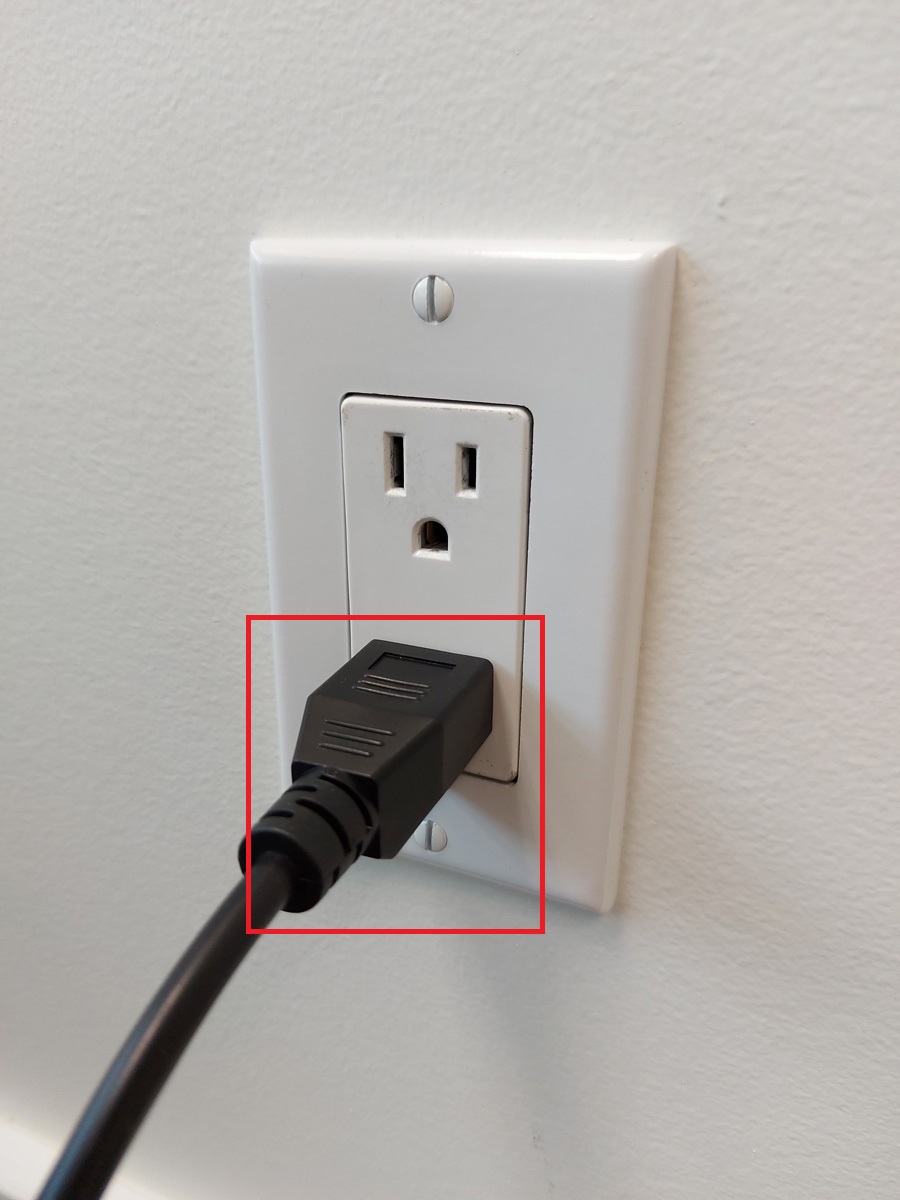
Plug in the Power Cable into an available Electrical Outlet
Info Kuusoft recommends using an Electrical Outlet with appropriate Surge Protection
- Turn on the TV Wall PC by pressing the Power Button
- You have successfully setup a Kuusoft 6 Display Video Wall PC
...
| Info | ||
|---|---|---|
| ||
Create and Publish a Multimedia Playlist - quickly upload images and videos Edit and Publish a Multimedia Playlist - quickly edit your existing Multimedia Playlist Create and Publish a NexSigns Template - quickly add and publish a Template Edit and Publish a NexSigns Template - quickly edit your existing Template |
Applies to
Windows, NexSigns-Windows
...


