You can integrate an Instagram account to your digital signage by creating a Widget
To create an Instagram Widget
- Open a Web Browser
- Navigate to http://96.126.103.183/generate
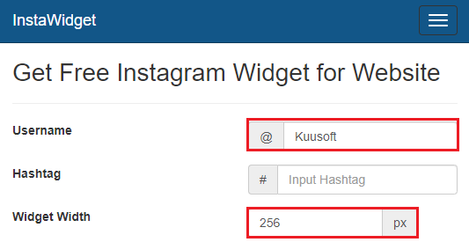
- Enter an Instagram Username (ex. Kuusoft)
- Enter the Widget Width - 256 px
- Set the Layout to either of the following settings
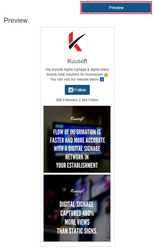
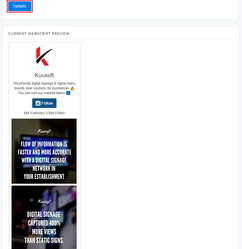
- 1 x 2 (1 column - larger images)

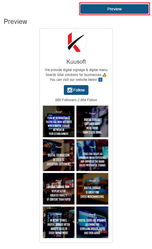
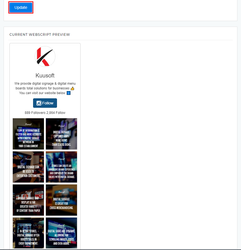
- 2 x 4 (2 columns - smaller images)

- 1 x 2 (1 column - larger images)
- Select Preview to preview your Instagram widget (these will vary depending on the settings from Step 5)
- 1 x 2 (1 column - larger images)
- 2 x 4 (2 columns - smaller images)
- 1 x 2 (1 column - larger images)
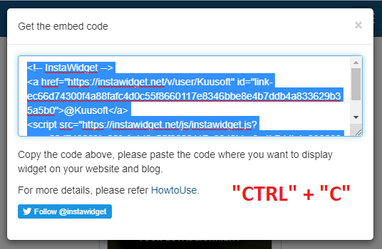
- Click on Get the embed code button
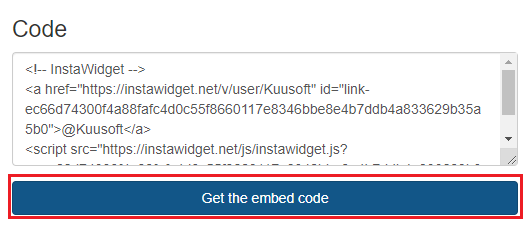
- Click on the Text Box to select the text and press “CTRL” + “C” to copy the embedded code to your Clipboard - leave this tab open as it may be used later
To add the Instagram widget to a WebScript Channel
- Open a New Browser Tab
- Login to OnePass - (For more information, see How to access OnePass)
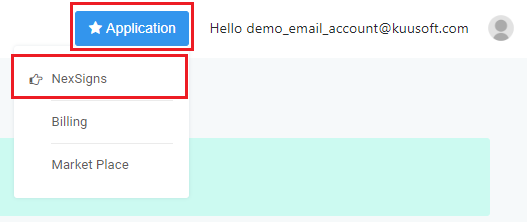
- Click on Application then select NexSigns
- Click on Start Action on your intended Product License
- Select Manage Channel located in the left menu
- Click on Create New Channel
- Enter a Channel Name, Description, and Select WebScript in the Channel Type drop down menu
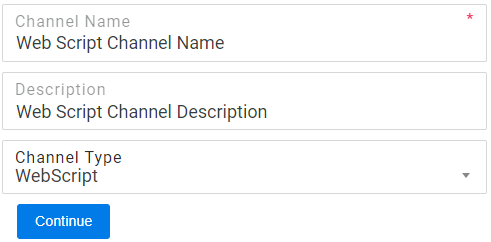
- Select Continue to finish creating a new WebScript Channel
- Paste the WebScript code previously copied on the Instagram Widget website into the WebScript / Embed Script text box
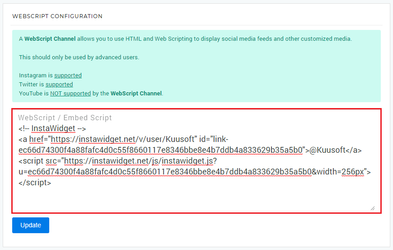
- Click on Update to save and preview your Instagram widget
When creating a Screen Layout for your display, create a 20% ratio for your Vertical Container for your Instagram widget.
Settings for a 15% ratio Vertical Container - Widget Width 192 px - Layout 1 x 3 or Layout 2 x 5
Settings for a 25% ratio Vertical Container - Widget Width 320 px - Layout 1 x 2 or Layout 2 x 3
Applies to
NexSigns 2.x, NexSigns 3.X. OnePass 3.1.x
Related articles