The NexSigns Digital Menu Board Editor allows users to create easily customizable menu boards.
Topics Covered
| Table of Contents | ||||||||
|---|---|---|---|---|---|---|---|---|
|
Login to OnePass and navigate to a Menu Board
- Login to OnePass - (For more information, see How to access OnePass)
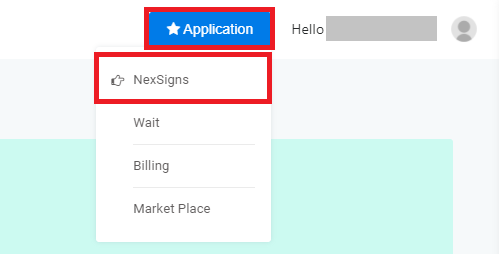
- Click on Application then select NexSigns

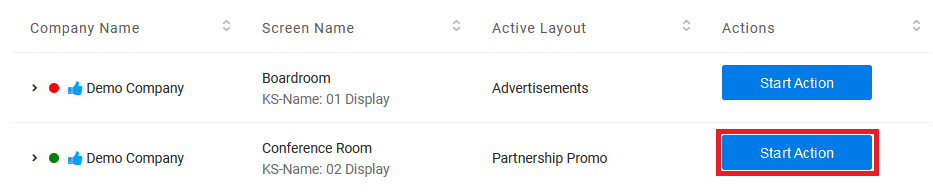
- Click on Start Action on your desired Product License

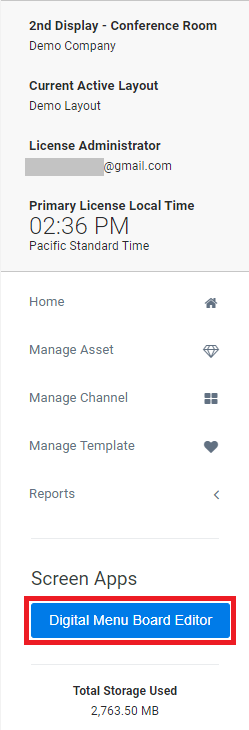
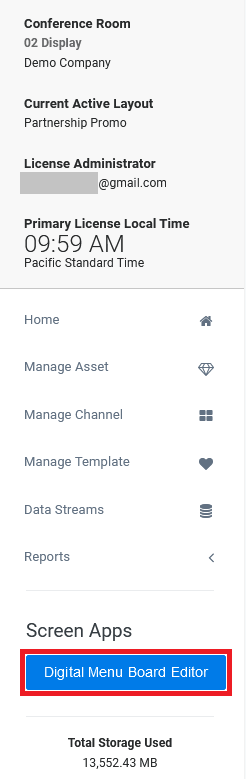
- Click on Digital Menu Board Editor
- Find the desired Menu Board, select Action and click on Edit
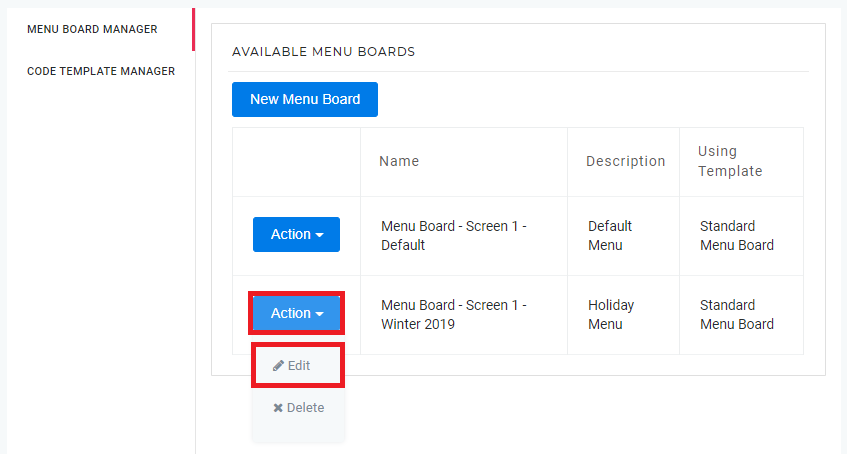
- You have successfully navigated to your desired Menu Board
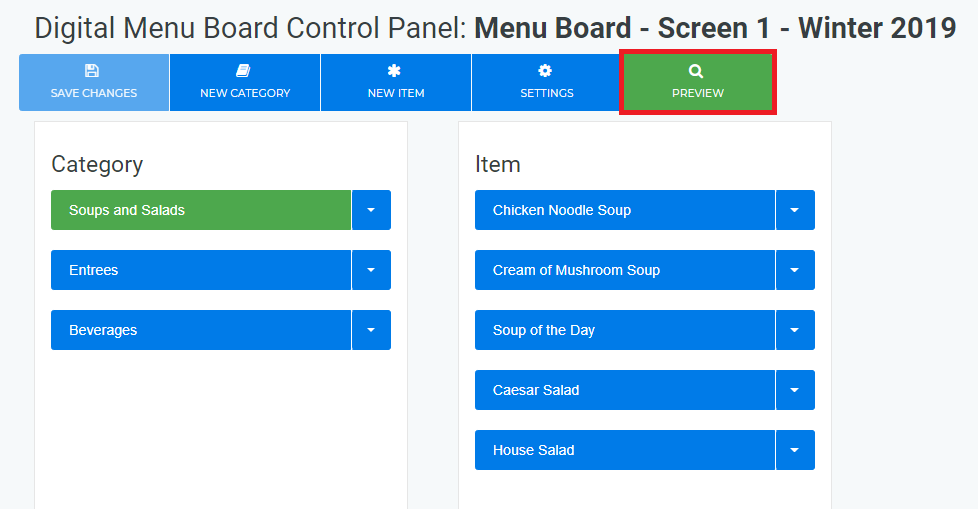
Preview your Menu Board
- Login to OnePass and navigate to a Menu Board
- Click on Preview
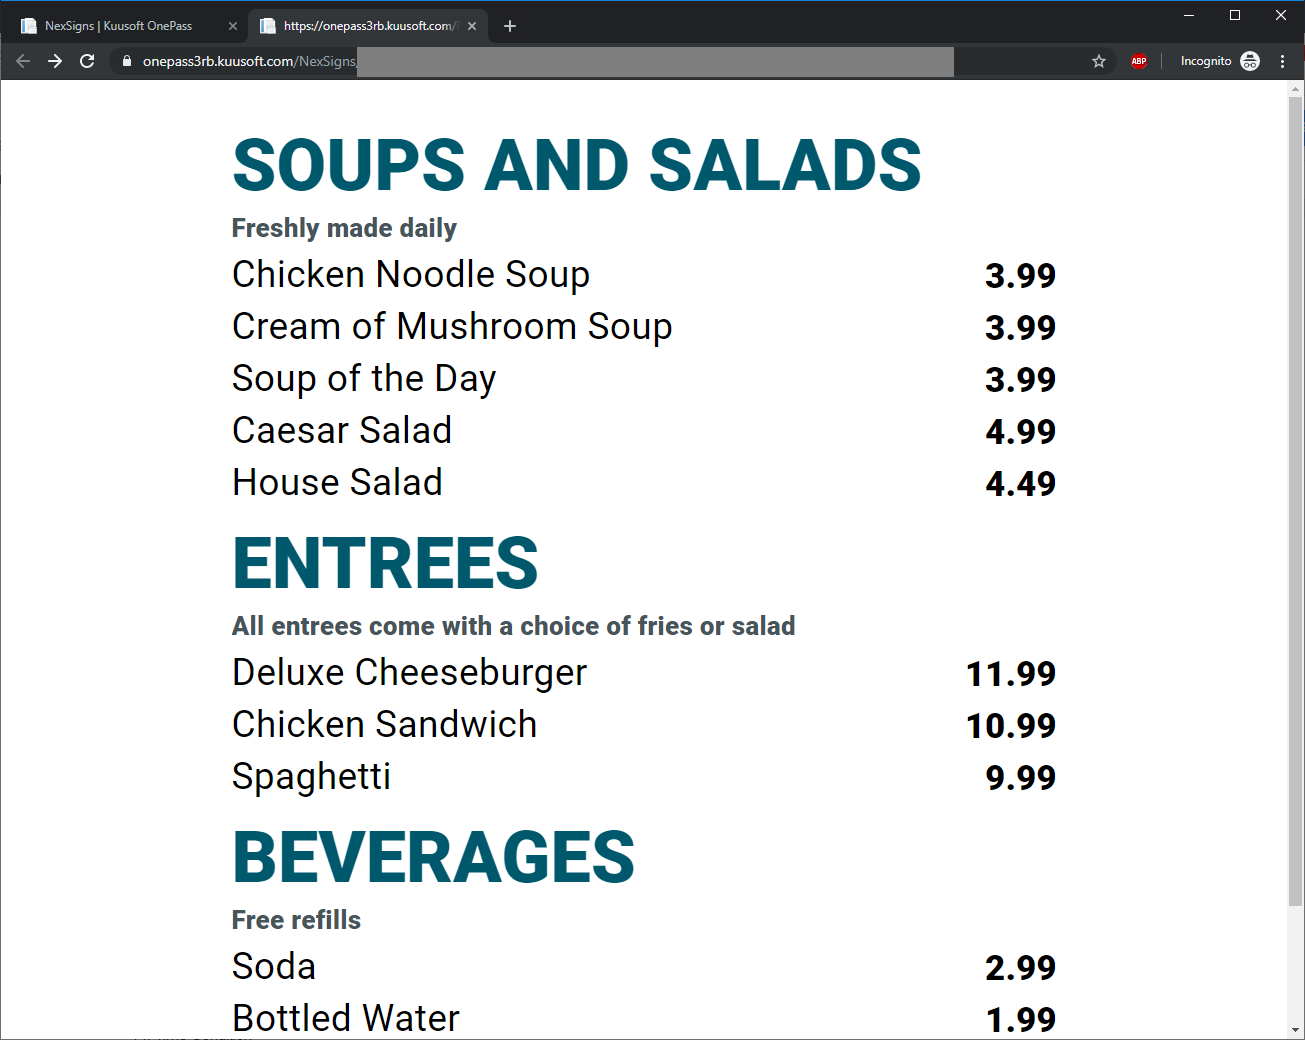
Info A new Web Browser Tab will open with the Menu Board Preview - Note that the background video will not display
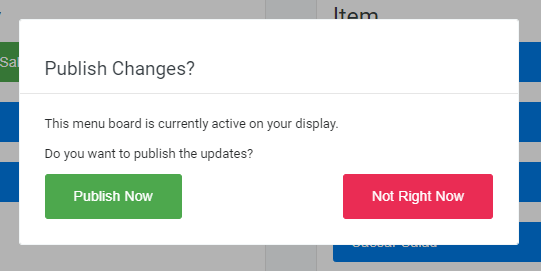
If your Menu Board is included in your Active Layout, you will be prompted with the option to Publish the changes to your signage

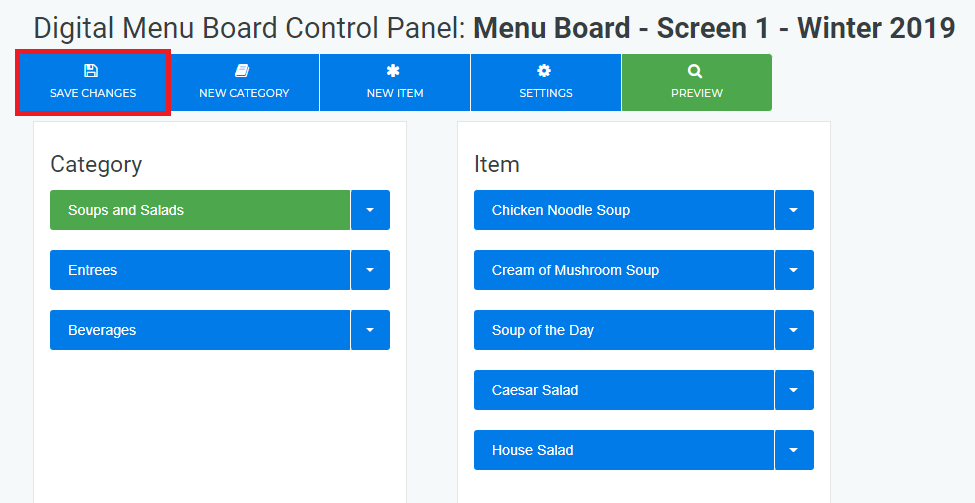
Create a new Menu Category
- Login to OnePass and navigate to a Menu Board
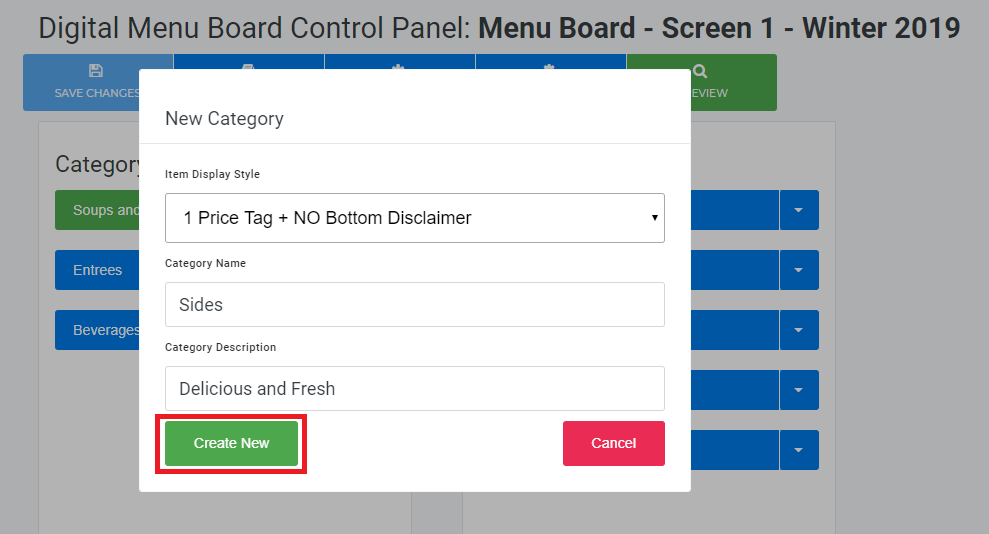
- Click on New Category

- Select a Item Display Style from the Drop Down Menu and complete the respective Text Boxes
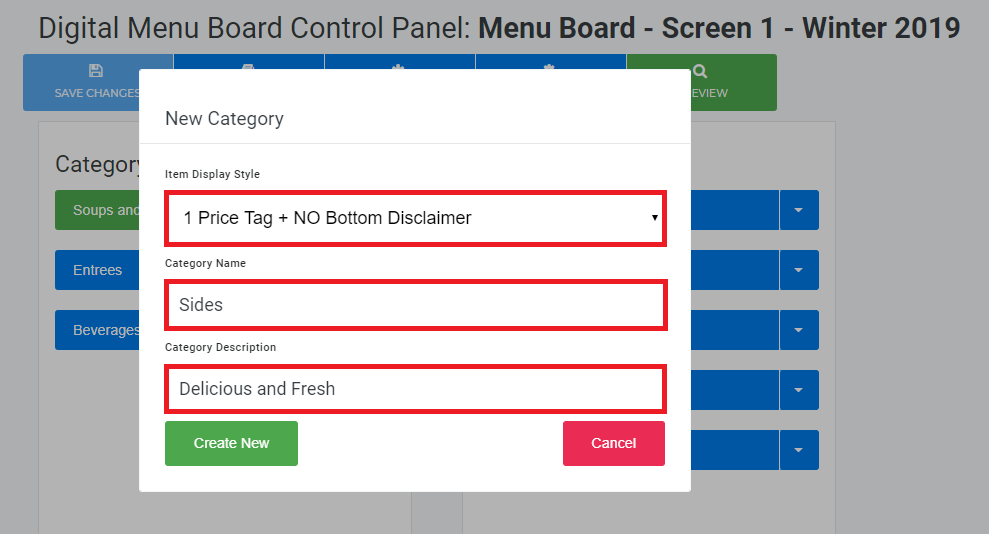
- Click on Create New
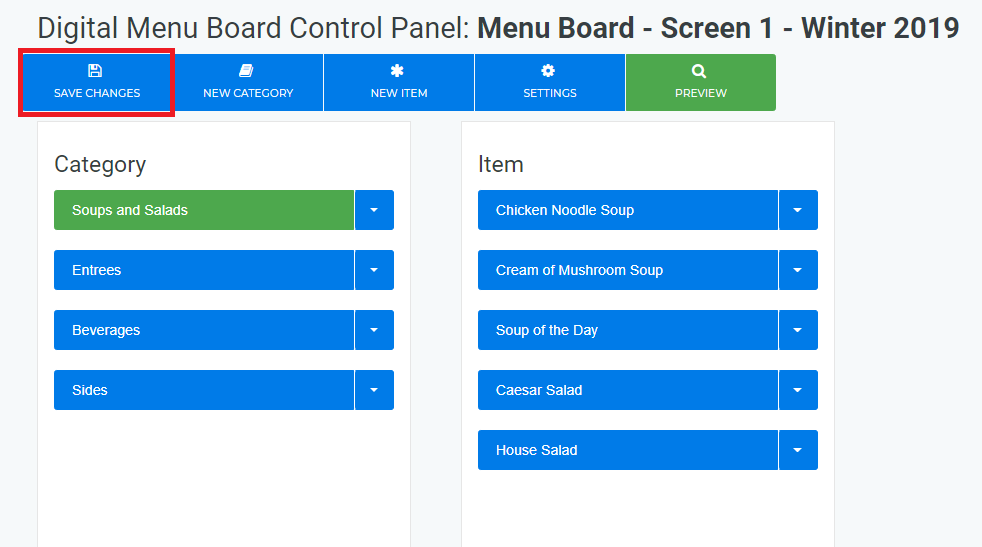
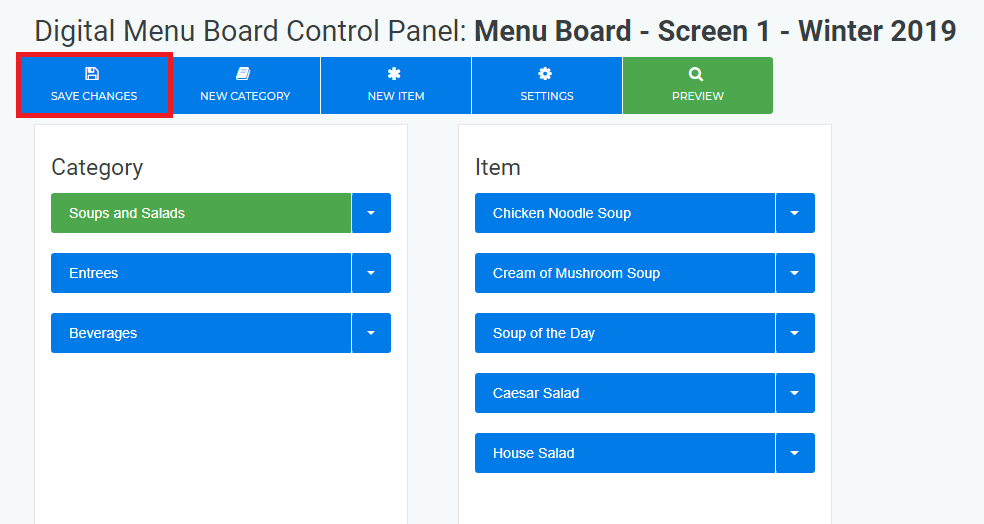
- Any menu modifications are not finalized until you Save Changes
Info If your Menu Board is included in your Active Layout, you will be prompted with the option to Publish the changes to your signage
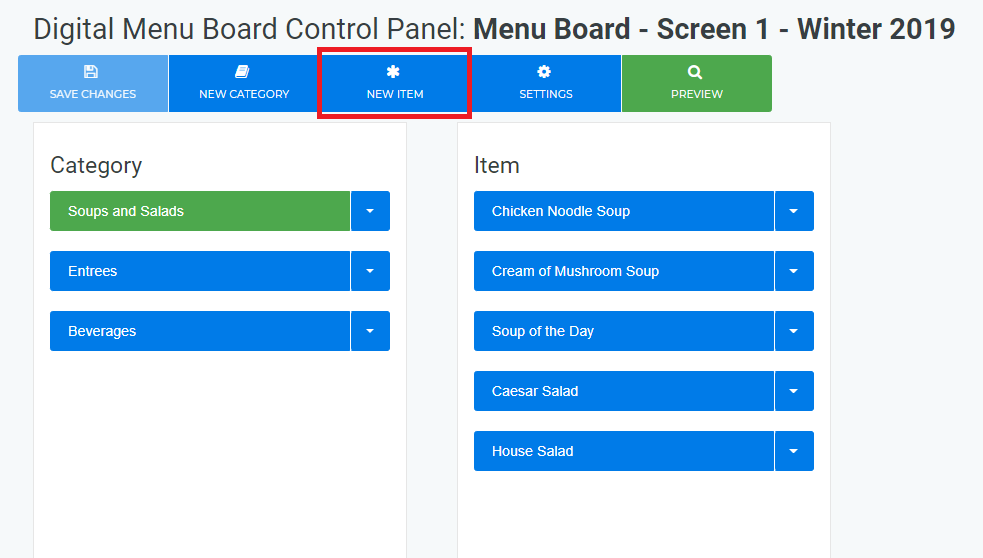
Create a new Menu Item
- Login to OnePass and navigate to a Menu Board
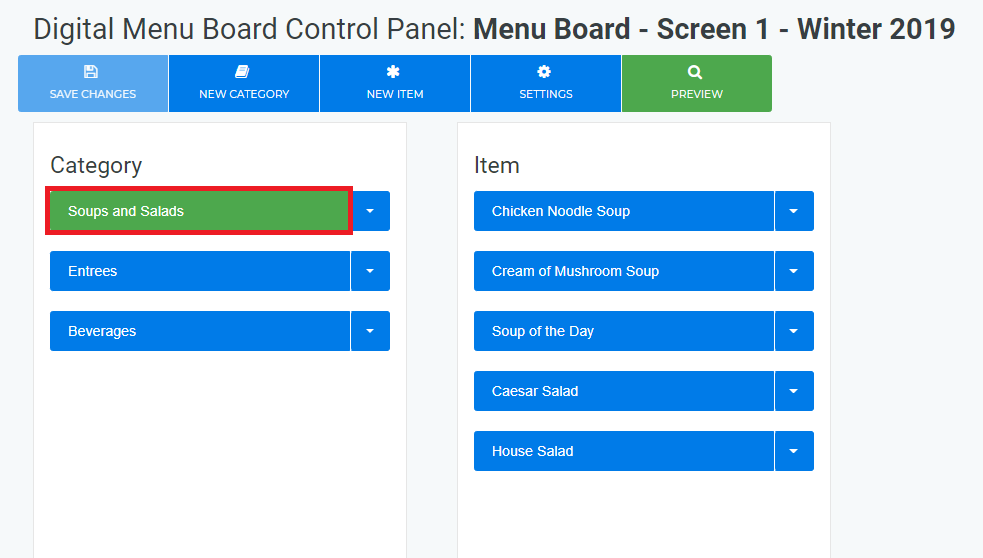
- Select a desired Menu Category
- Click on New Item
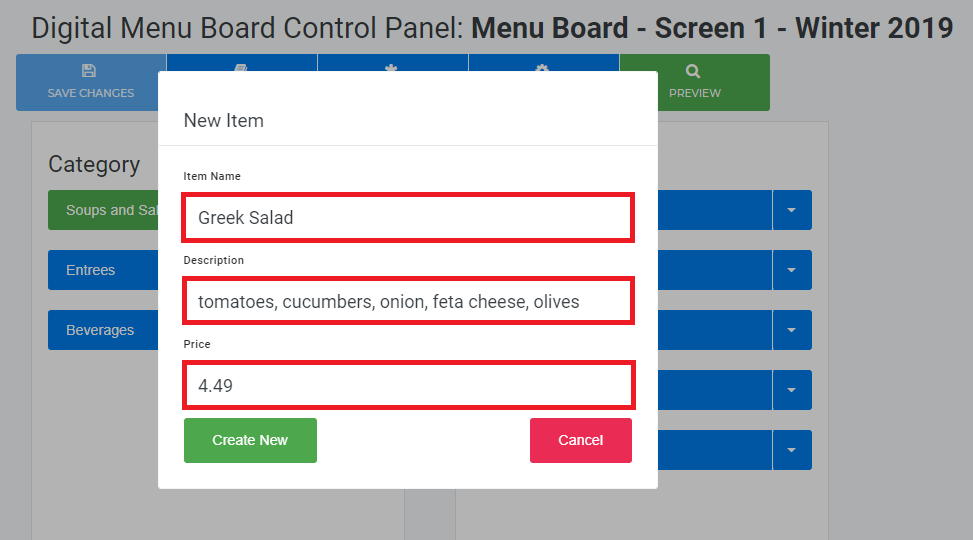
- Select the Item Display Style from the Drop Down Menu and complete the respective Text Boxes
- Click on Create New
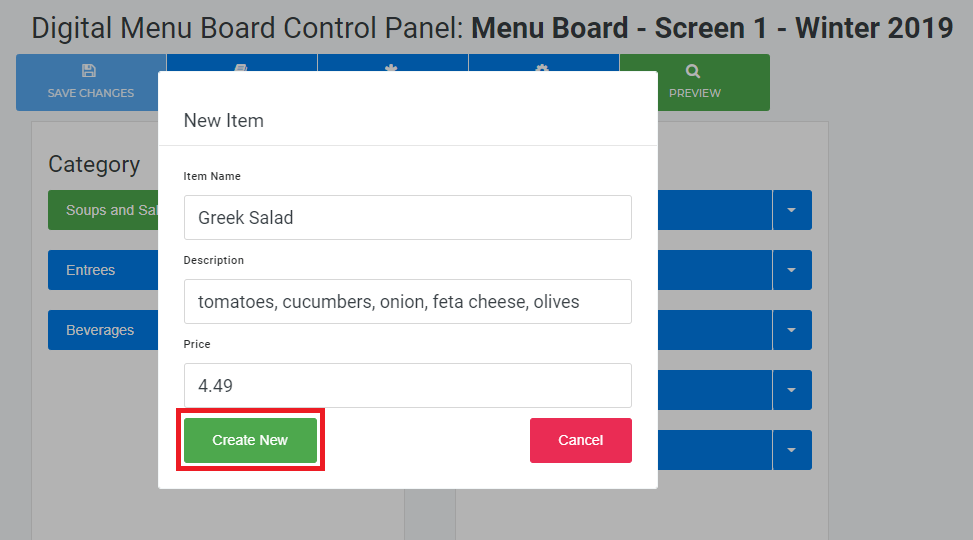
Any menu modifications are not finalized until you Save Changes
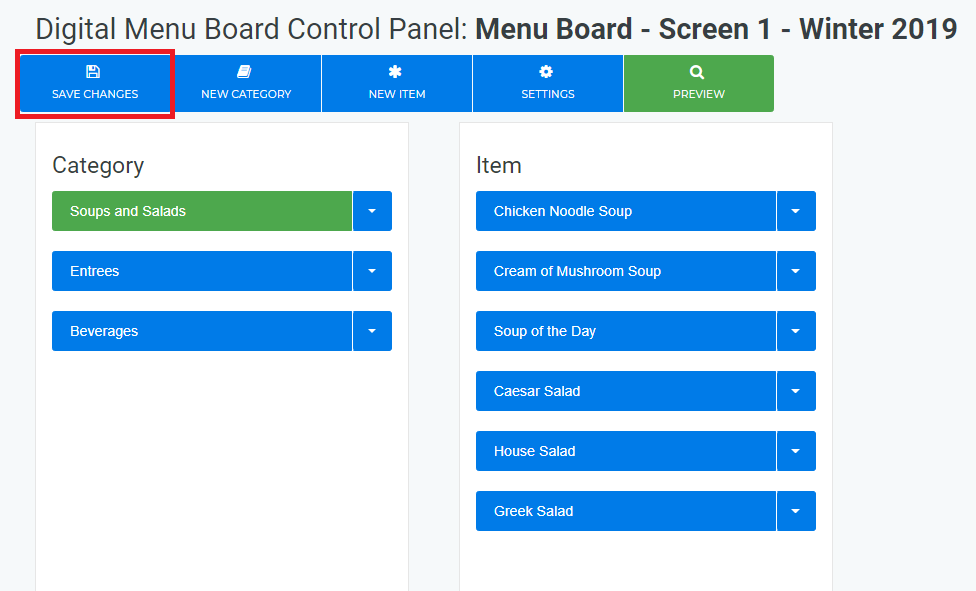
Info If your Menu Board is included in your Active Layout, you will be prompted with the option to Publish the changes to your signage
Edit a Menu Category or Menu Item
- Login to OnePass and navigate to a Menu Board
- Find your desired Category or Menu Item, select the Down Arrow and click on either Edit Category or Edit Item
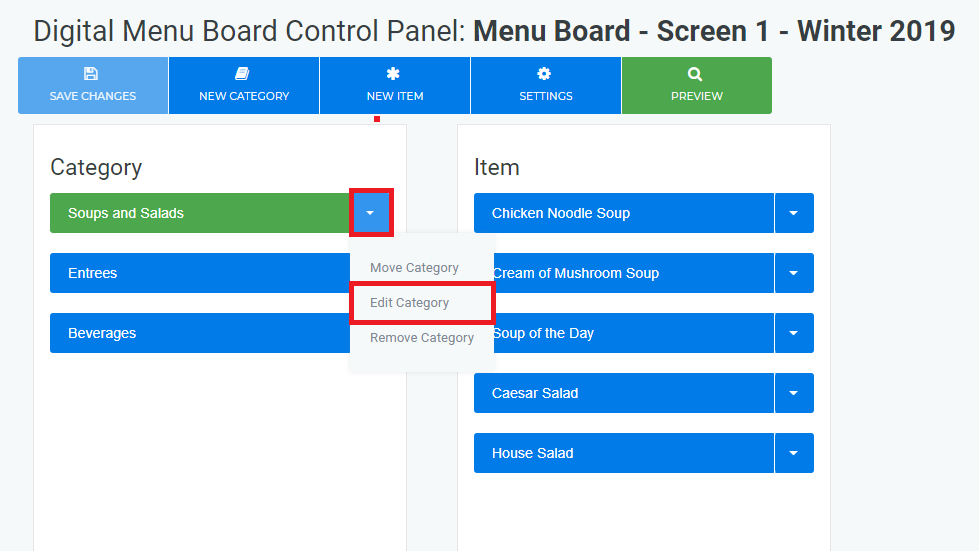
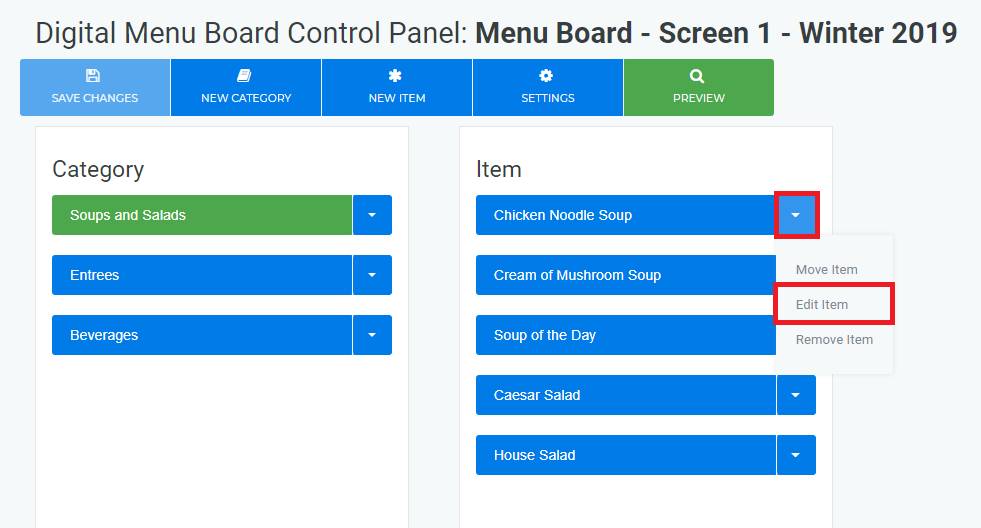
- Make your desired modifications and click on Save
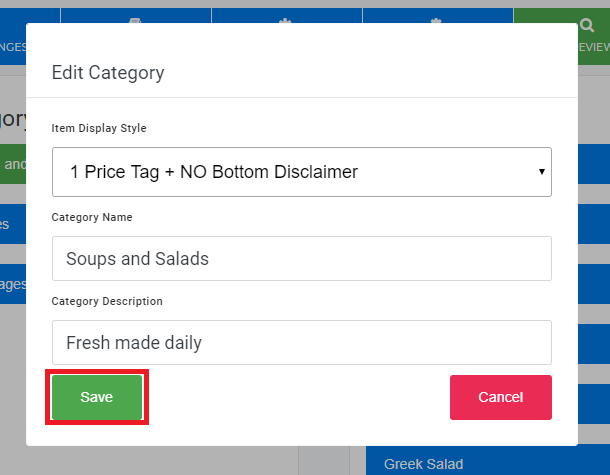
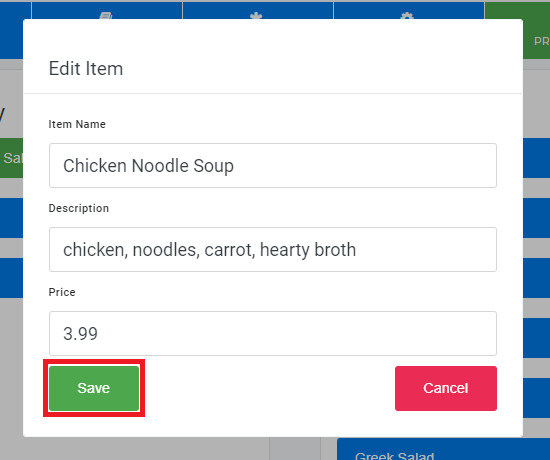
- Any menu modifications are not finalized until you Save Changes
Info If your Menu Board is included in your Active Layout, you will be prompted with the option to Publish the changes to your signage
Re-Order a Menu Category or Menu Item
- Login to OnePass and navigate to a Menu Board
- Find your desired Category or Menu Item, select the Down Arrow and click on either Move Category or Move Item

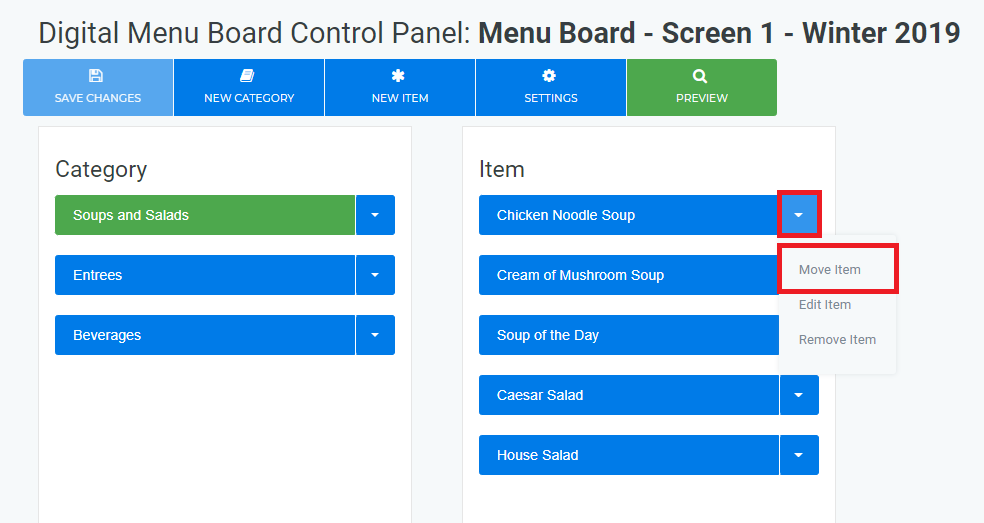
- Select the desired position
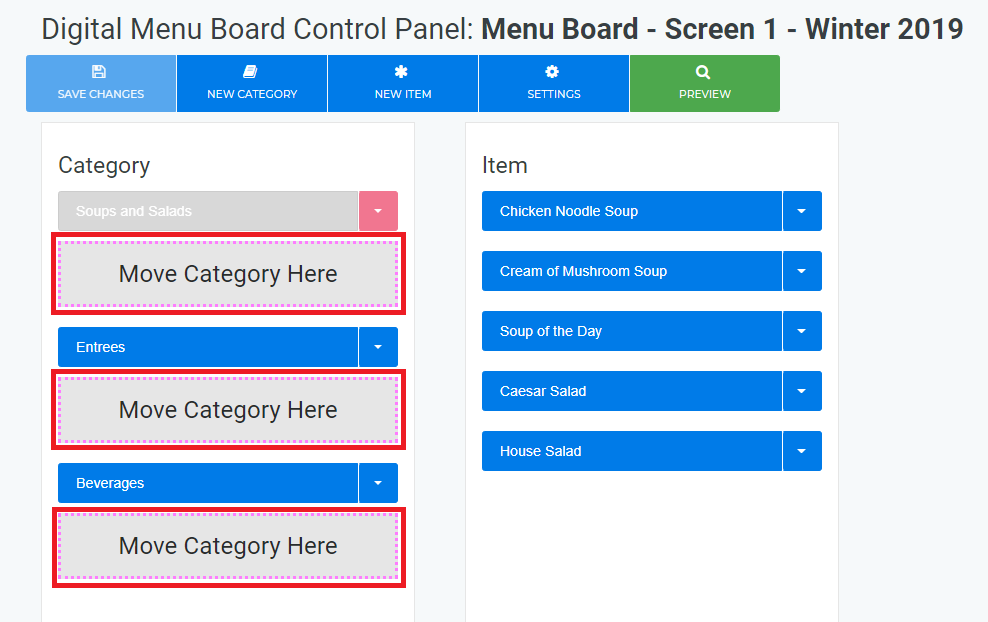
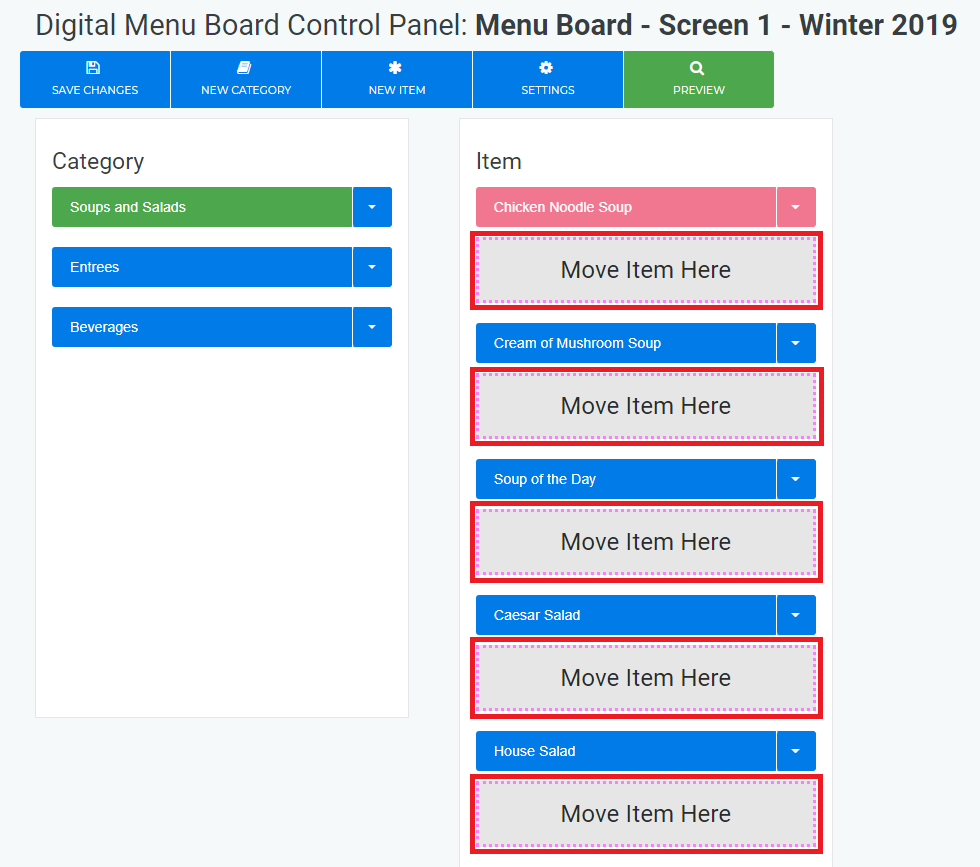
- Any menu modifications are not finalized until you Save Changes
Info If your Menu Board is included in your Active Layout, you will be prompted with the option to Publish the changes to your signage
Create and Publish a ScreenApp Layout
- Login to OnePass - (For more information, see How to access OnePass)
- Click on Application then select NexSigns

- Select your desired Product License and click on Start Action
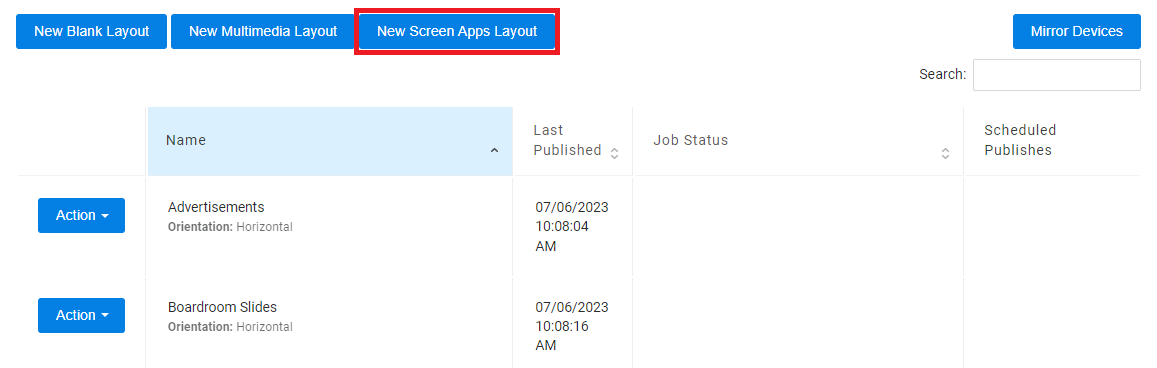
- Click on New Screen Apps Layout
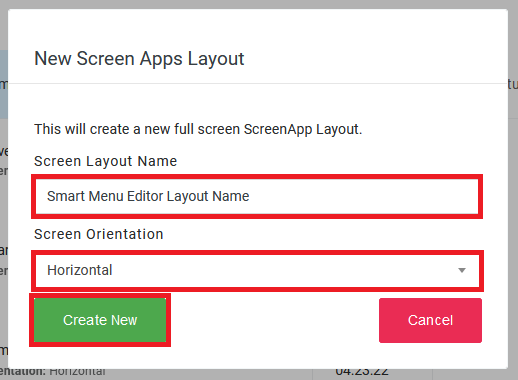
- Enter a Layout Name, Screen Orientation, then select Create New
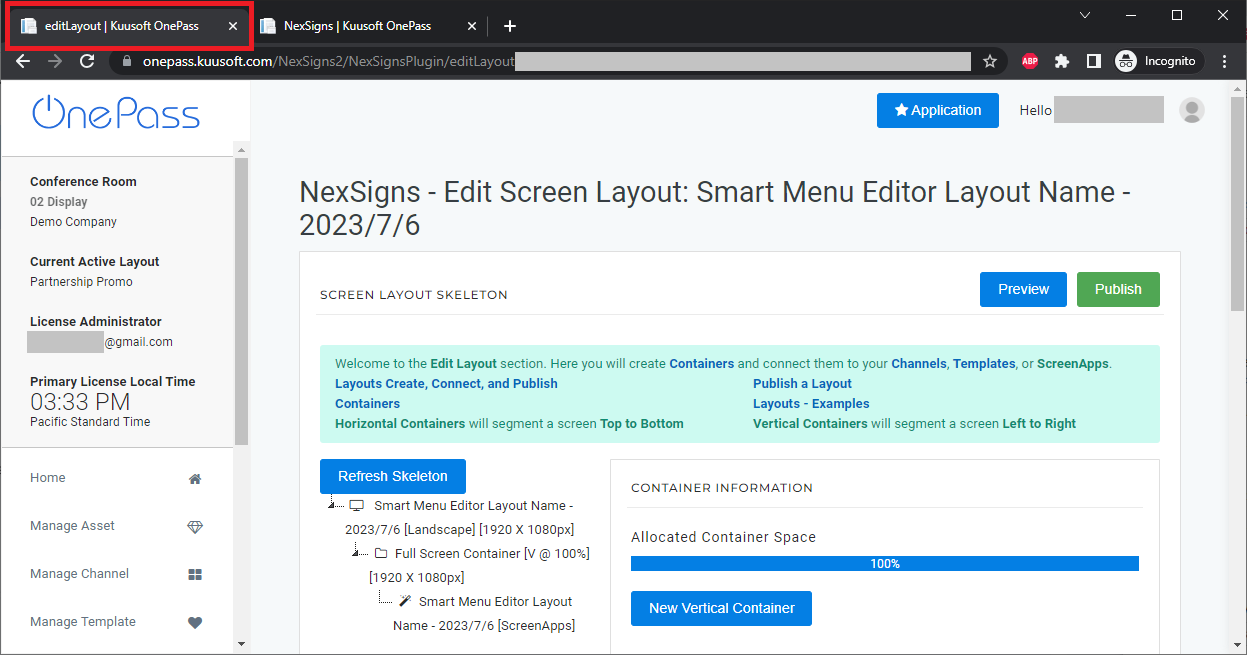
- You will re-directed to the Edit Screen Layout page and the Screen Apps Channel will open in a new Web Browser Tab

- Click on Digital Menu Boards System
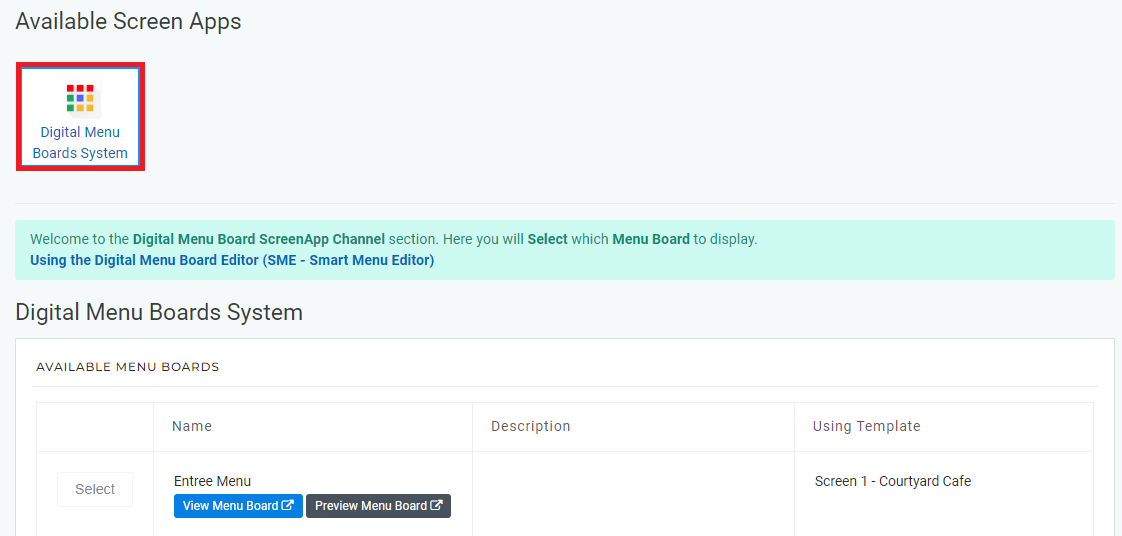
- Find the desired Menu Board and click on Select - A confirmation message will appear "Selection is successfully saved!"
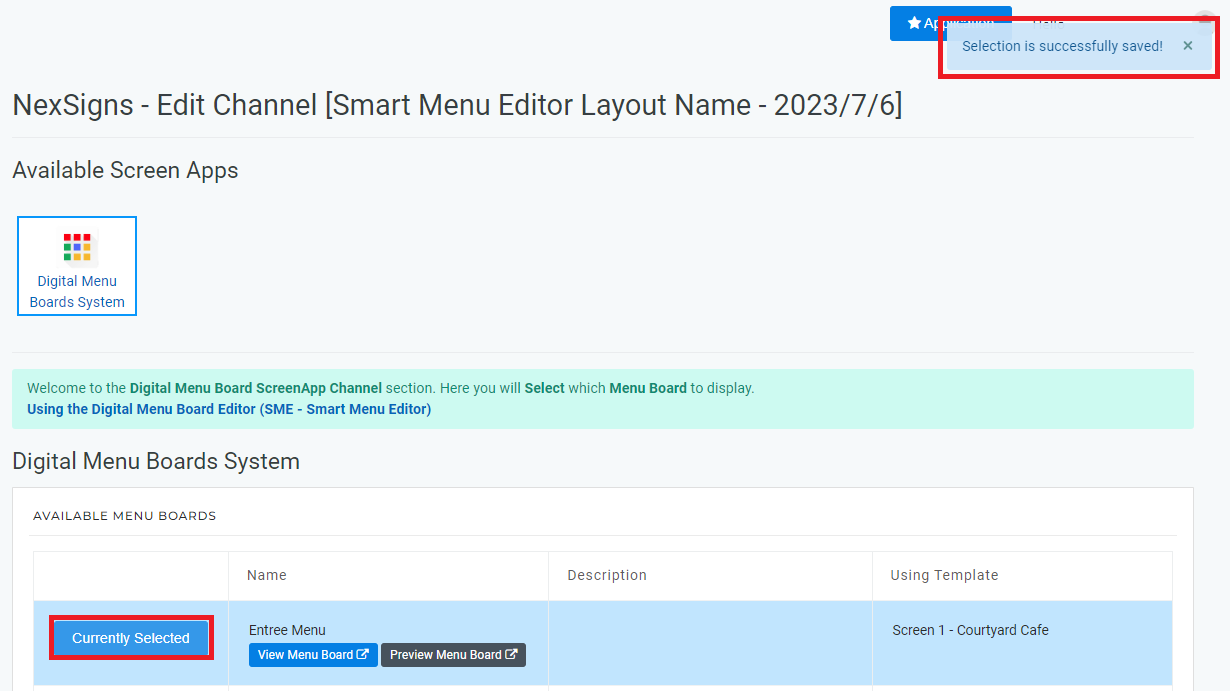
- Navigate to the original (Edit Screen Layout) Web Browser Tab and select Publish

- You are done!
Applies to
OnePass 3.1.x, NexSigns 2.x, NexSigns 3.x
...