This tutorial will explain how to use the Optical Content Library.
Topics Covered
| Table of Contents | ||||||||
|---|---|---|---|---|---|---|---|---|
|
Login to OnePass and navigate to your NexSigns channels
- Login to OnePass - (For more information, see How to access OnePass)
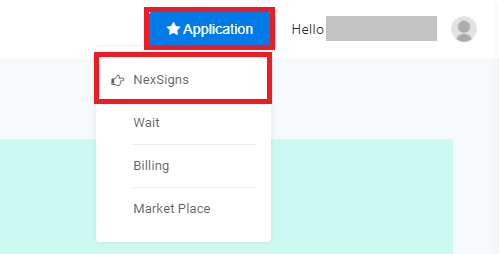
- Click on Application then select NexSigns
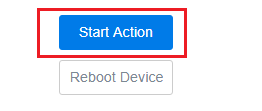
- Click on Start Action on your desired Product License

- Click on Start Action on your desired Product License
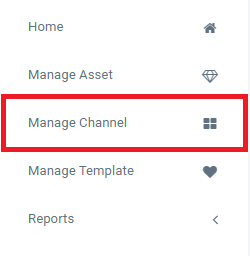
- Select Manage Channel from the left menu
Previewing the Optical Content Library
...
Adding Optical Content Videos to a Multimedia Channel / Multimedia Playlist
- Create or select an existing Multimedia Channel / Multimedia Playlist
- For more information on a Multimedia Channel / Multimedia Playlist, see this article
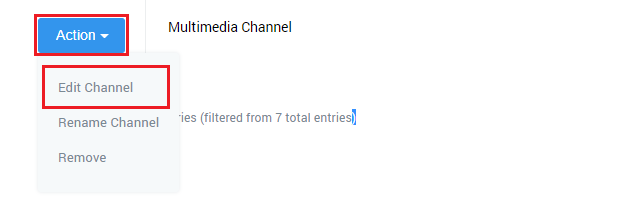
- Select an existing Multimedia Channel / Multimedia Playlist, by clicking on Action, then Edit
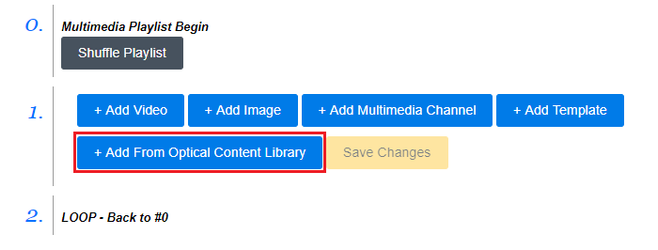
- To add an Optical Content Video, click on the + Add From Optical Content Library button
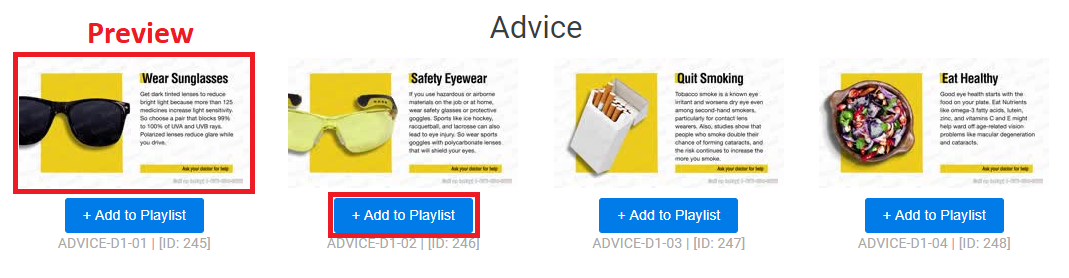
- Preview the Optical Content Video by clicking on the thumbnail. Add the Optical Content Video to your Multimedia Channel / Multimedia Playlist by clicking the + Add to Playlist button
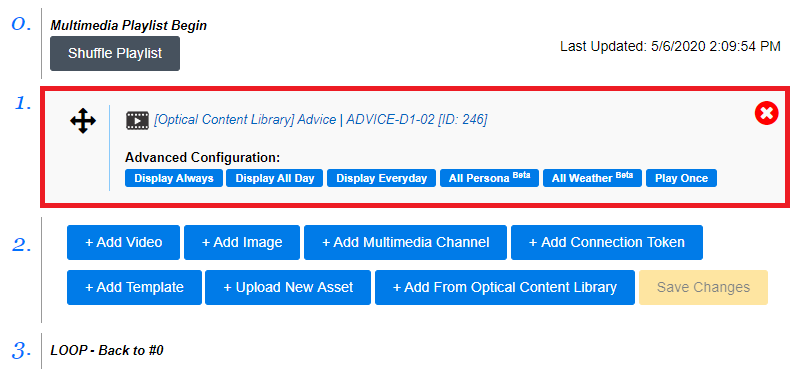
- You have successfully added an Optical Content Video to a Multimedia Channel
| Info |
|---|
You will need to Publish your Layout connected to the Multimedia Channel / Multimedia Playlist to view the changes on your NexSigns display. |
Applies to
OnePass 3.1.x, NexSigns 2.x, NexSigns 3.x
Related articles
| Filter by label (Content by label) | ||||||||||||||||||
|---|---|---|---|---|---|---|---|---|---|---|---|---|---|---|---|---|---|---|
|
...