This tutorial will show how to upload Assets to your OnePass account.add the Upload Assets linksAll Assets (Images / Videos) uploaded to NexSigns will be stored on the license owner's Asset Library on OnePass. They will be shared with all users with permissions to access the the owner's OnePass account.
| Info |
|---|
| How to Manage Users for your OnePass account (grant / remove access) |
Topics Covered
| Table of Contents | ||||||||
|---|---|---|---|---|---|---|---|---|
|
...
Login to OnePass and navigate to your Asset Library / Asset Manager
- Login to OnePass - (For more information, see How to access OnePass)
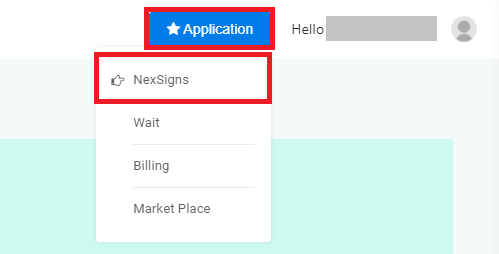
- Click on Application then select NexSigns
- Select your desired Product License and click on Start Action
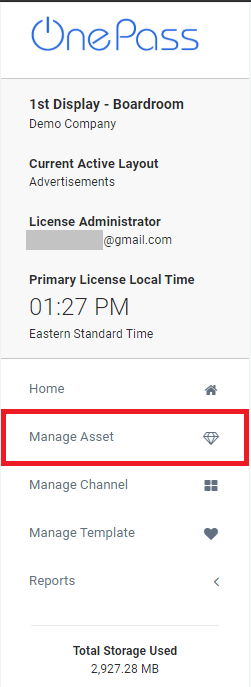
- Select Manage Asset located in the left menu
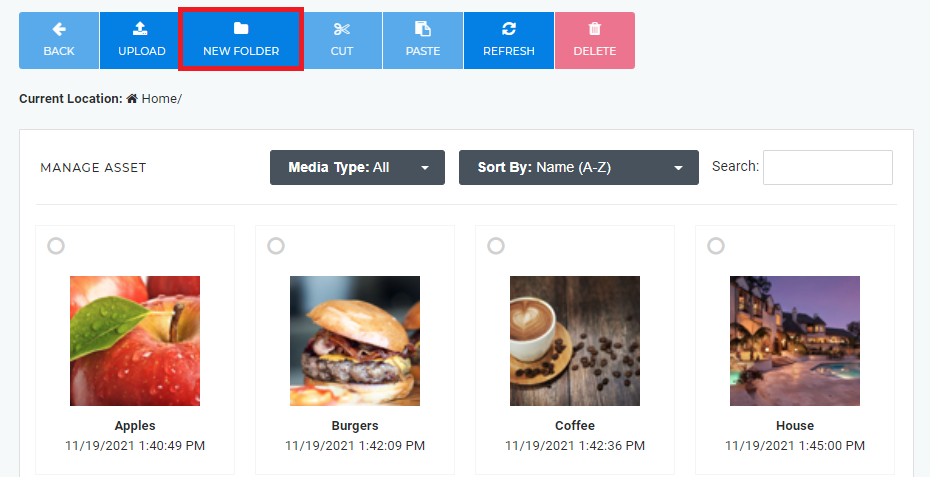
- You have successfully navigated to your Asset Library / Asset Manager page.
...
Upload New Assets to the Asset Library
see Upload Assets
| Info |
|---|
| You can upload a new Asset and add it automatically to the playlist directly on a Multimedia Channel. |
Rename an Asset / Modify the Description
- Navigate to your Asset Library / Asset Manager
- Click on New Folder
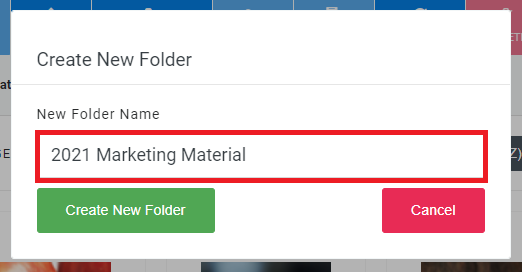
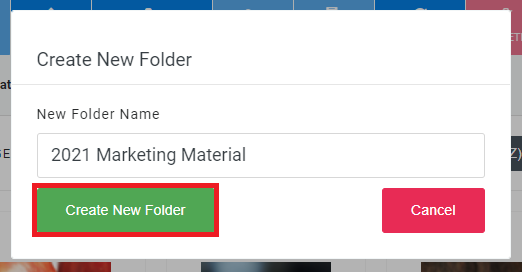
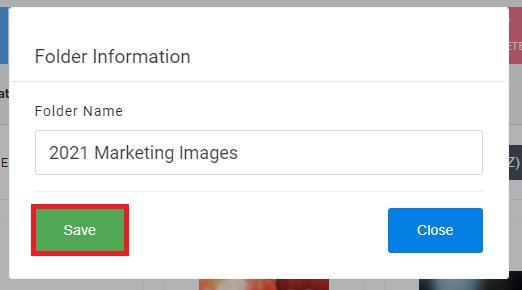
Type in a Folder Name
Click on Create New Folder
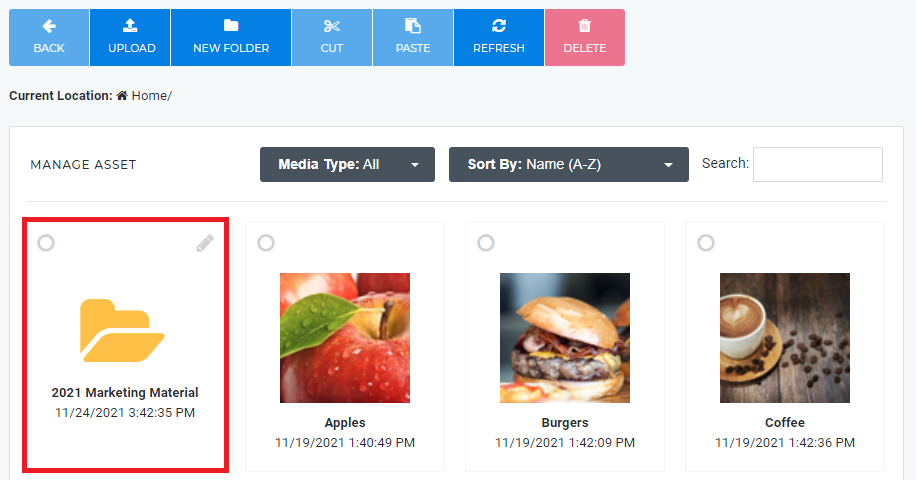
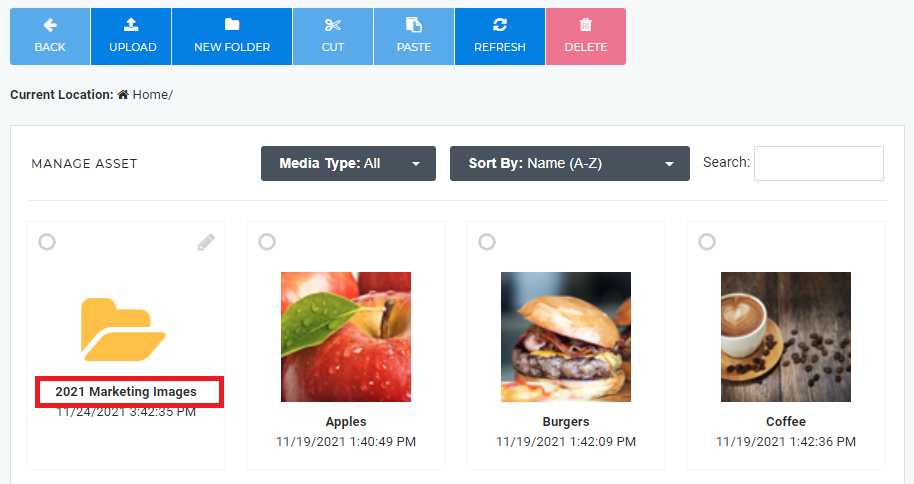
You have successfully Created a New Folder
...
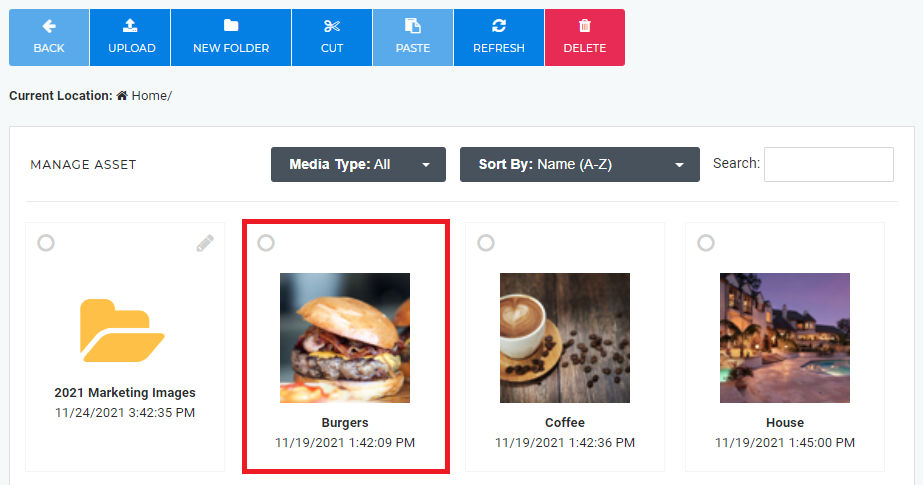
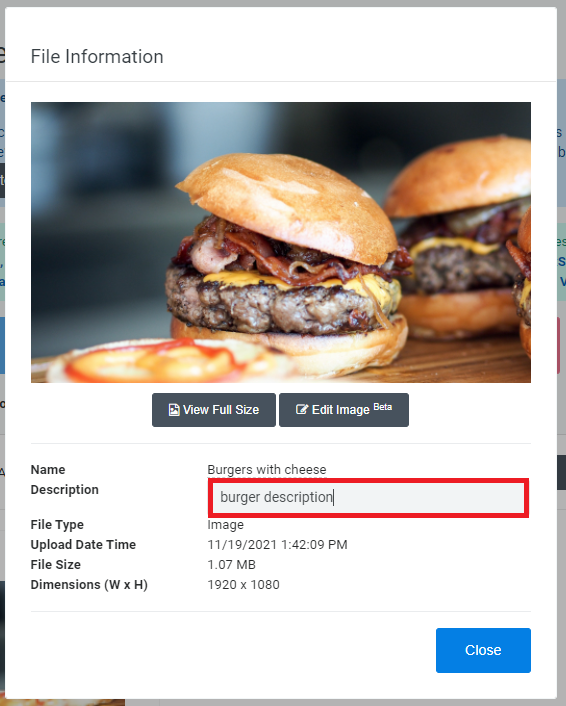
- on the desired Asset
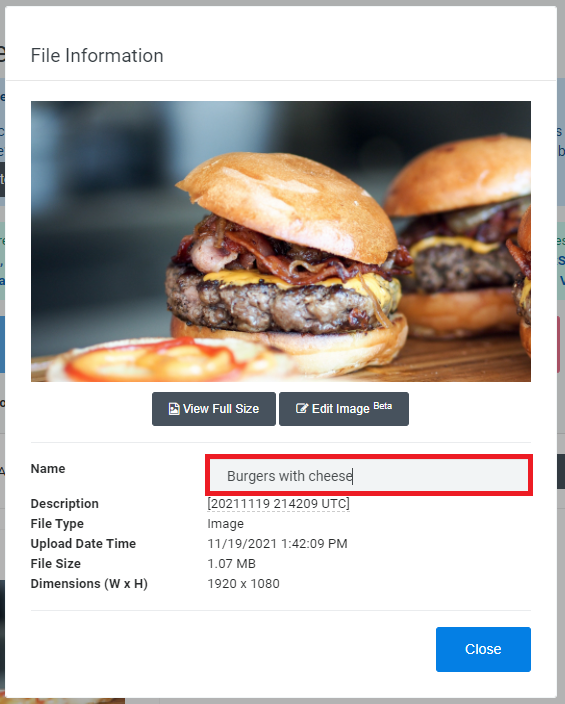
- Click on the Name or Description text box and modify it respectively
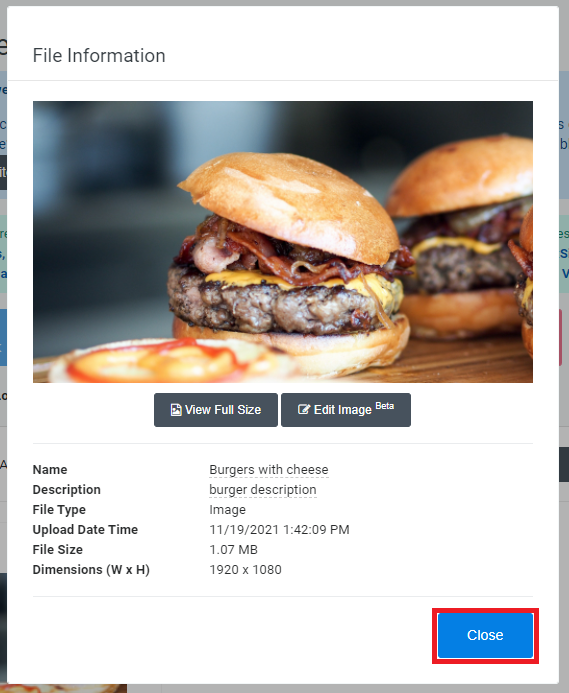
- Click on Close
- You have successfully Renamed / Modified the Description of an Asset
Edit Images
see Edit Images with the NexSigns Image Editor
Create a Folder
- Navigate to your Asset Library / Asset Manager
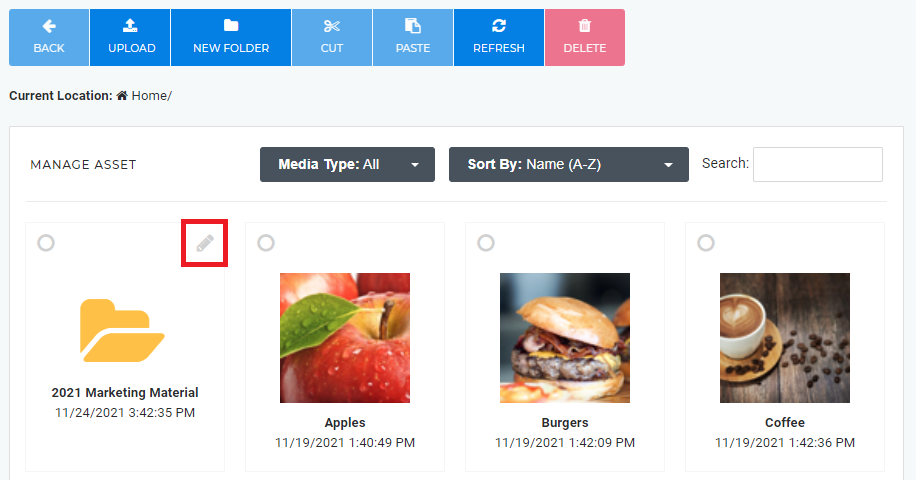
- Find the desired folder, and click on the Pencil / Edit Icon
Edit the Click on New Folder - Type in a Folder Name
- Click on Save Create New Folder
- You have successfully Renamed Created a New Folder
Rename a Folder
- Navigate to your Asset Library / Asset Manager
- Find the desired Folderfolder, and click on the Pencil / Edit Icon
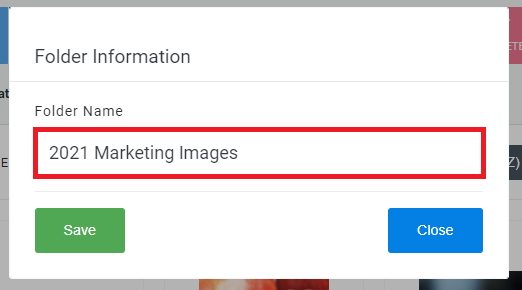
- Edit the Folder Name
- Click on Save
- You have successfully Renamed a Folder
...
- Navigate to your Asset Library / Asset Manager
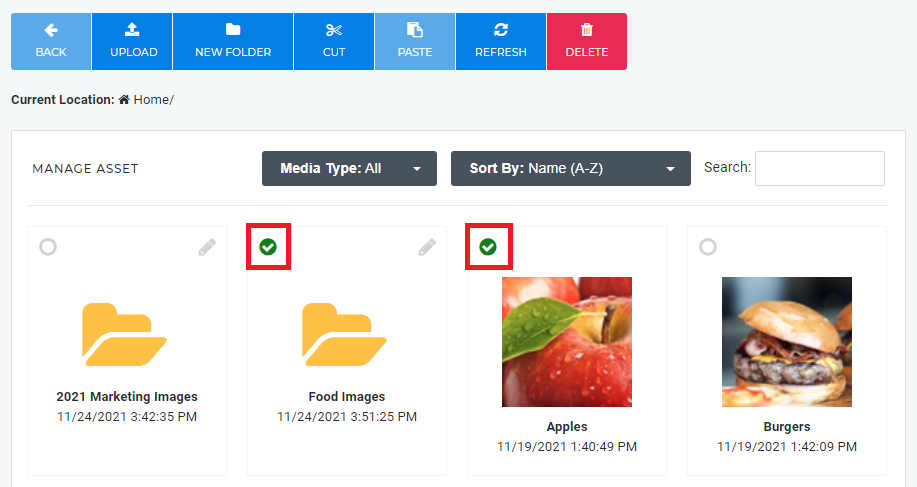
- Select the desired Assets (Images / Videos) and Folders by clicking on the Radio Buttons
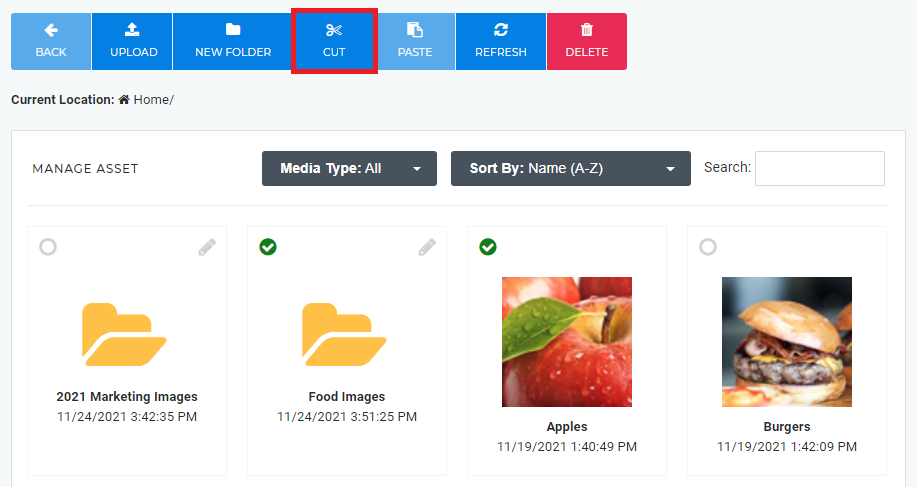
- Click on the Cut button in the menu bar
- Navigate to the desired Destination Folder and click on the Paste button
- You have successfully Moved Asset(s) and Folder(s)
Delete Assets and Folders
| Warning | ||
|---|---|---|
| ||
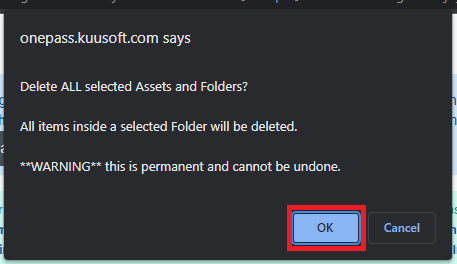
All items inside a selected folder will be deleted. Deleting Assets (Images / Videos) and Folders is permanent and cannot be undone. |
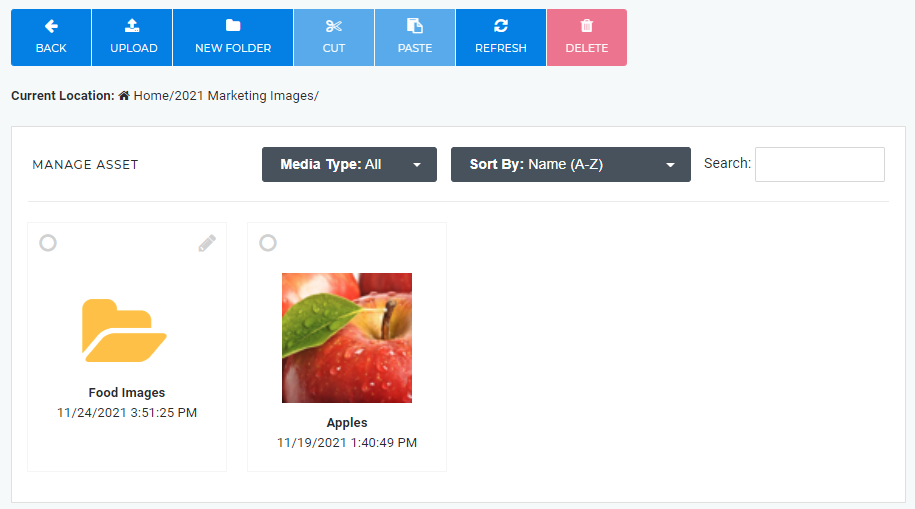
- Navigate to your Asset Library / Asset Manager
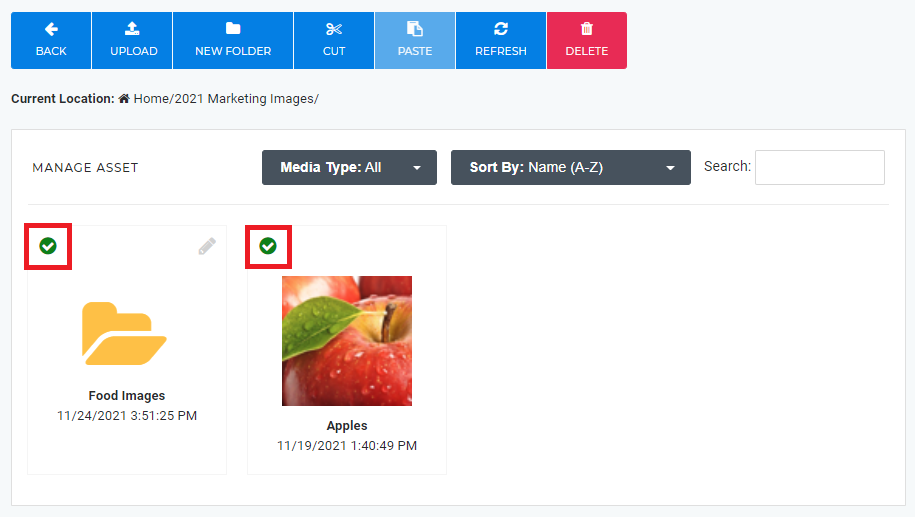
- Select the desired Assets (Images / Videos) and Folders by clicking on the Radio Buttons
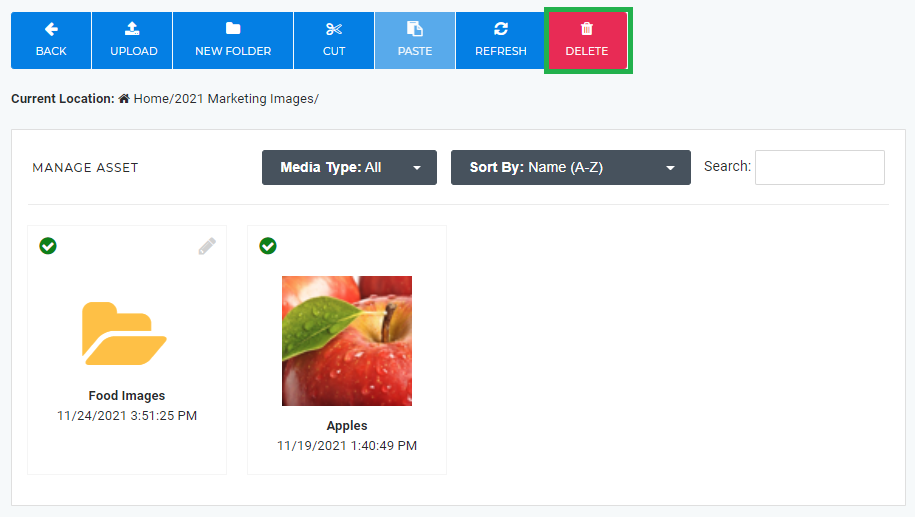
- Click on the Delete button in the menu bar
- Review and confirm to delete the selected Assets (Images / Videos) and Folders and click on the OK button
- You have successfully Deleted Asset(s) and Folder(s)
...
