Templates are pre-configured Video designs with editable Image and Text Fields. In this article, we will explore how to add and set up a Template.
Login to OnePass and navigate to the NexSigns Template Marketplace
- Login to OnePass - (For more information, see How to access OnePass)
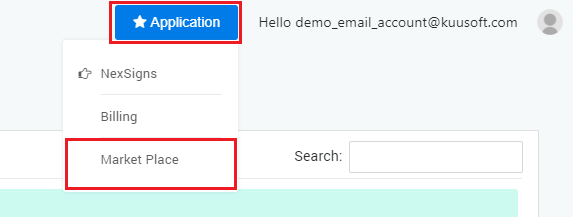
- Click on Application then select Market Place
- You have successfully navigated to the NexSigns Template Marketplace
...
Navigate to the NexSigns Template Configuration Page
- Login to OnePass - (For more information, see How to access OnePass)
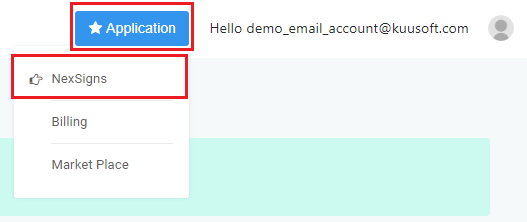
- Click on Application then select NexSigns
- Click on Start Action on your intended Product License
- Select Manage Template located in the left menu
- Located your desired Template, click on Action and select Edit Template
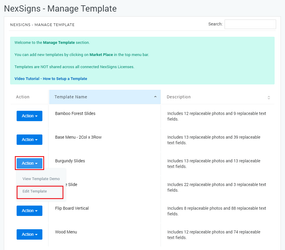
- You have successfully navigated to the NexSigns Template Configuration Page
...
- Navigate to the NexSigns Template Configuration Page
Click on Choose Files and select the desired Images
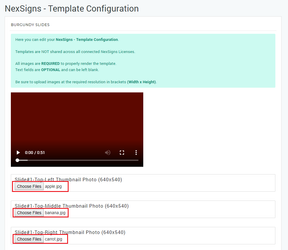
Warning All images are REQUIRED to successfully render a template. Failure to upload all images will cause the rendering to fail.
Required Image dimensions are shown in pixels (Width x Height) - in this example, the images should have a Width of 640 and a Height of 480 in pixels.
- Scroll down and select Save Changes

- You have successfully added Images to a Template
Modify Text Fields in a Template
- Navigate to the NexSigns Template Configuration Page
Edit the desired Text fieldsText Fields
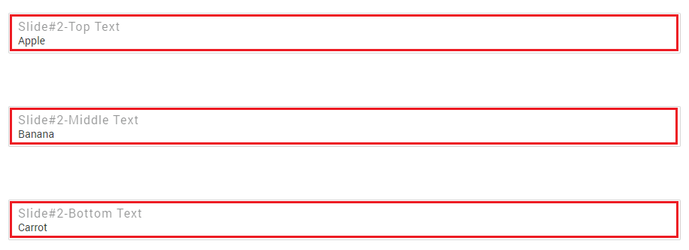
Info Text fields are OPTIONAL and can be left blank.
- Scroll down and select Save Changes
- You have modified the Text in a Template
| Info |
|---|
You must Publish a Layout connected to your Template to start the Template Rendering. |
...