These steps will help users configure advanced Wi-Fi Settings on both Nano-PC2 / Nano-PC3 devices using a USB Mouse.
| Warning |
|---|
Configuration requires any standard Wired USB Mouse, Wireless USB Mouse, or Wireless KB Mouse Combo (not included).
For any standard Wireless Networks, view this article - Configure Wi-Fi Settings on a Nano-PC (USB Mouse) - Engineer Menu If required, view this article on how to Change the Android Language Setting on a Nano-PC |
Topics Covered
| Table of Contents | ||||||||
|---|---|---|---|---|---|---|---|---|
|
Configure Advanced Wi-Fi Settings on a Nano-PC device
- Setup your Nano-PC - How to Setup your Nano-PC
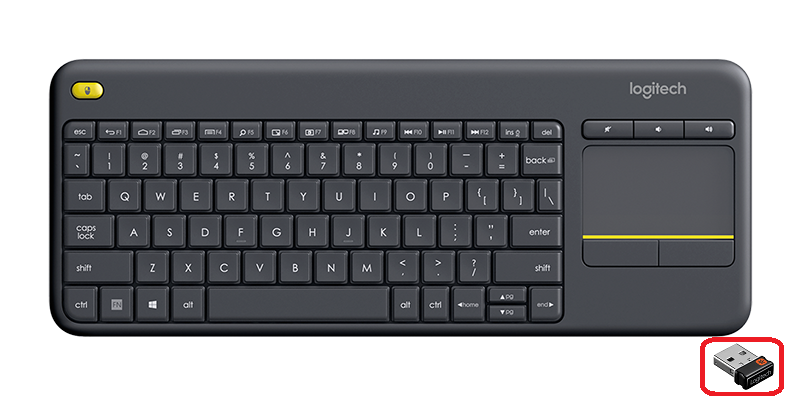
- Connect a USB mouse or a Wireless Keyboard Mouse Combo
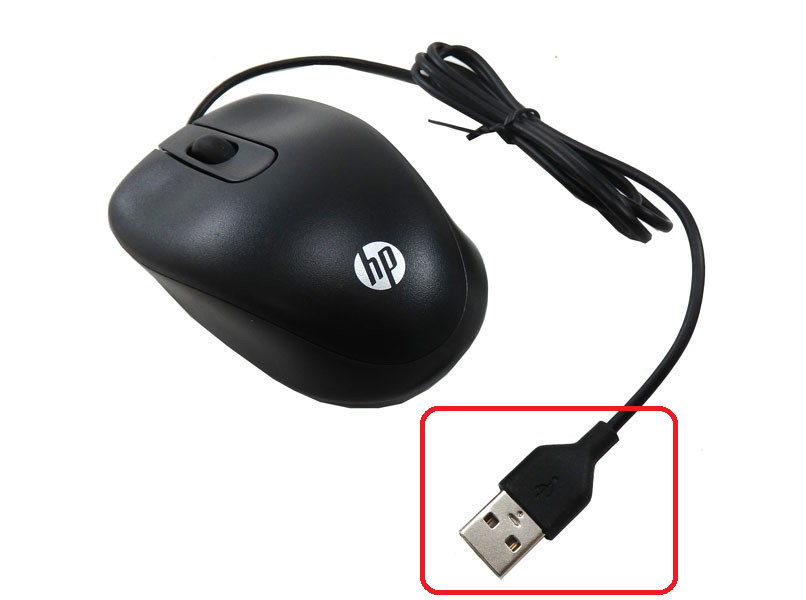
- Wired Mouse (Good) - insert the USB adapter into the Nano-PC device (located on the bottom beside the Power Cable)
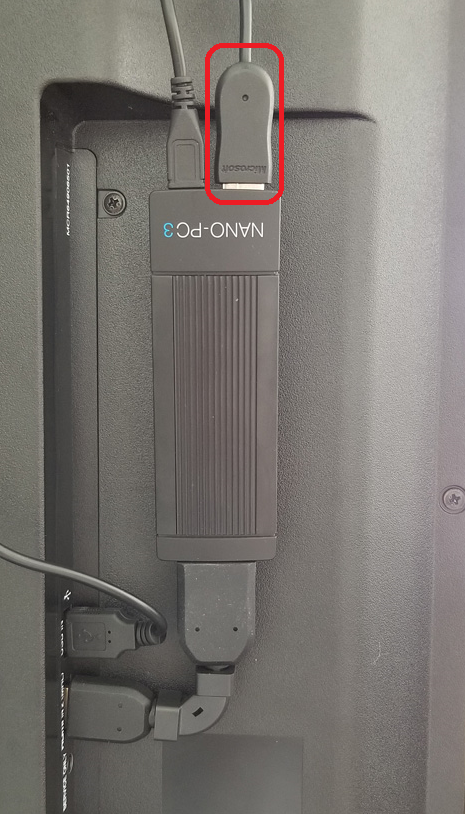
- Wireless Mouse (Better) - insert the USB Dongle into the Nano-PC device (located on the bottom beside the Power Cable)
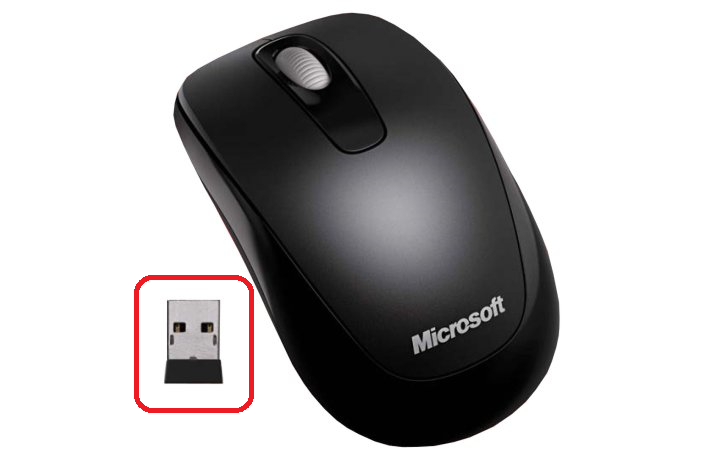
- Wireless Keyboard Mouse Combo (Best) - insert the USB Dongle into the Nano-PC device (located on the bottom beside the Power Cable)
- Wired Mouse (Good) - insert the USB adapter into the Nano-PC device (located on the bottom beside the Power Cable)
- Scroll to the top of the screen, Left Click and Hold, then drag the menu bar down


- Left Click and Hold the status bar, then drag it downwards


- Click on the Settings Menu Bar to expand it

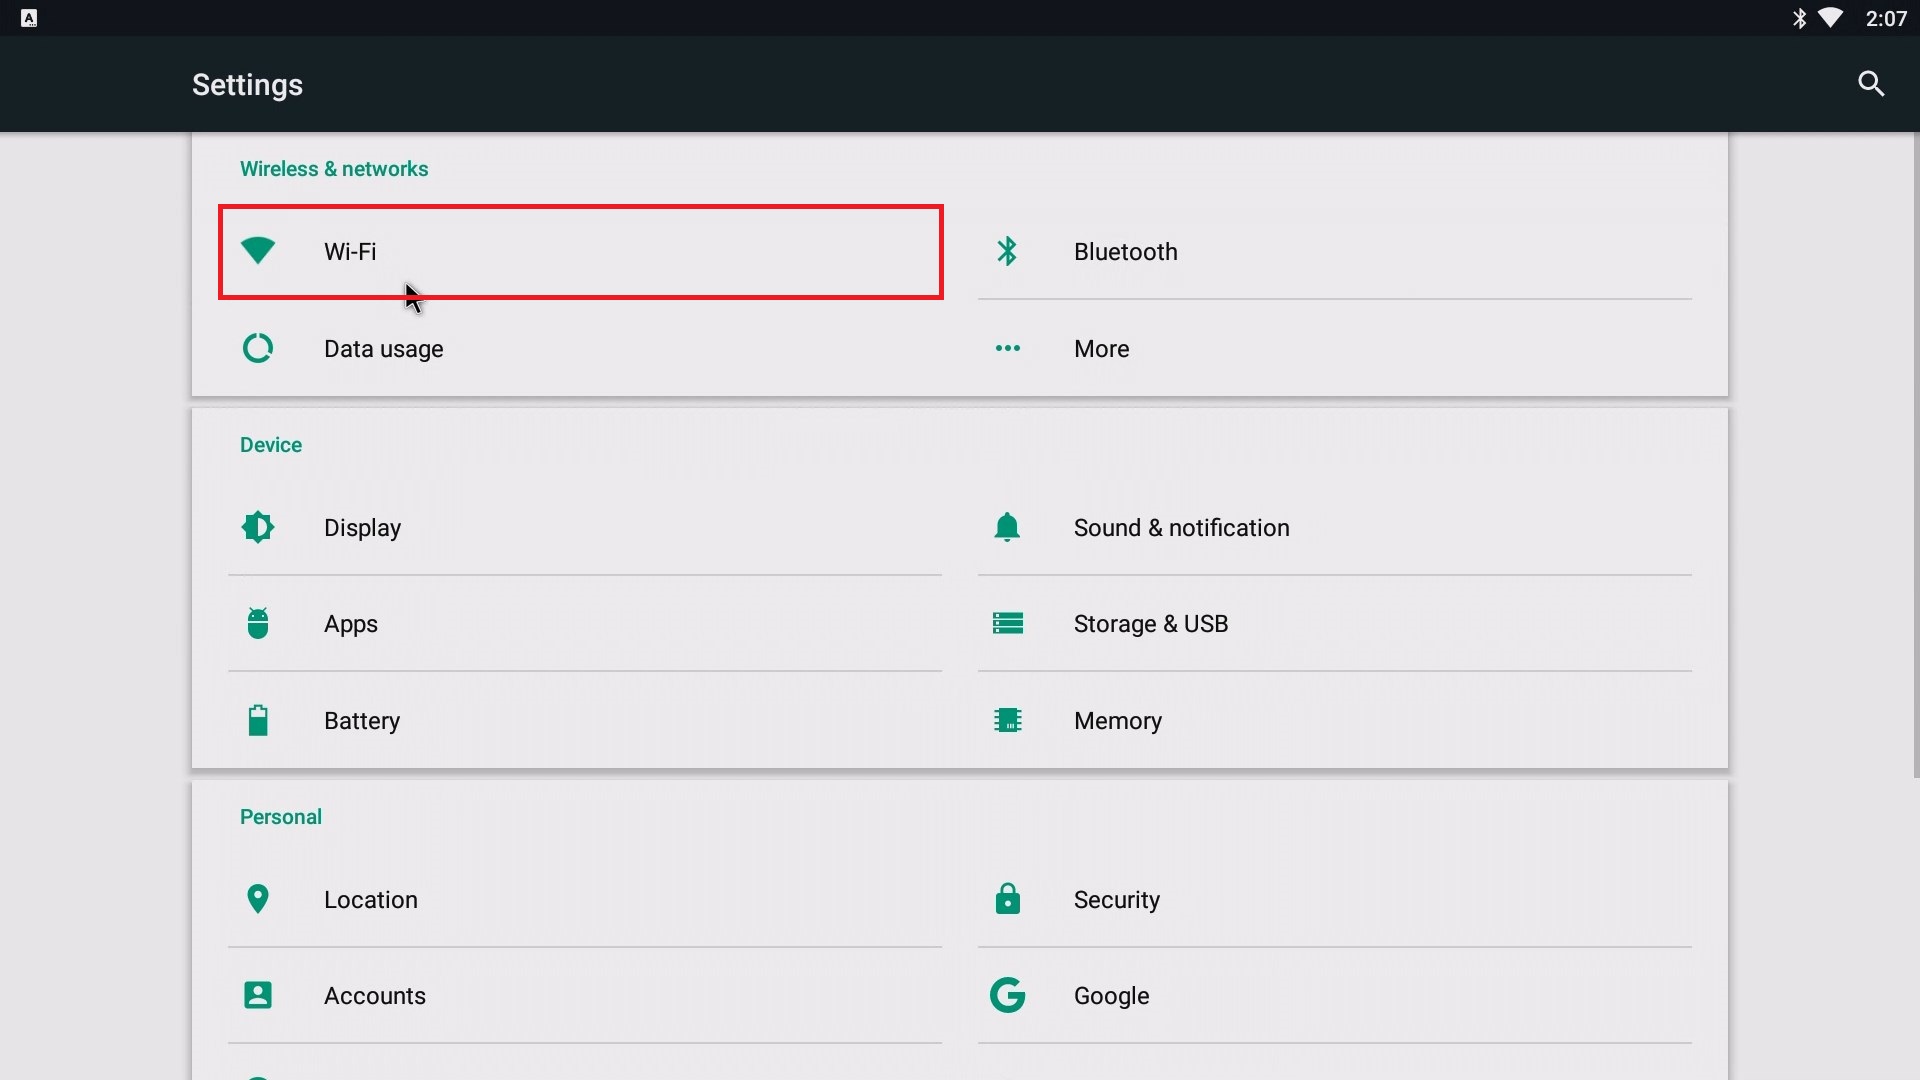
- Click on the Settings button

- Click on Wi-Fi
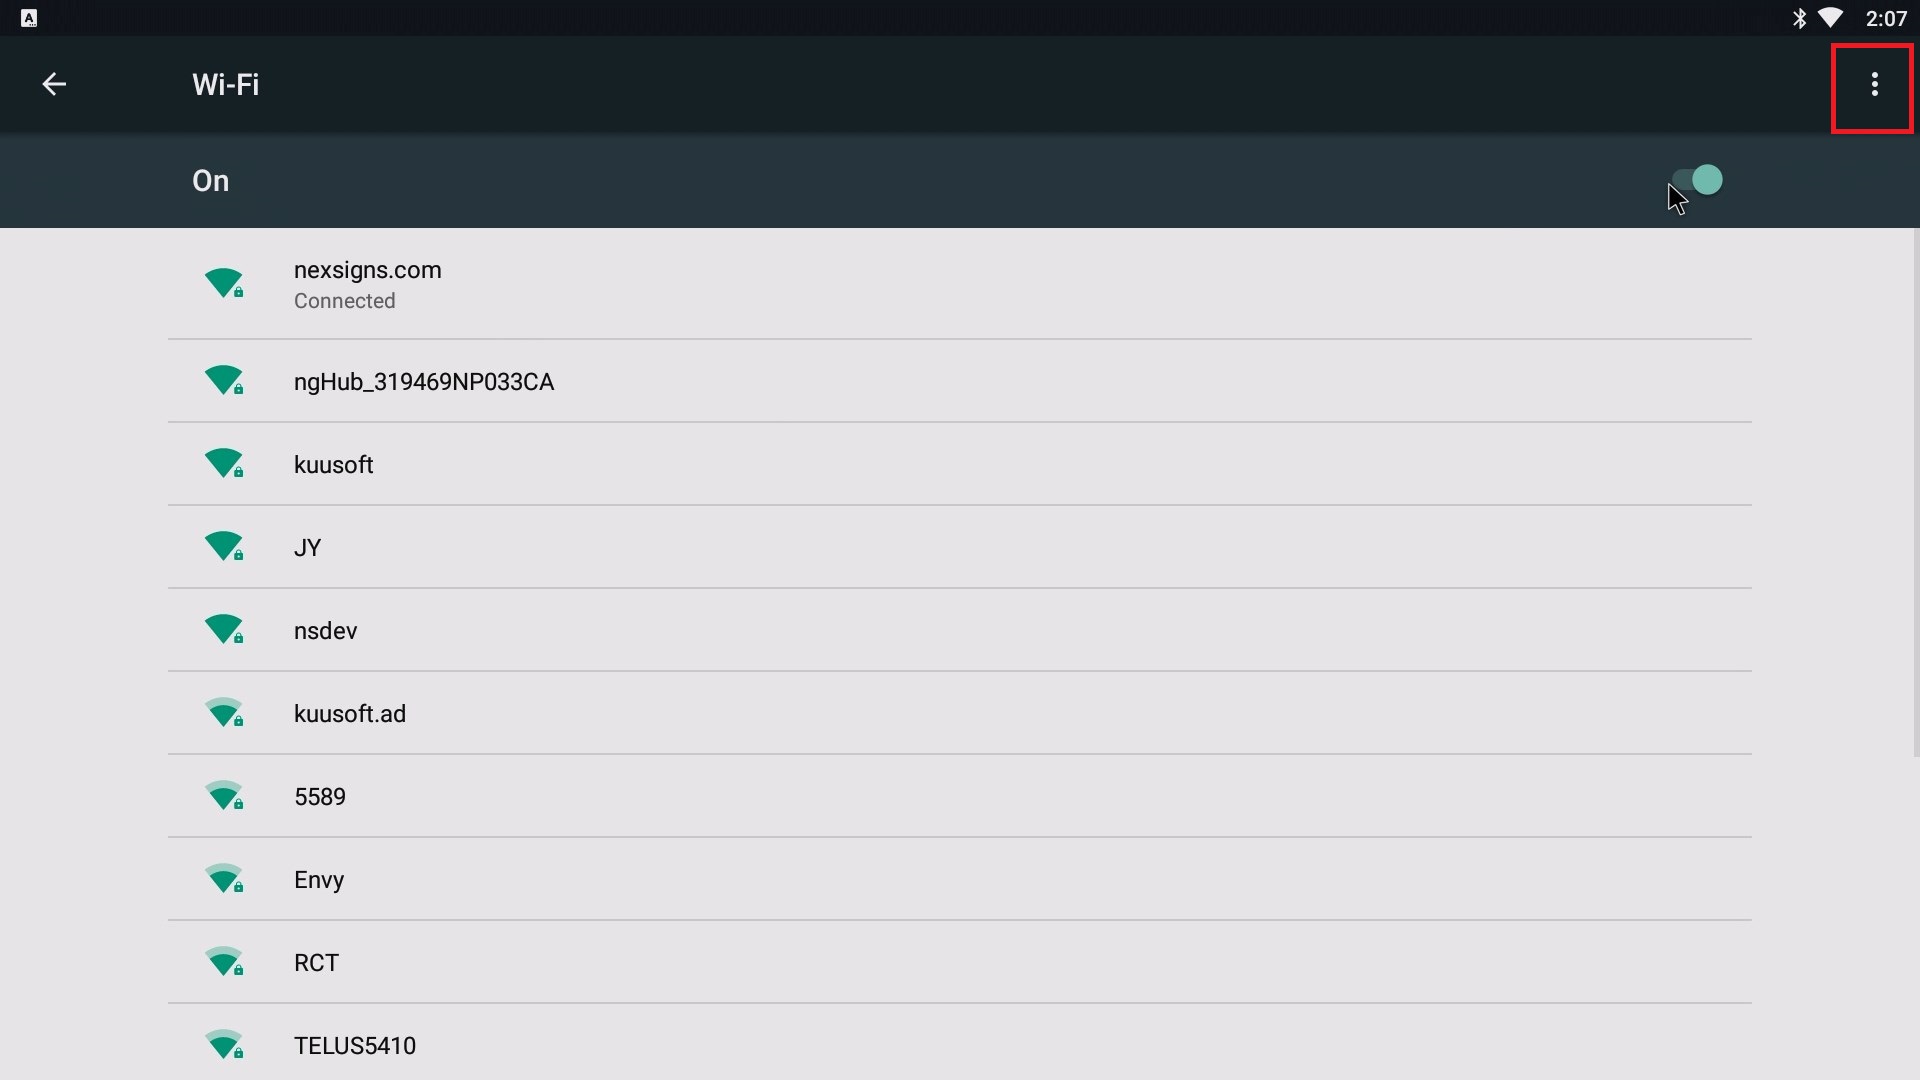
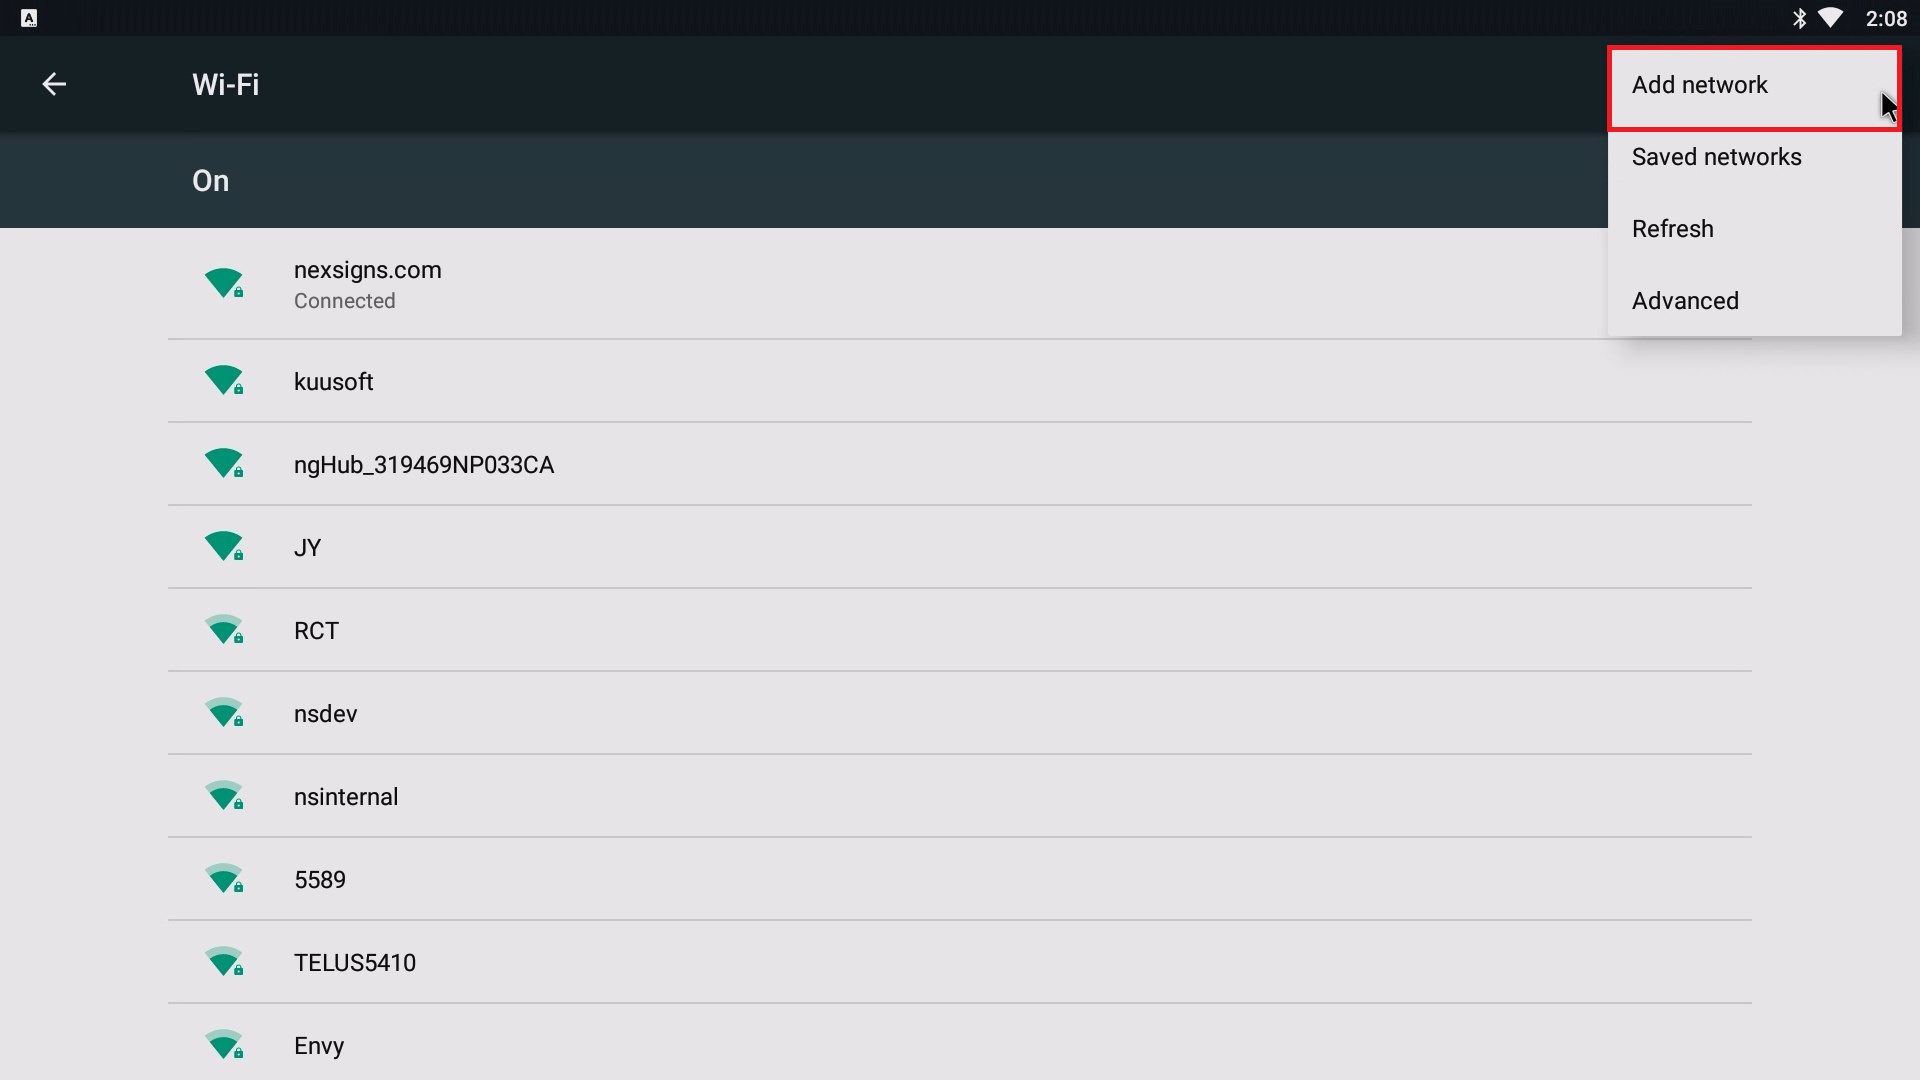
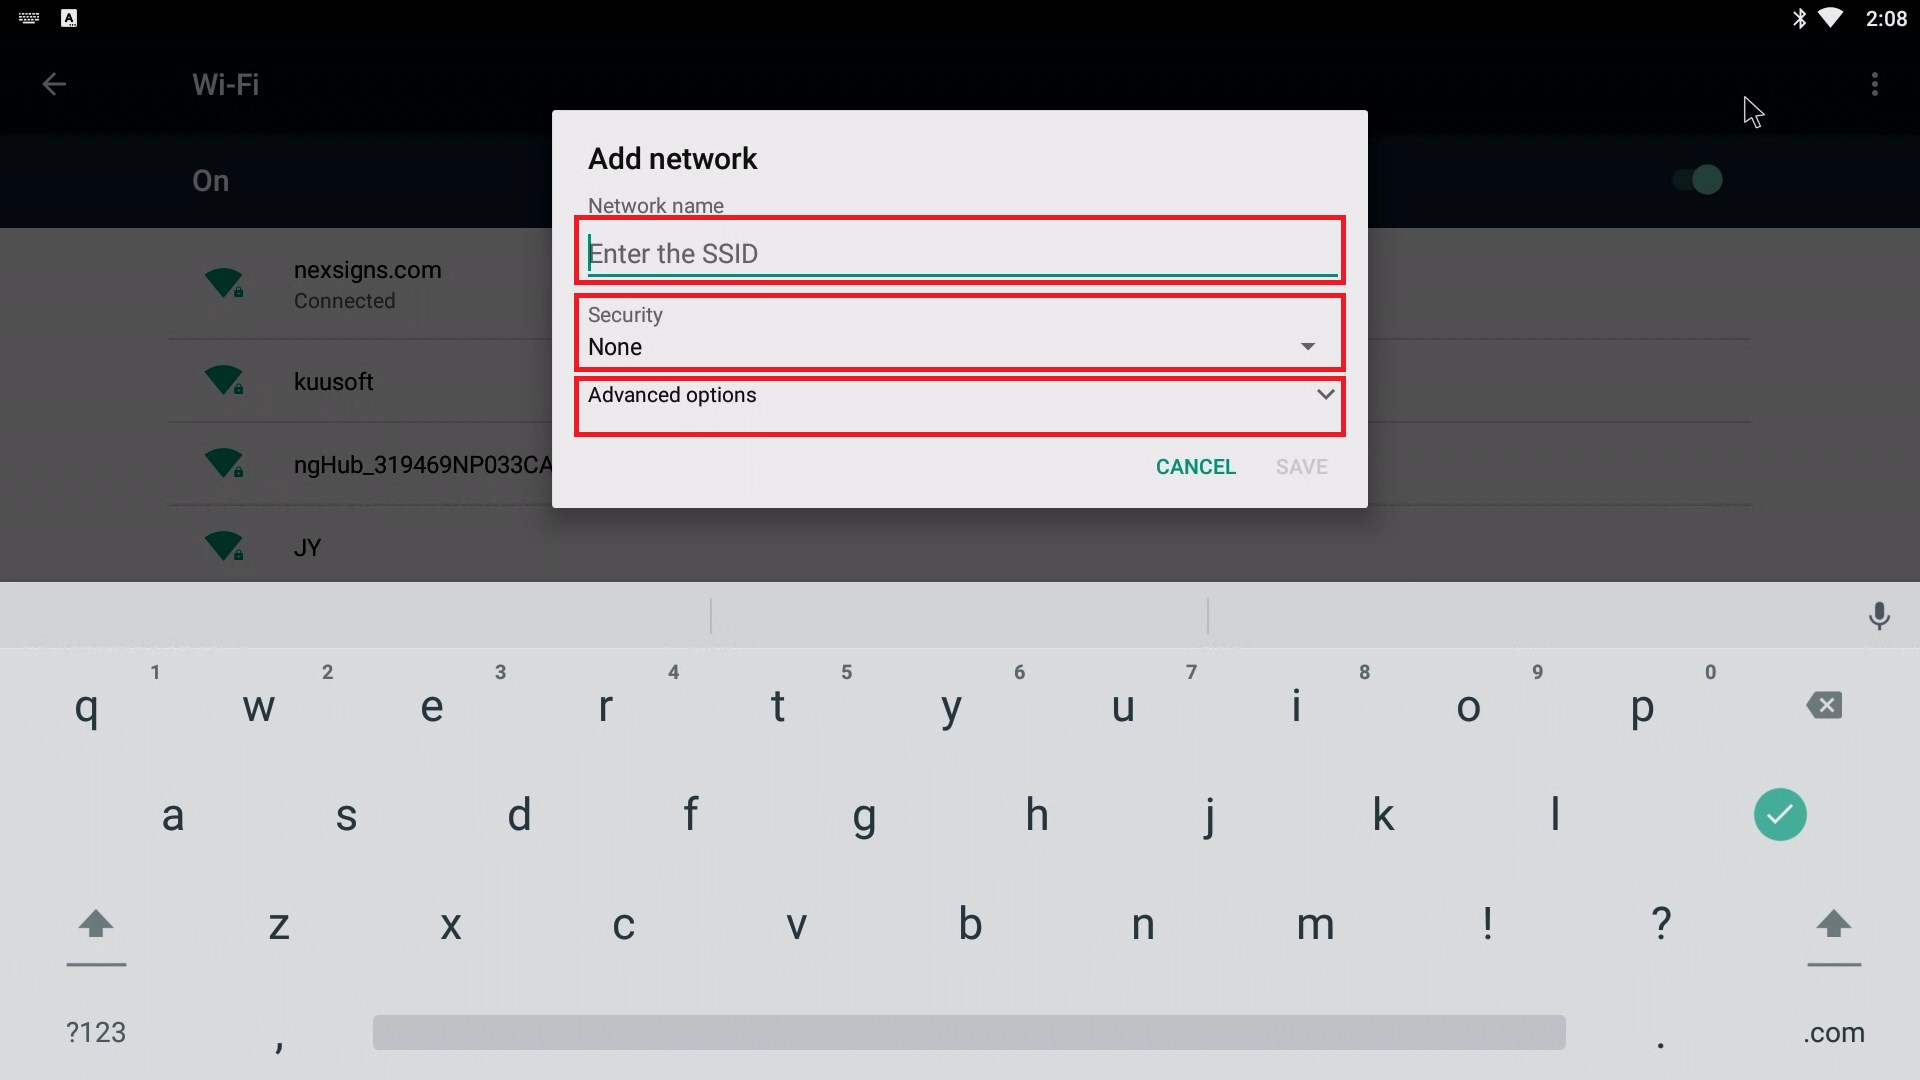
- Click on the More Options button and then select Add network
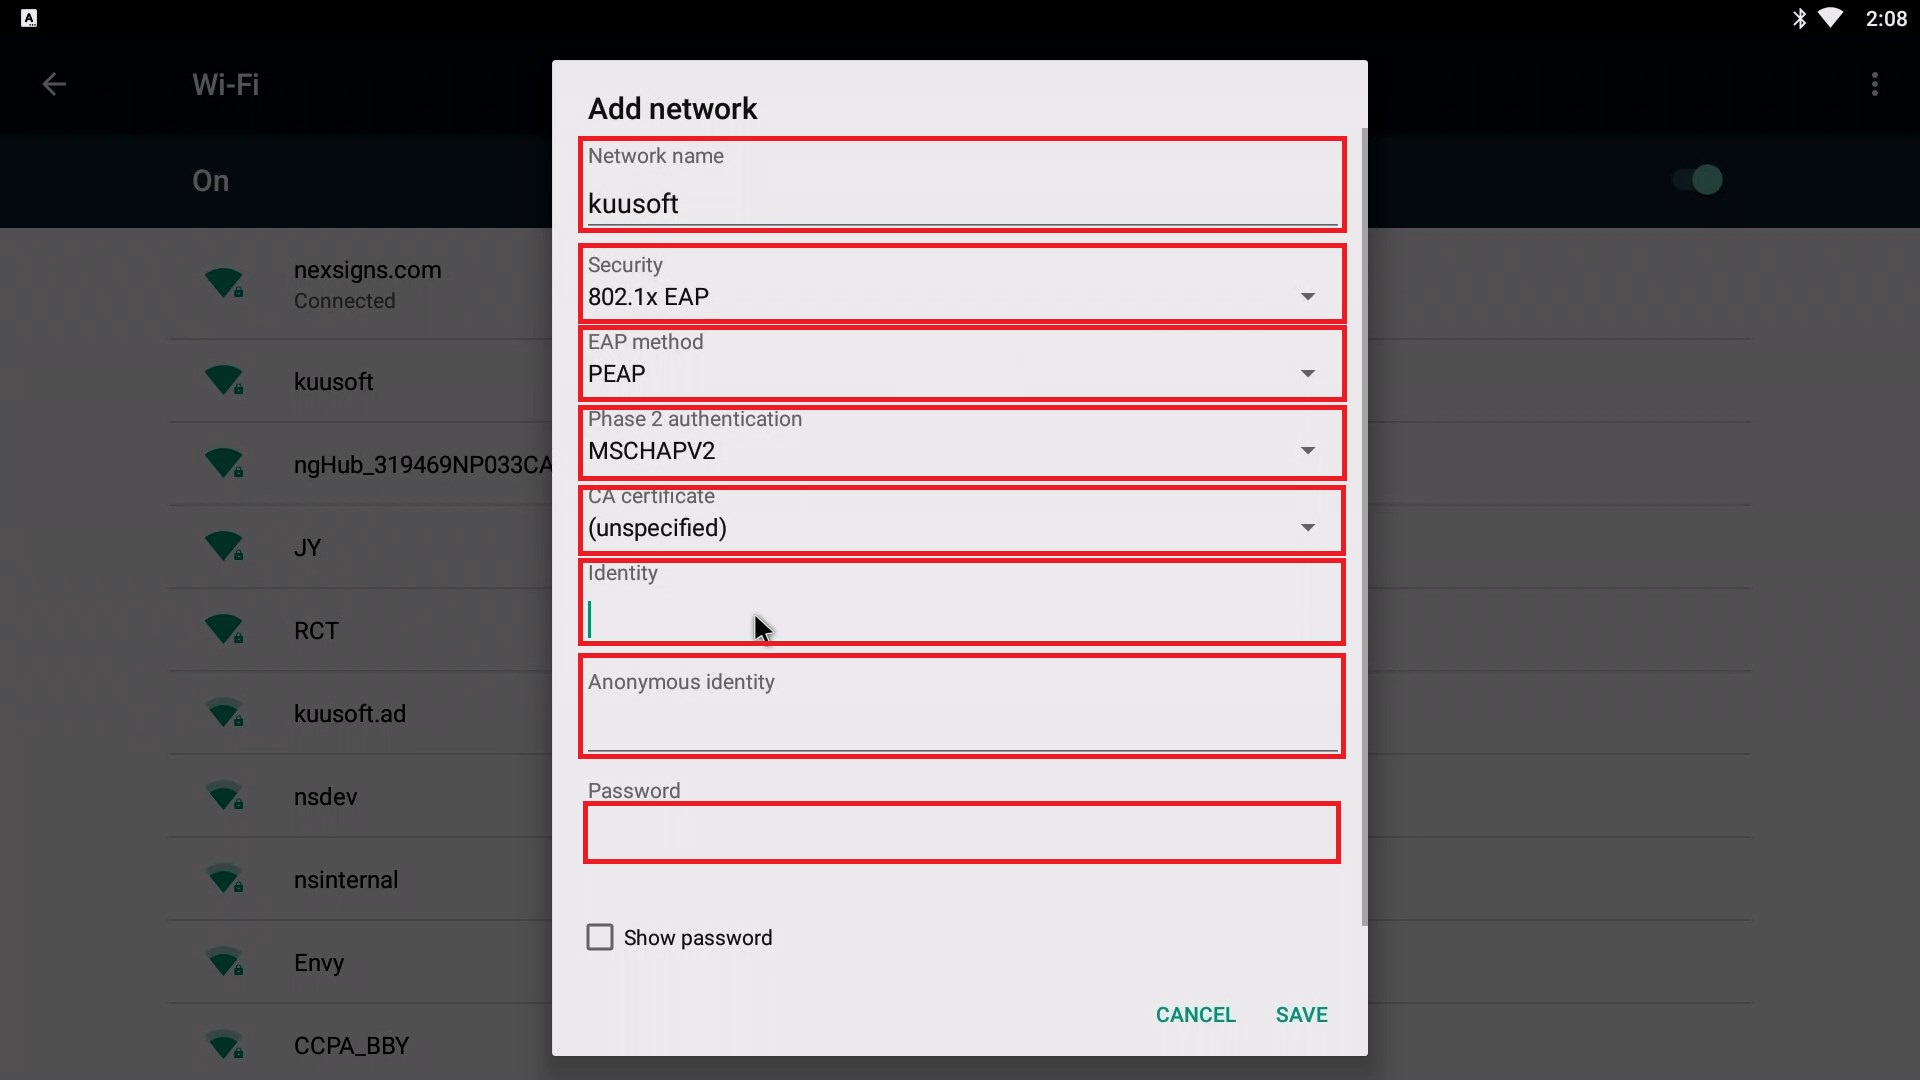
Input the desired Network Details, Security Settings, and Authentication information.
Warning Note that the Wi-Fi SSID and Wi-Fi Password are both case-sensitive and space-sensitive
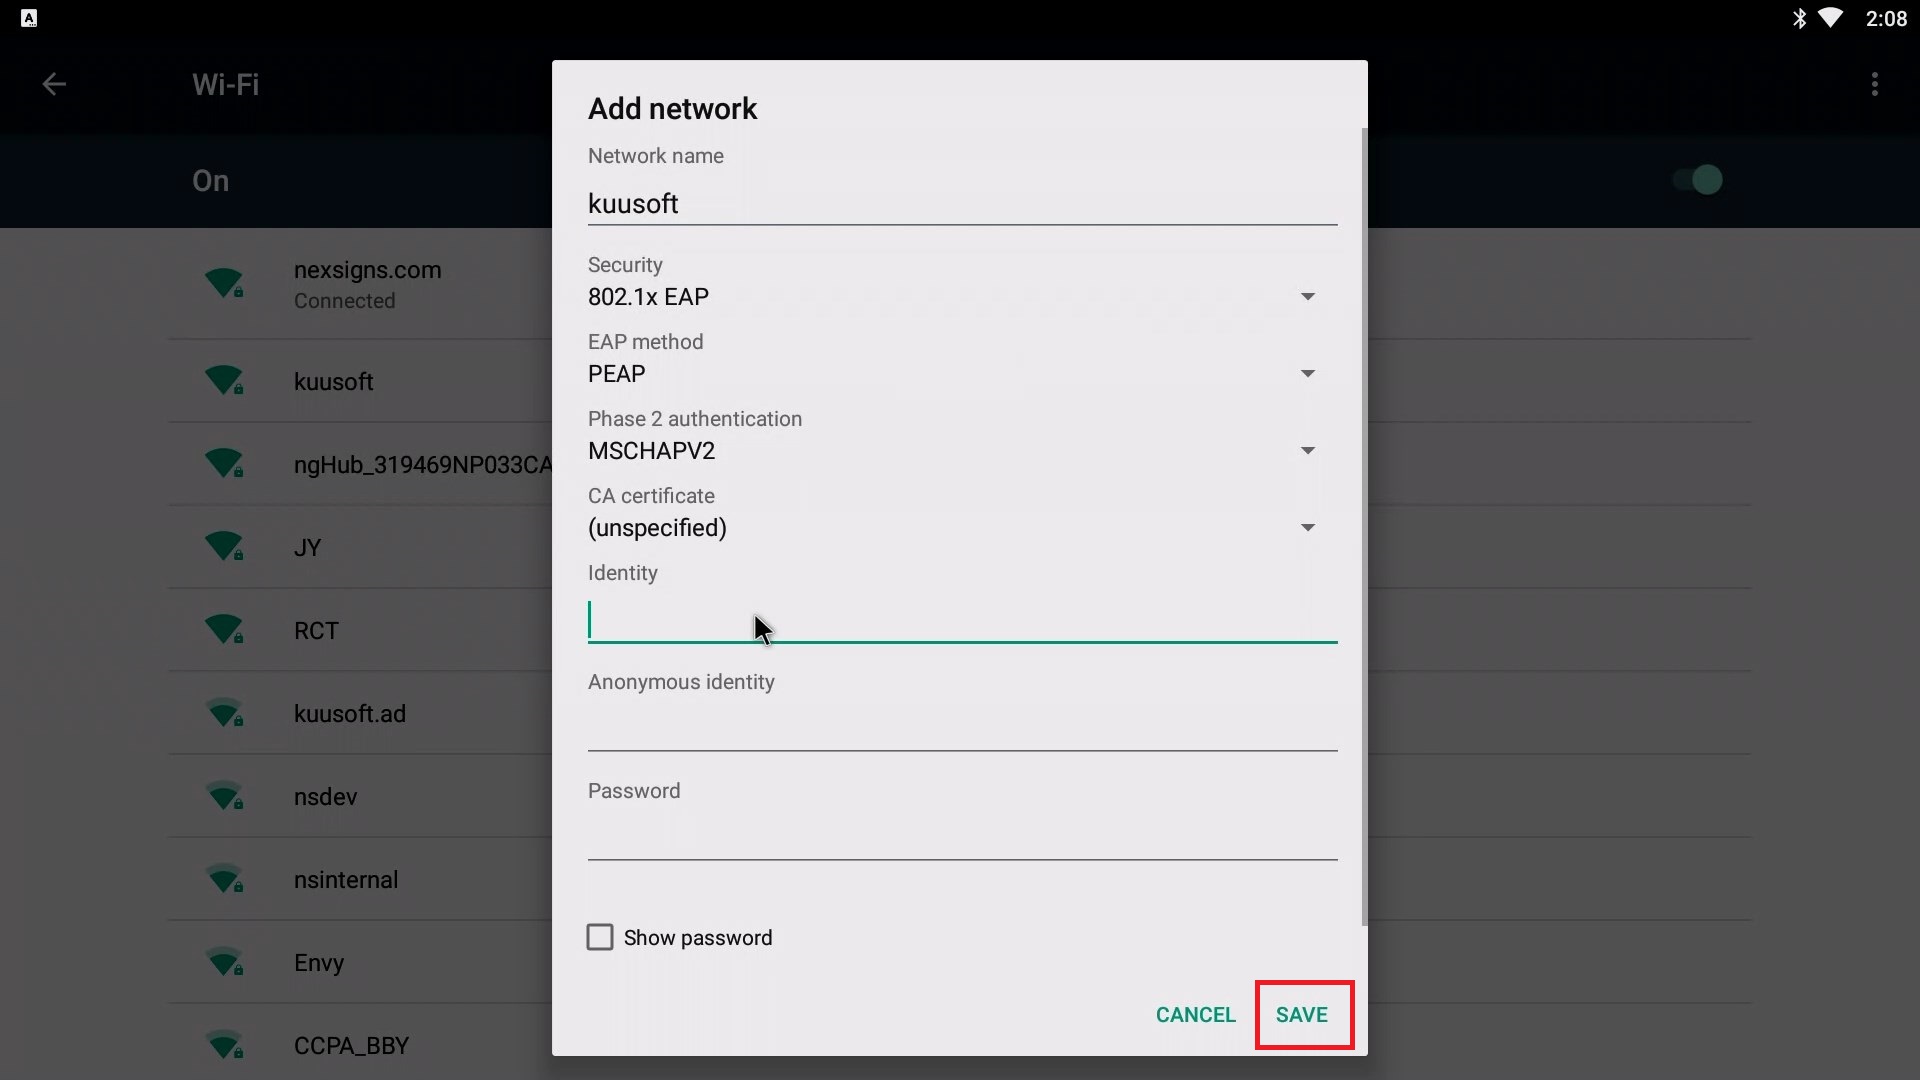
- Click on Save
- Reboot your Nano-PC device
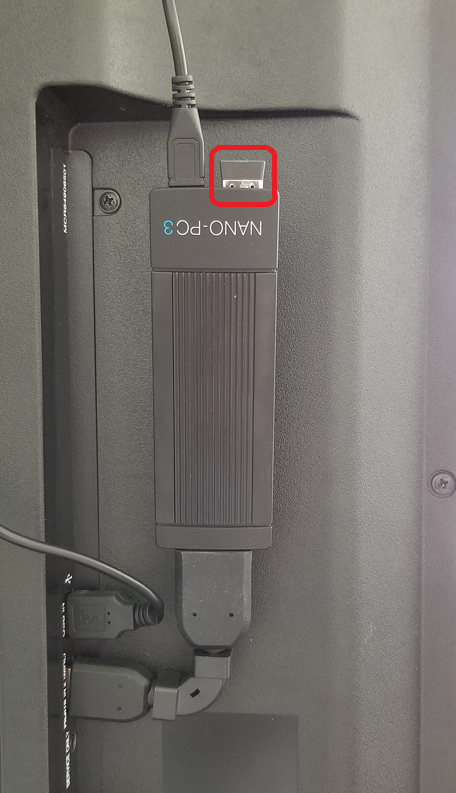
- Remove the USB Mouse from your Nano-PC
- You are done! When your Nano-PC device restarts, it will use your new Advanced Wi-Fi Settings
...