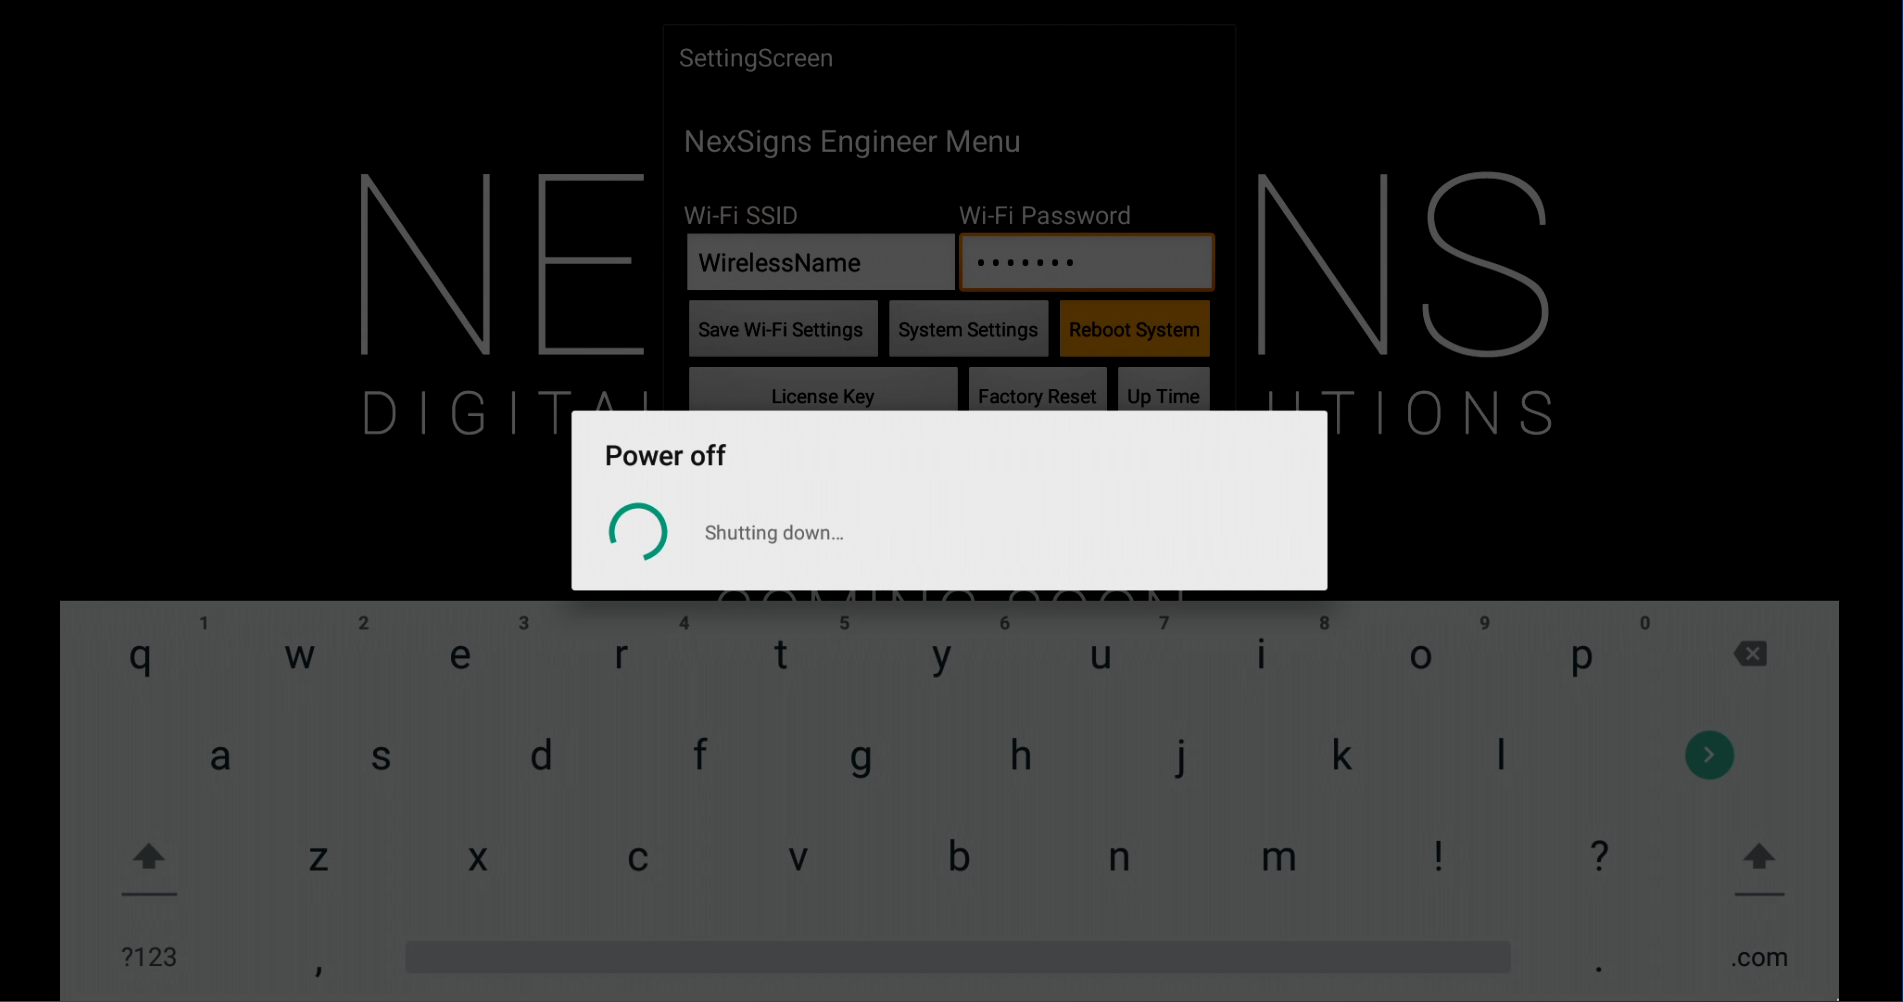
These steps will help users configure the Wi-Fi Settings on both Nano-PC2 / Nano-PC3 devices using a USB Mouse.

Configuration requires any standard Wired USB Mouse or Wireless USB Mouse (not included).

Here are additional options to configure your Wi-Fi Settings on your Nano-PC device, 

Configure Wi-Fi on a Nano-PC2 (requires a MicroSD)
Configure Wi-Fi on a Nano-PC3 (requires a USB Flash Drive)

Configure the Wi-Fi Settings on the Nano-PC device

  1. Setup your Nano-PC - How to Setup your Nano-PC
  2. Connect a USB mouse (complete either of the following)
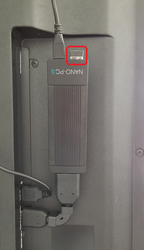
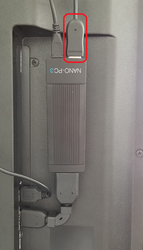
    1. Wired Mouse - insert the USB adapter into the Nano-PC device (located on the bottom beside the Power Cable)
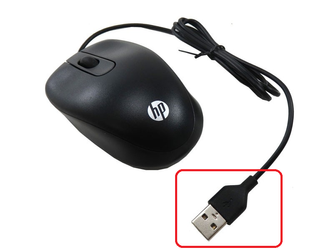
        

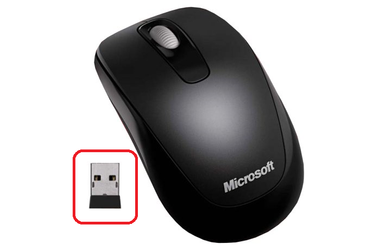
    2. Wireless Mouse (USB Dongle) - insert the USB Dongle into the Nano-PC device (located on the bottom beside the Power Cable)
       

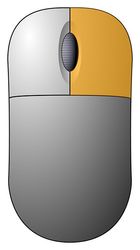
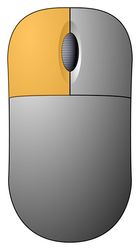
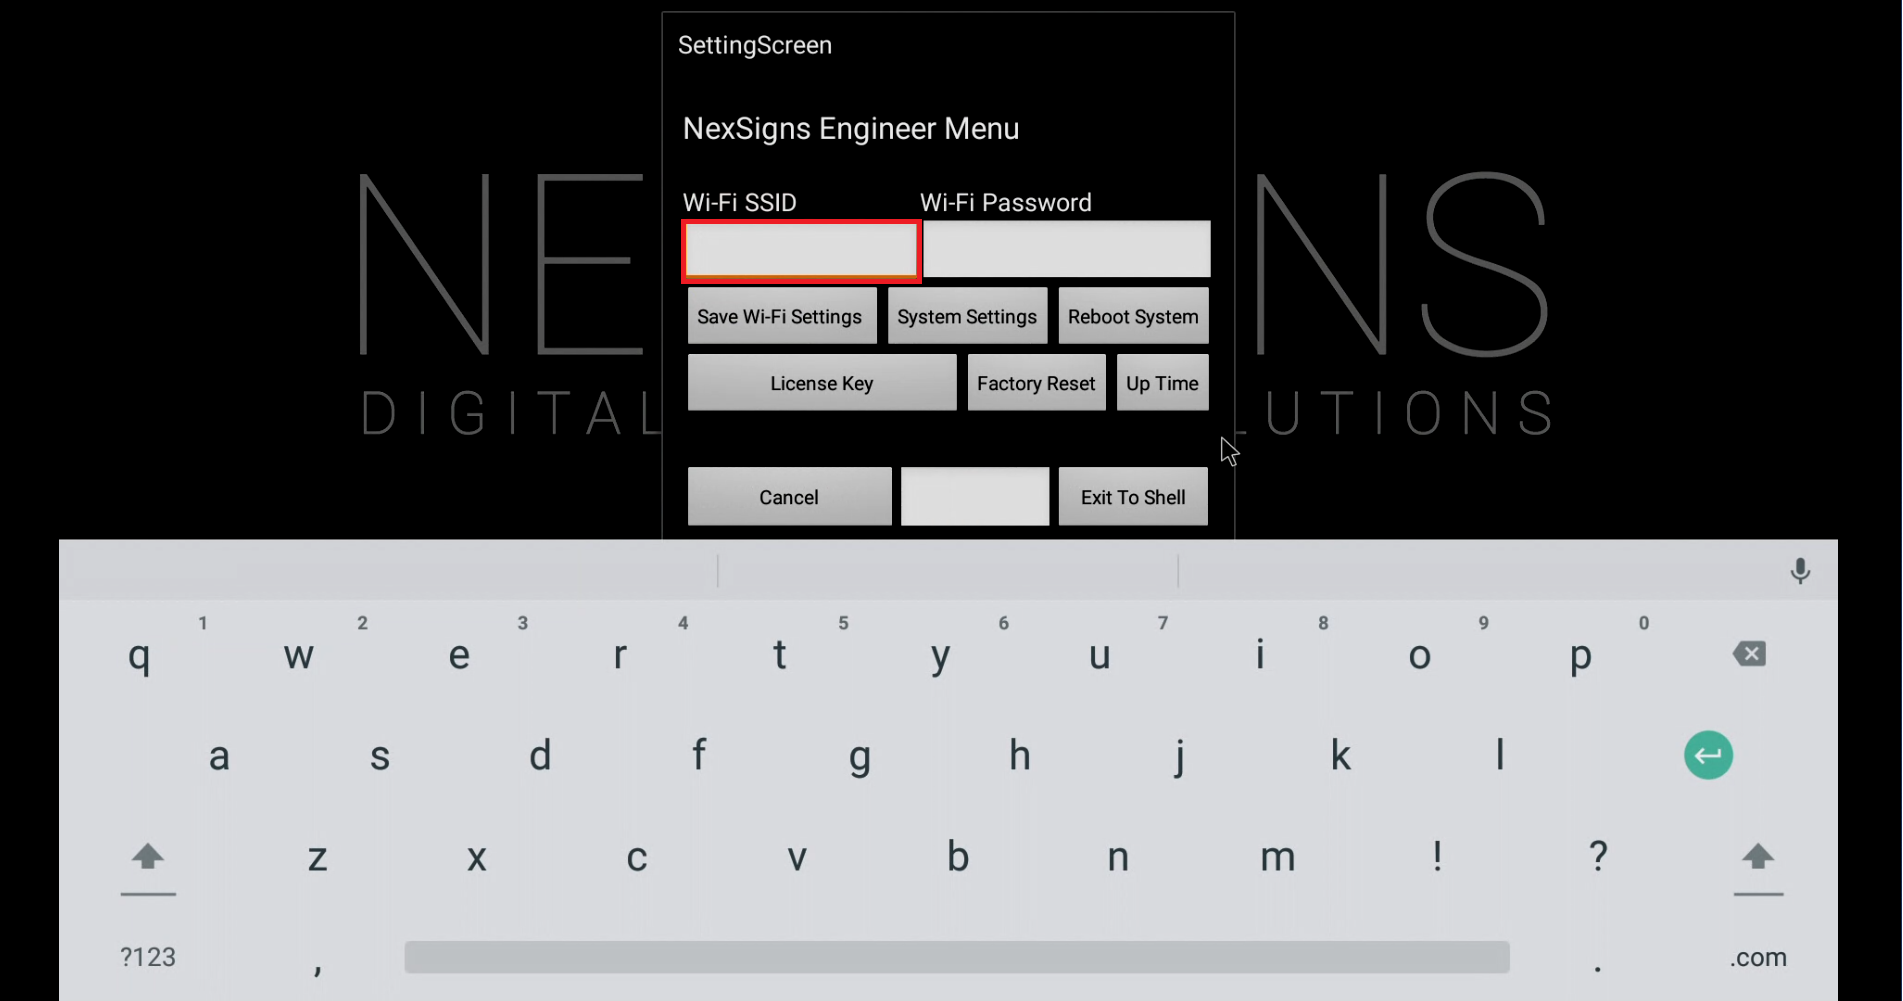
  3. Press the Right Mouse Button to launch the NexSigns Engineer Menu


  4. Left Click on the Text Box below Wi-Fi SSID.  Use the On-Screen Keyboard to enter your Wireless Name (SSID).


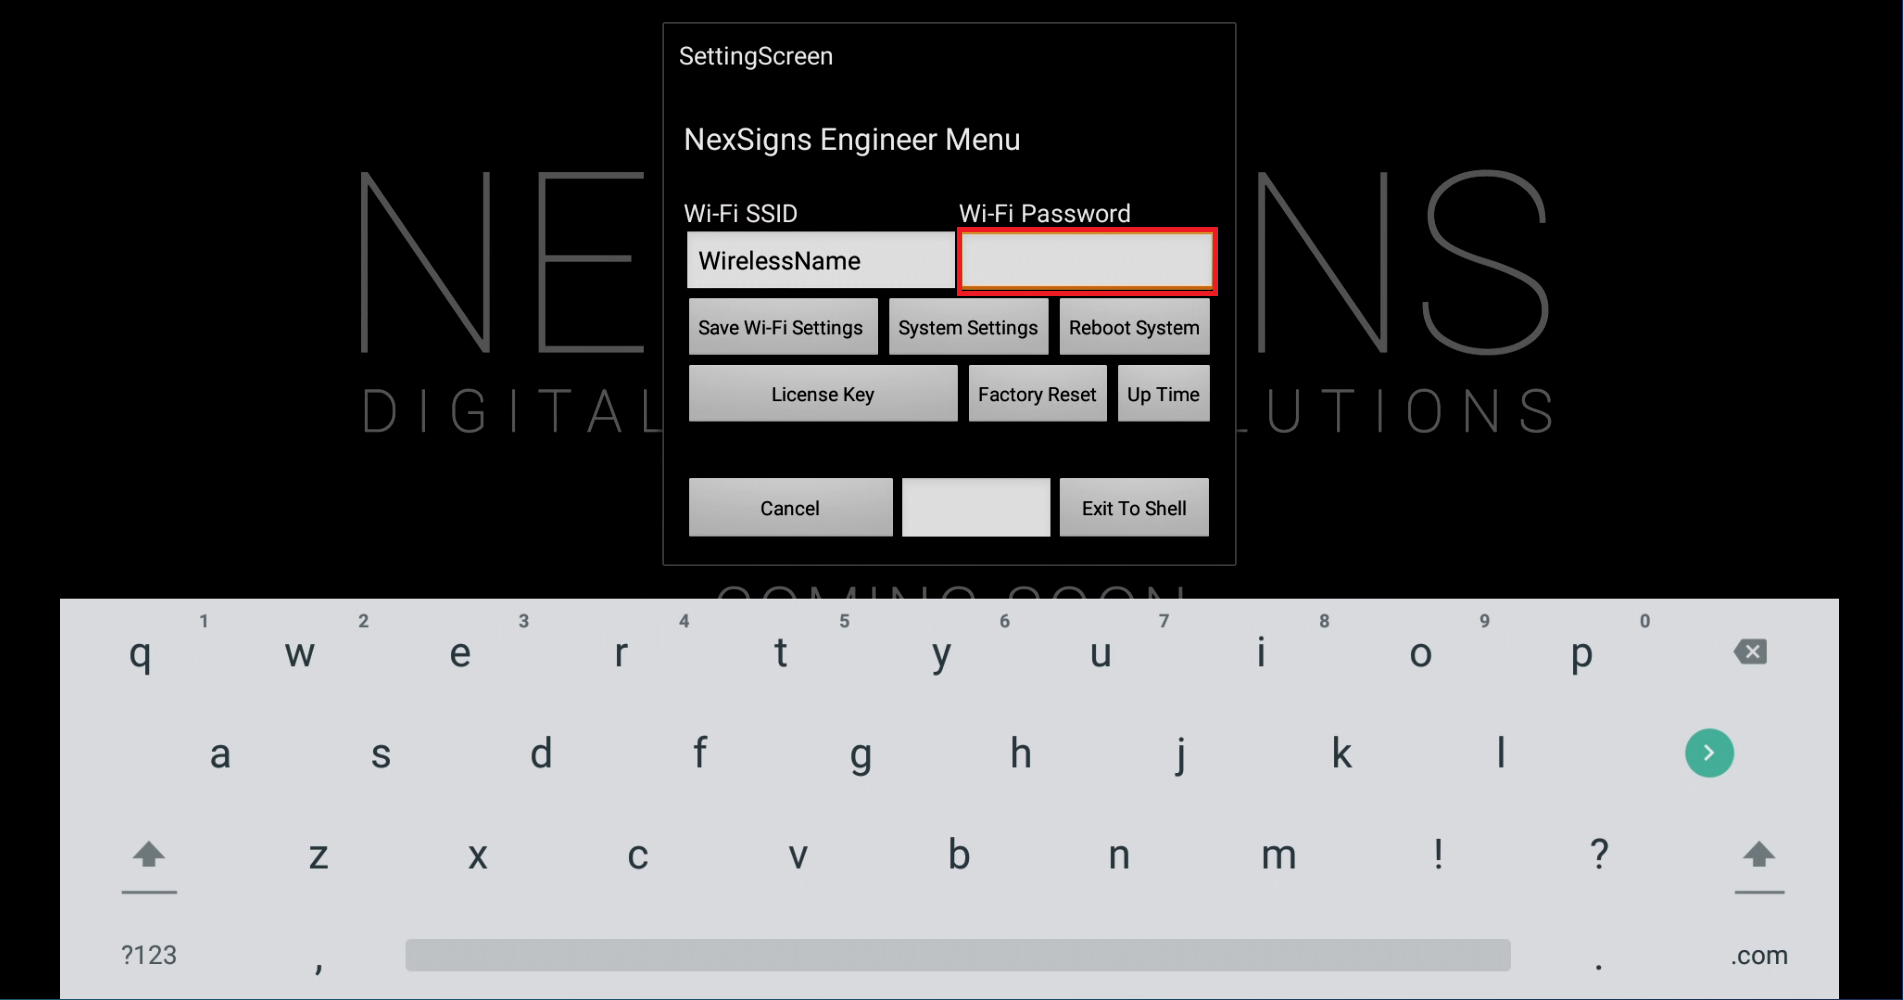
  5. Left Click on the Text Box below Wi-Fi Password.  Use the On-Screen Keyboard to enter your Wireless Password.


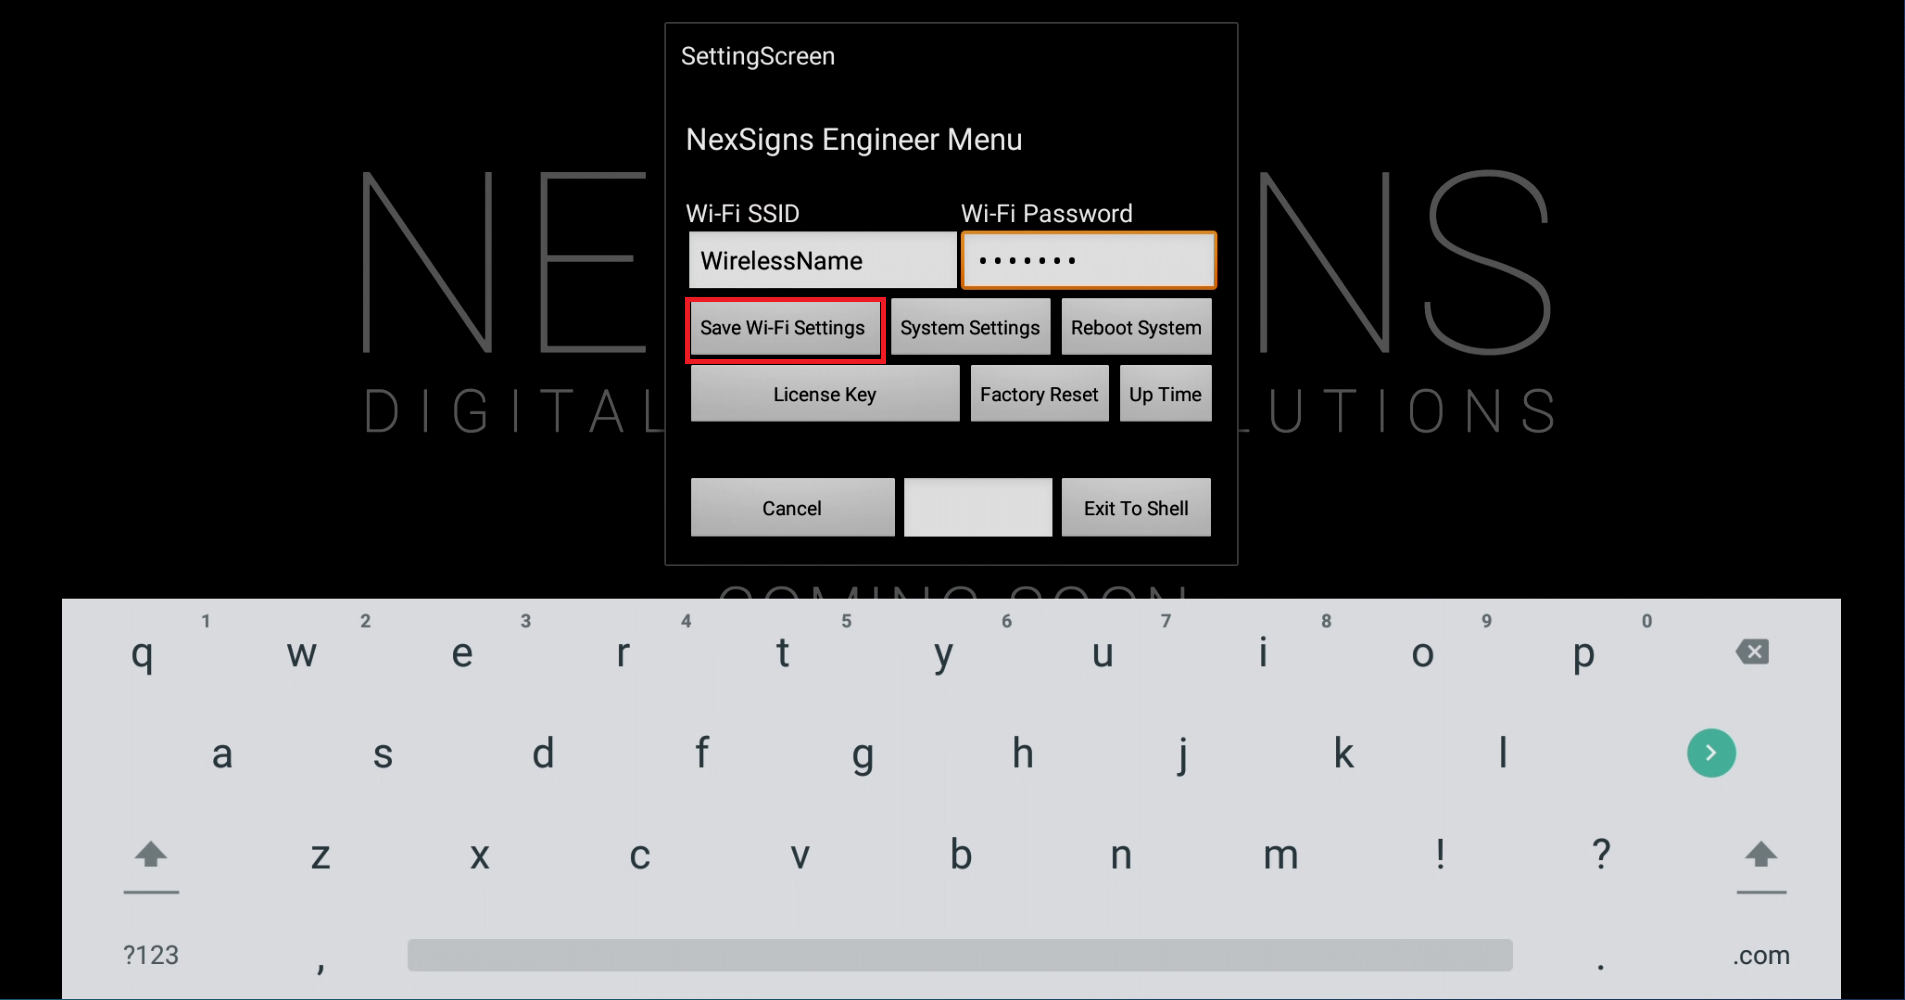
  6. Left Click on Save Wi-Fi Settings


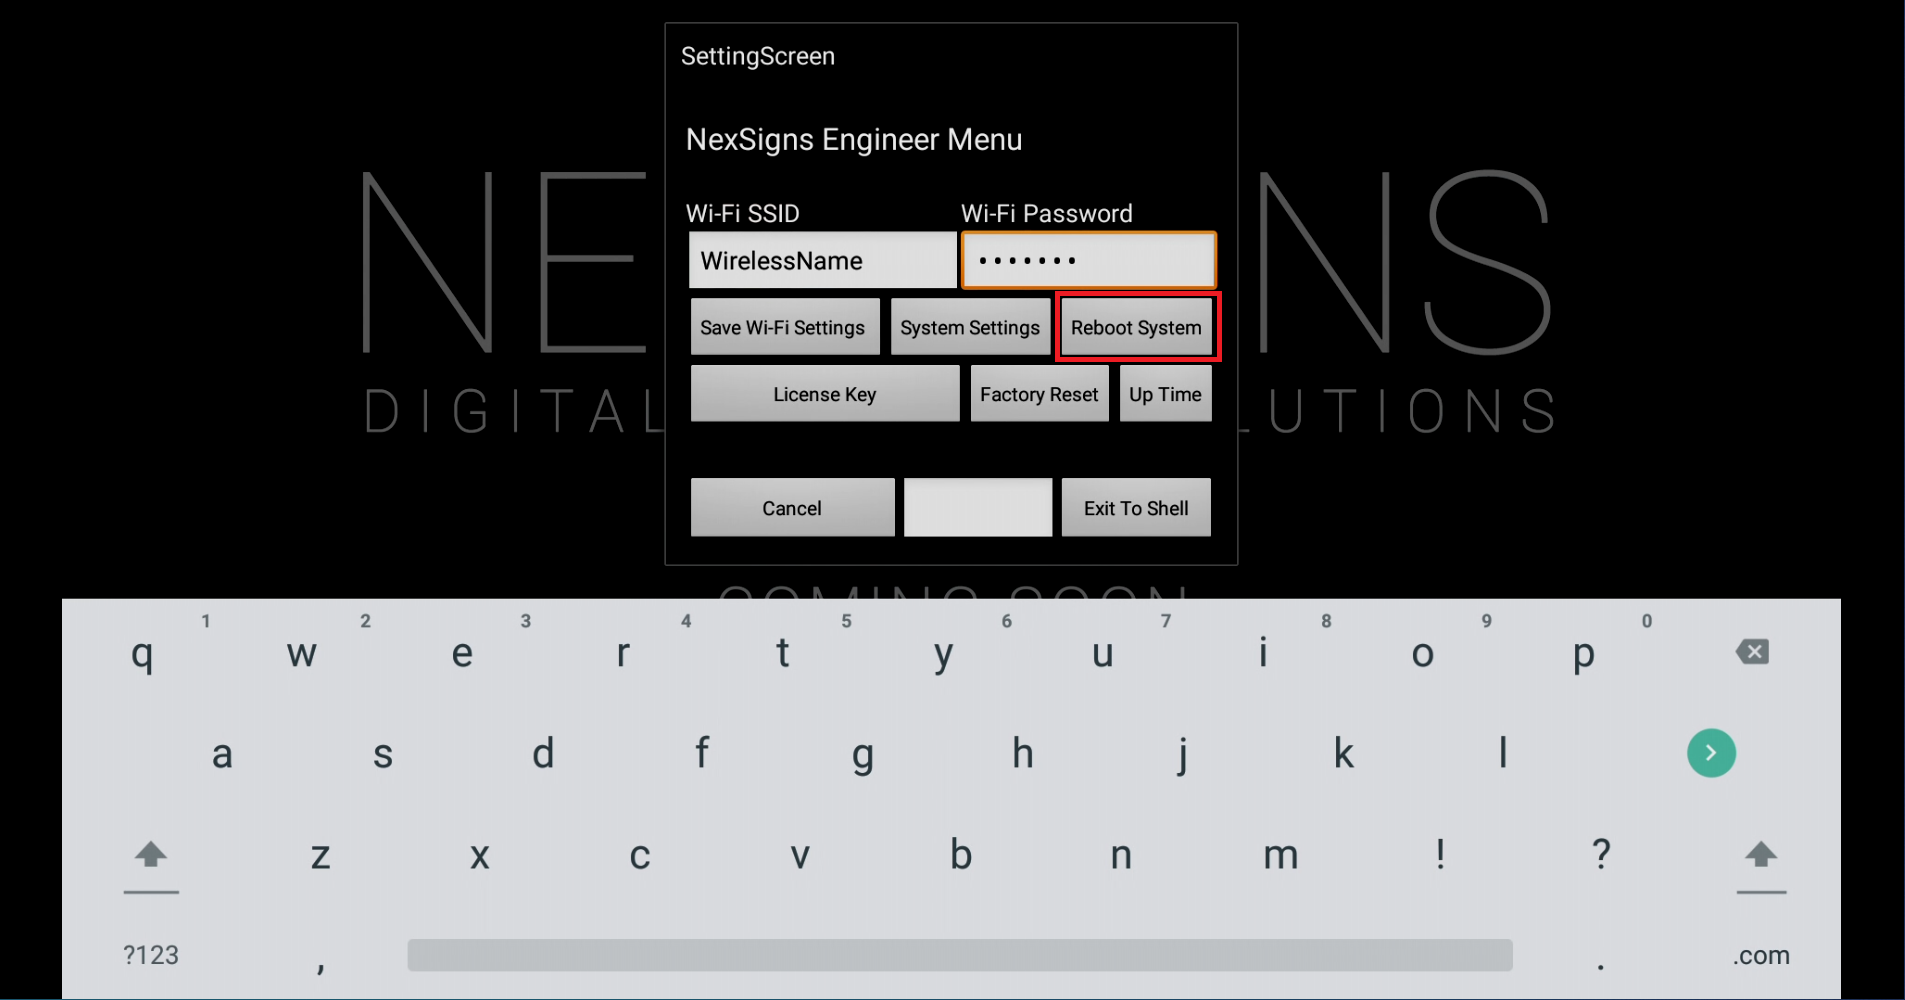
  7. Left Click on Reboot System


  8. Your Nano-PC will now Reboot


  9. Remove the USB Mouse from your Nano-PC
  10. You are done!  When your Nano-PC device restarts, it will use your new Wi-Fi Settings

Applies to

Nano-PC2, Nano-PC3

Related articles

Related articles appear here based on the labels you select. Click to edit the macro and add or change labels.

Related tickets

Copy and paste Jira related ticket link here from project "PRODUCT"


Related issues