This tutorial will provide instructions on the fastest way to select a Template and Publish it to your Nano-PC device.
Topics Covered

Select a NexSigns Template
- Login to OnePass - (For more information, see How to access OnePass)
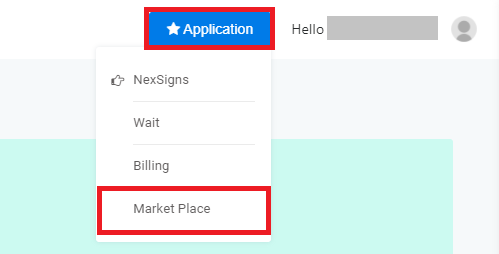
- Click on Application then select Market Place
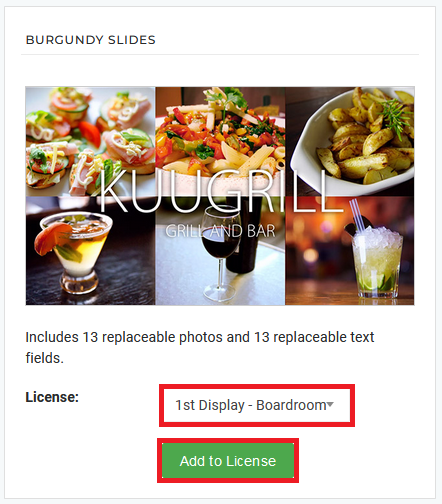
- Select a desired Template, choose a NexSigns Device from the drop-down list and click on Add to License
| NexSigns SaaS Subscriptions includes unlimited usage of Templates. If you have questions, please inquire with your Account Executive. |
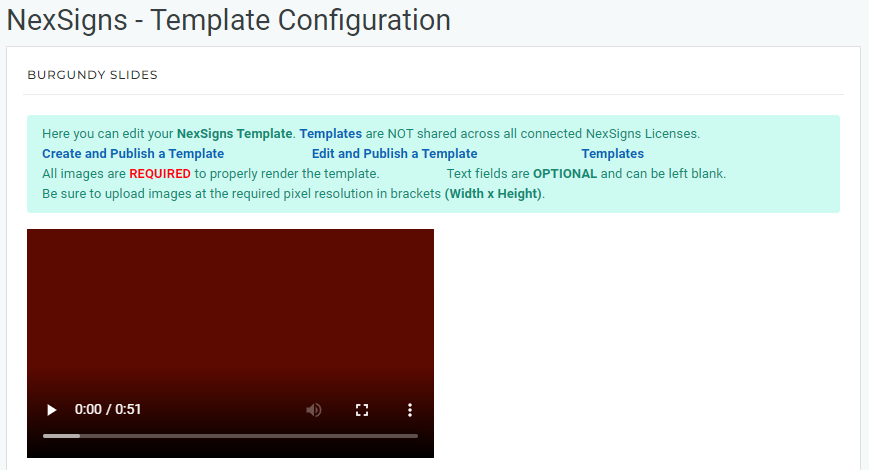
Complete the Template Configuration
Add all Images by Browsing from PC or Browse from Asset Library
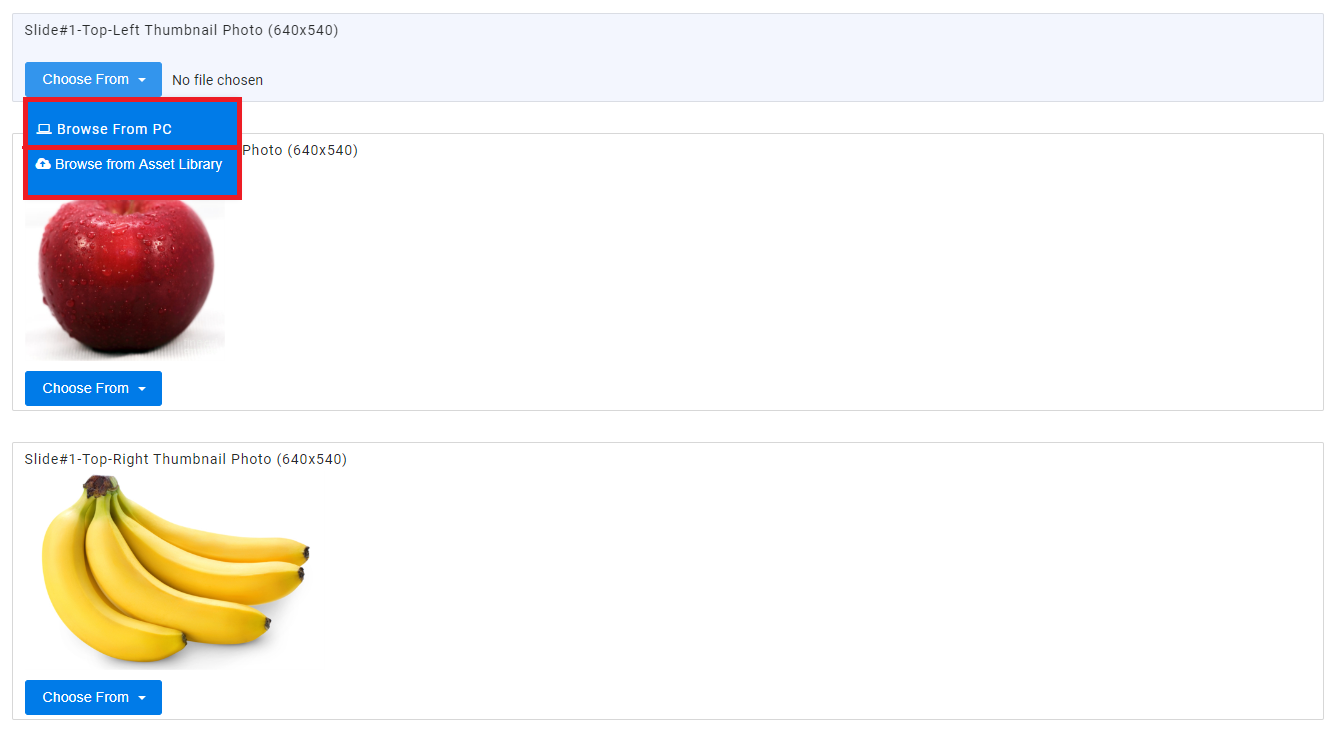
All images are REQUIRED to properly render the template. |
- Modify the desired Text Boxes
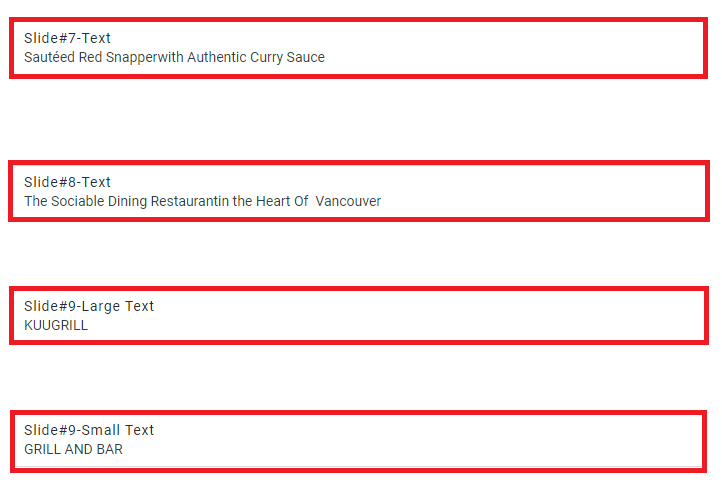
- Click on Save Changes

Create and Publish a Layout
- Click on Application then select NexSigns
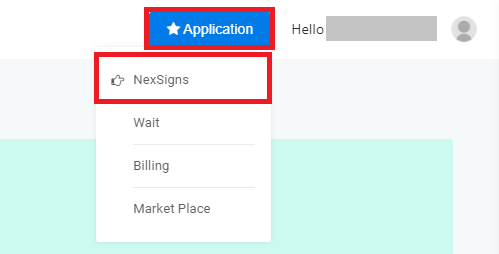
- Select the desired Product License and click on Start Action

- Click on New Blank Layout

- Enter a Layout Name, Screen Orientation, then select Continue

Click on New Horizontal Container

- Click on View Container
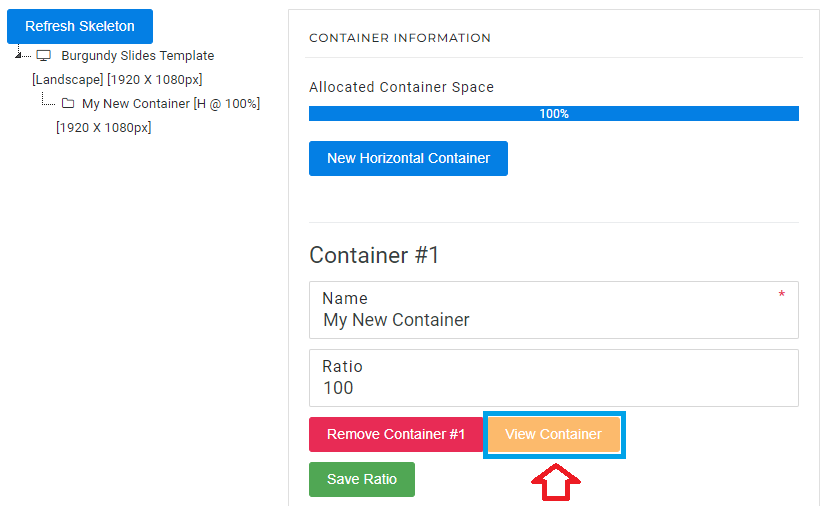
- Click on Connect to a Template

- Find the desired Template, and select Connect
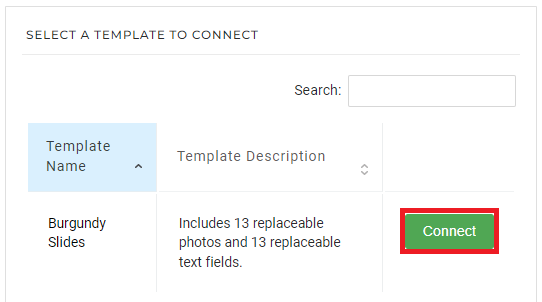
- Click on Publish
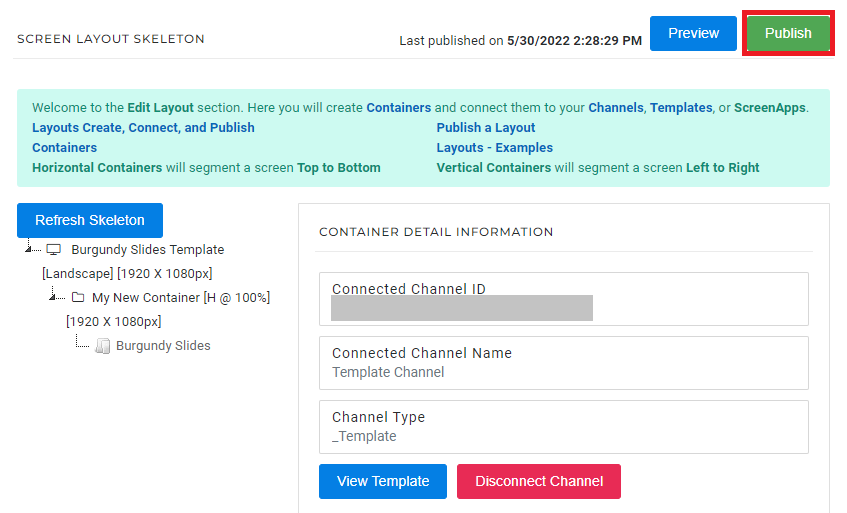
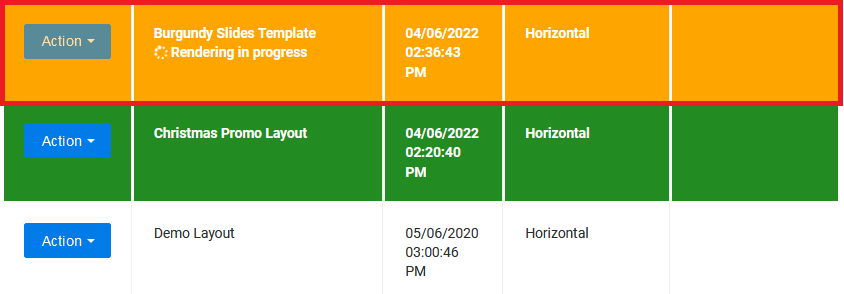
- You are done! Your Template will start rendering and automatically download to your Nano-PC device when complete
OnePass 3.1.x, NexSigns 2.x, NexSigns 3.x
Related articles
Related articles appear here based on the labels you select. Click to edit the macro and add or change labels.


