You can quickly edit your Image Assets directly on OnePass using the powerful NexSigns Image Editor.
...
| Info | ||
|---|---|---|
| ||
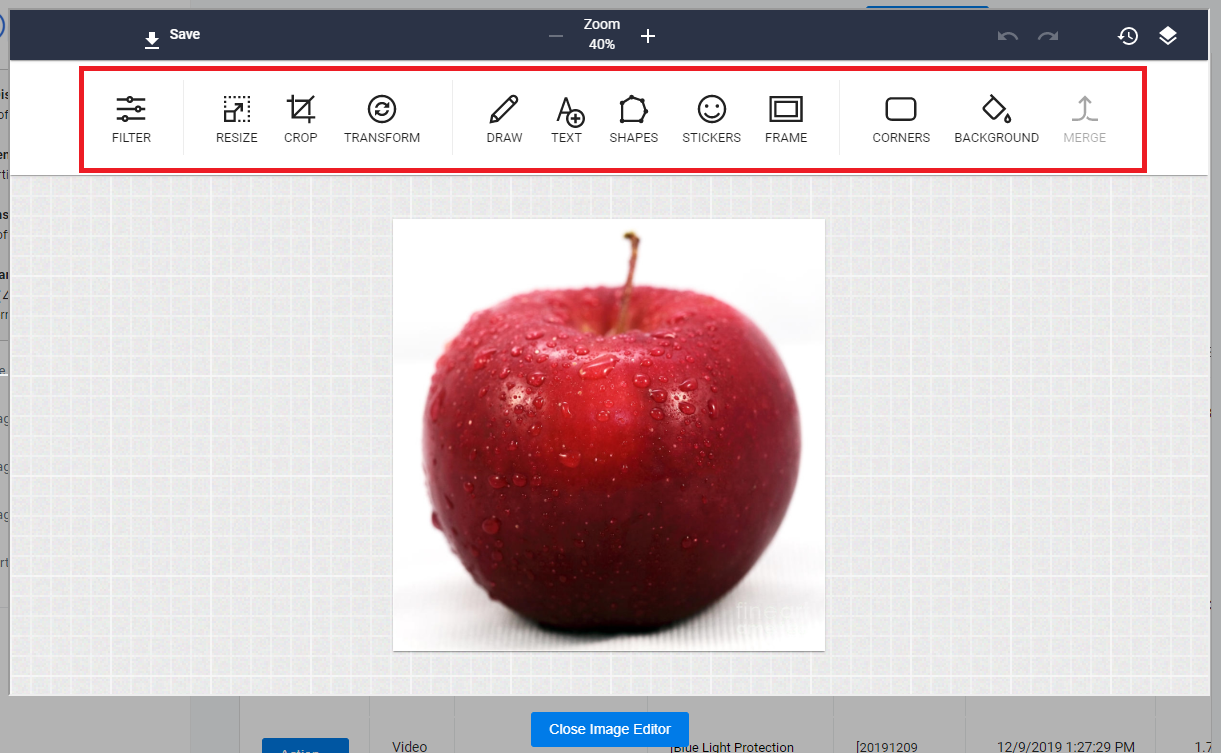
Here are the available features of the NexSigns Image Editor
Tutorial - Recommended Web Browsers for OnePass |

Login to OnePass and navigate to your Assets
- Login to OnePass - (For more information, see How to access OnePass)
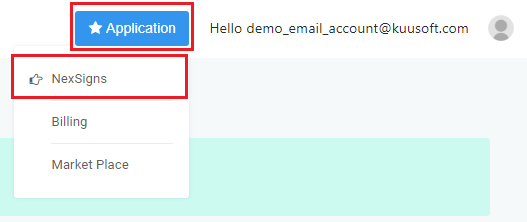
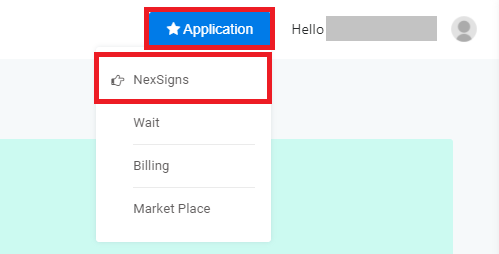
- Click on Application then select NexSigns
- Click on Start Action on your desired Product License

- Select Manage Asset located in the left menu
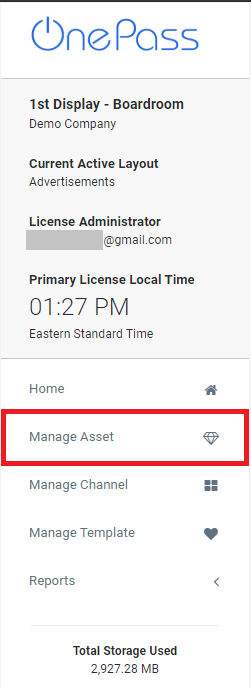
- You have successfully navigated to your Manage Assets page.
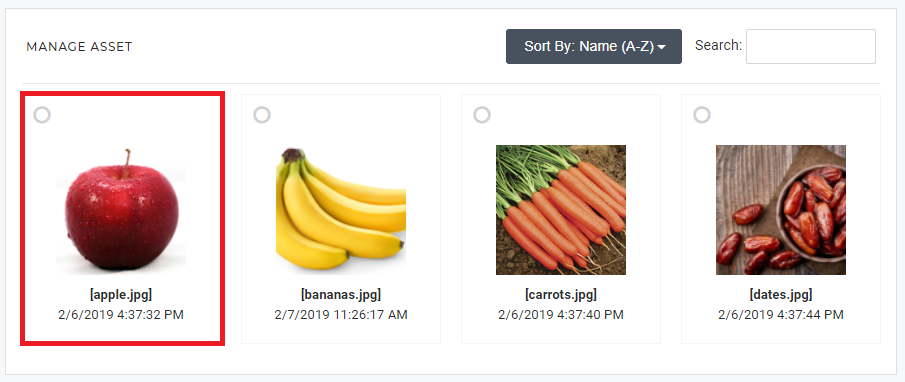
Edit an Image Asset (Tile Interface)
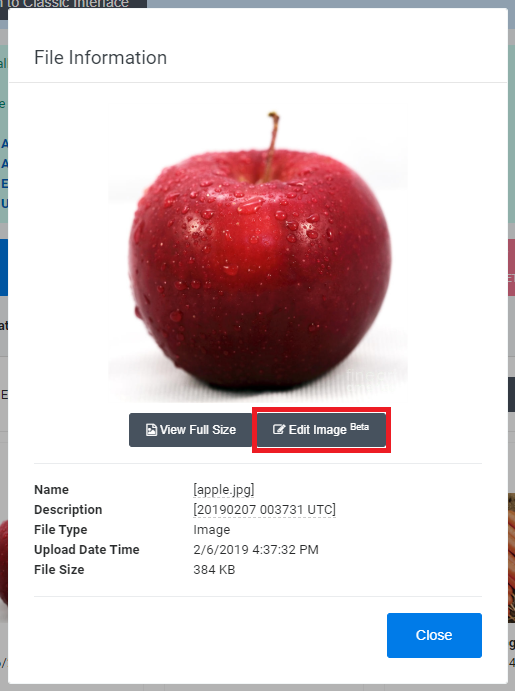
- Click on the desired Asset, then select Edit Image
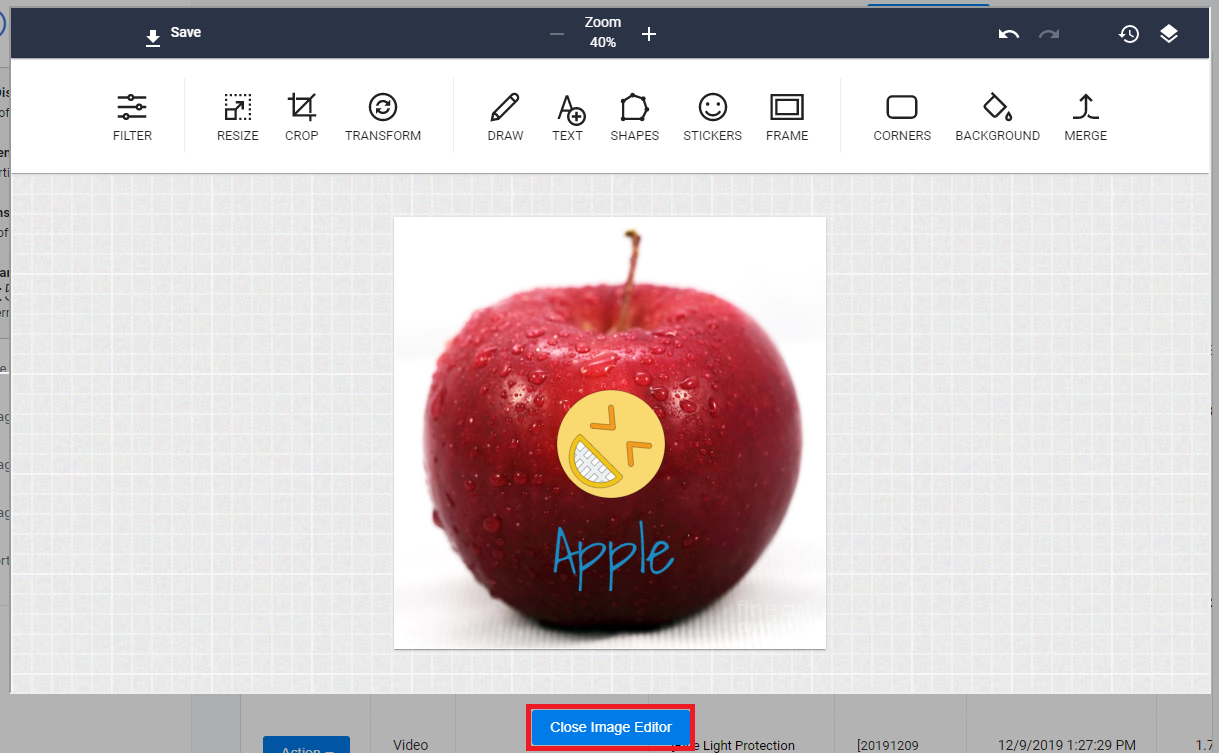
- Edit the Image as desired
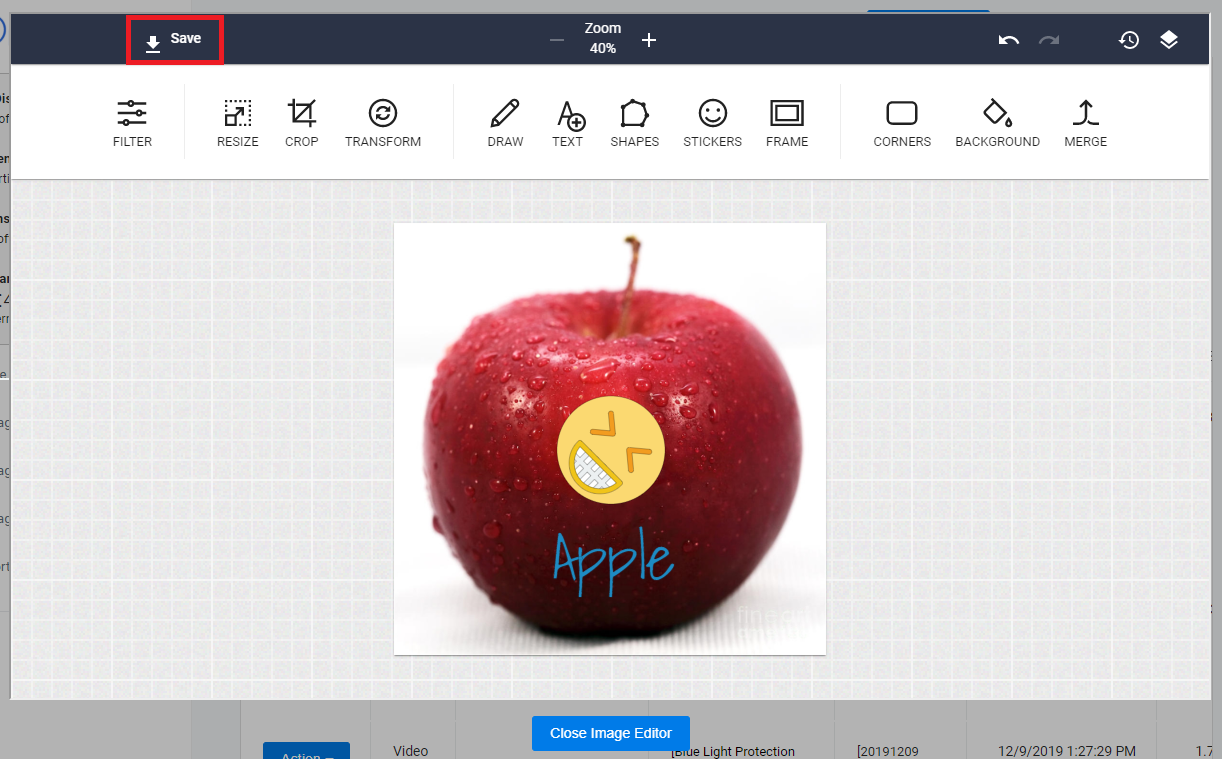
- Click on Save
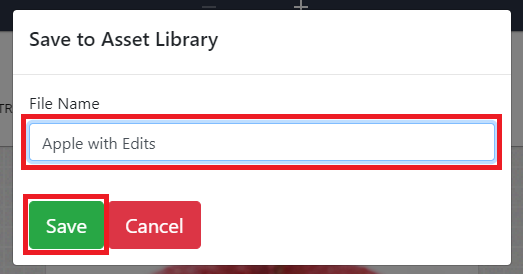
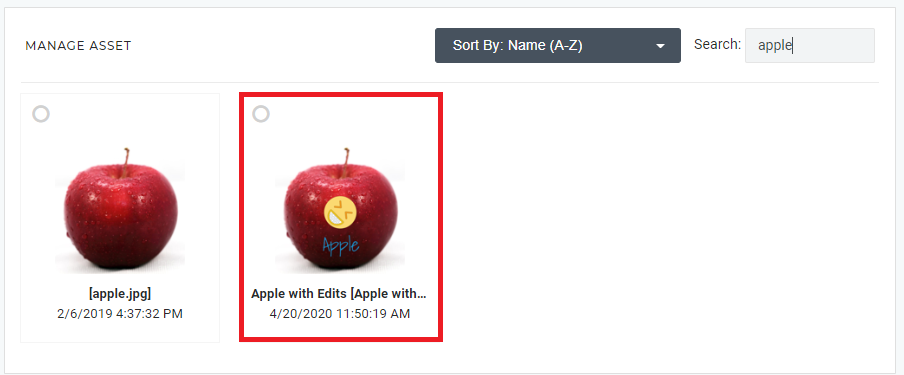
- Type in a new File Name and click on Save
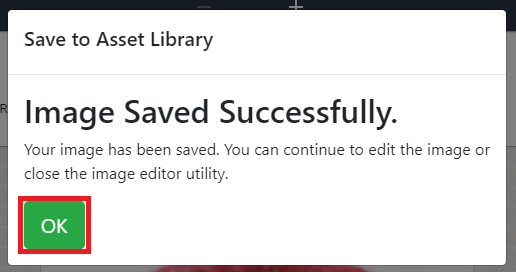
- Click on OK then select Close Image Editor
- You have successfully edited an Image using the NexSigns Image Editor
| Info |
|---|
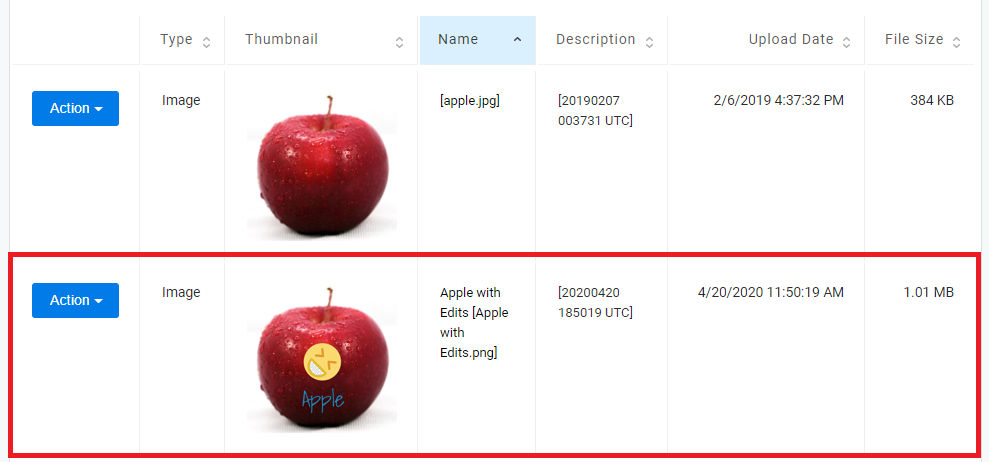
| A new Image, with the File Name from Step 4, will be saved to the Asset Library of the selected OnePass Account . The existing Image will not be modified. |
Edit an Image Asset (Classic Interface)
- Click on Switch to Classic Interface

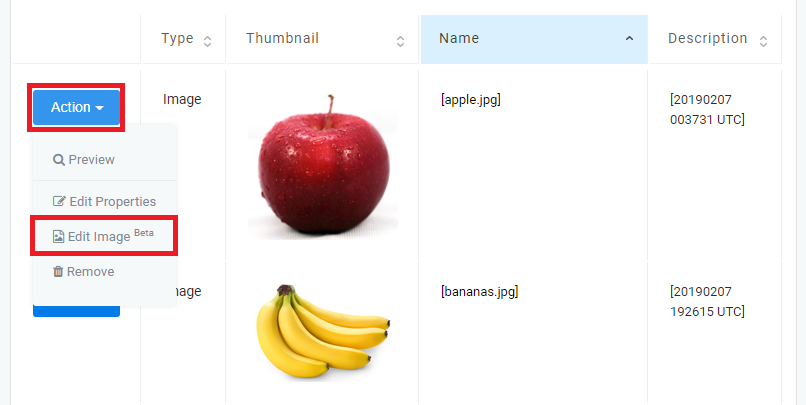
- Find the desired Asset, click on Action then select Edit Image
- Edit the Image as desired
- Click on Save
- Type in a new File Name and click on Save
- Click on OK then select Close Image Editor
- You have successfully edited an Image using the NexSigns Image Editor
| Info |
|---|
| A new Image, with the File Name from Step 4, will be saved to the Asset Library of the selected OnePass Account . The existing Image will not be modified. |
Applies to
...