You can quickly create a playlist of images and videos (aka Assets (Images / Videos)), along with other media, using OnePass and your NexSigns Device. In this article, we will explore how to configure and use a Multimedia Channel.
Topics Covered
| Table of Contents | ||||||||
|---|---|---|---|---|---|---|---|---|
|
| Info | ||
|---|---|---|
| ||
For more information about different Channels, view this article. Optional - Enable Auto-Update for a Multimedia Playlist Tutorial - Create and Publish a Multimedia Playlist |
Login to OnePass and navigate to your Screen Layouts
- Login to OnePass - (For more information, see How to access OnePass)
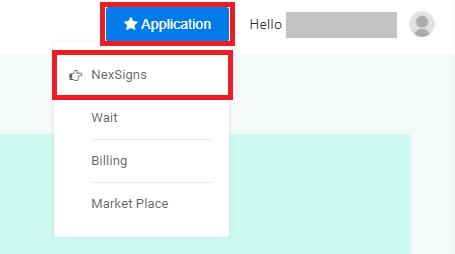
- Click on Application then select NexSigns
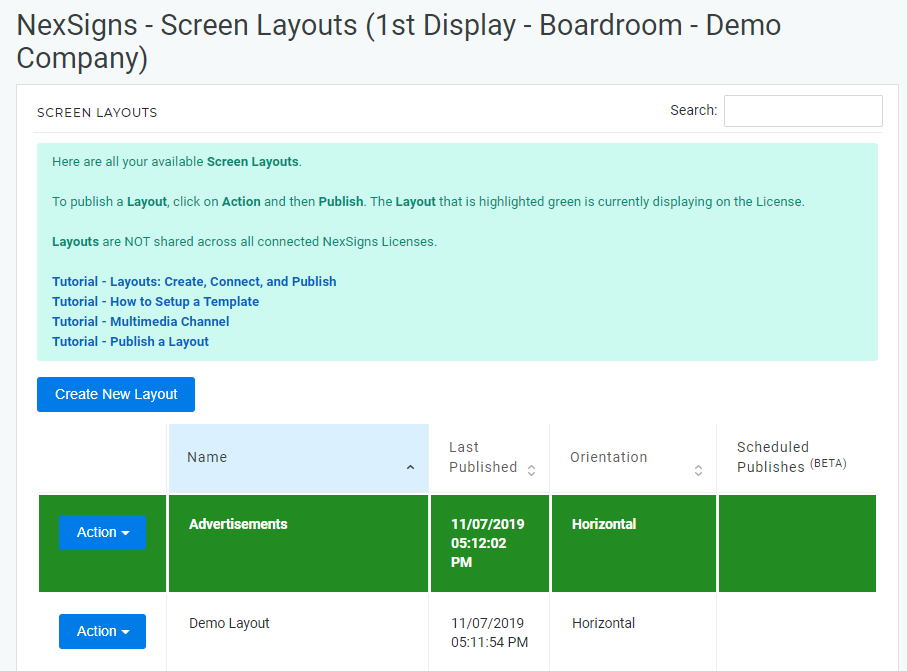
- Click on Start Action on your desired Product License

- You have successfully navigated to your Screen Layouts.
...
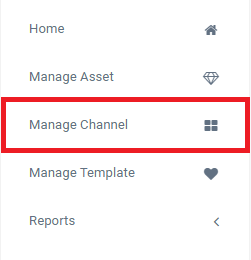
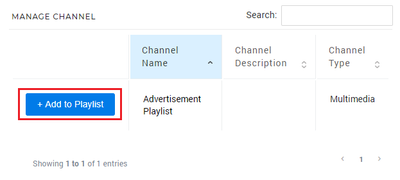
- Select Manage Channel located in the left menu
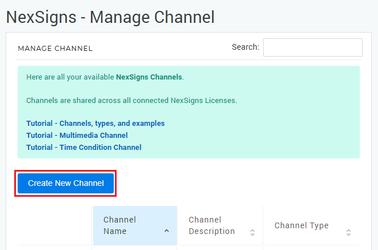
- Click on Create New Channel
- Enter a Channel Name, Description and select Multimedia in the Channel Type drop-down menu
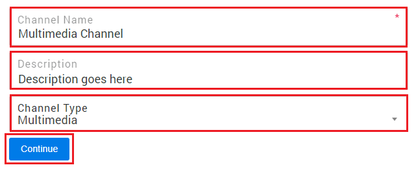
- Select Continue to finish creating a new Multimedia Channel
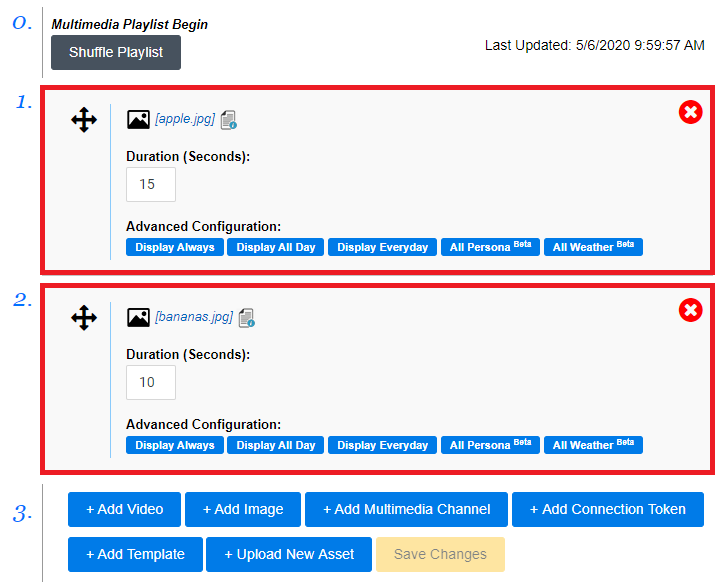
Add Media to a Multimedia Channel
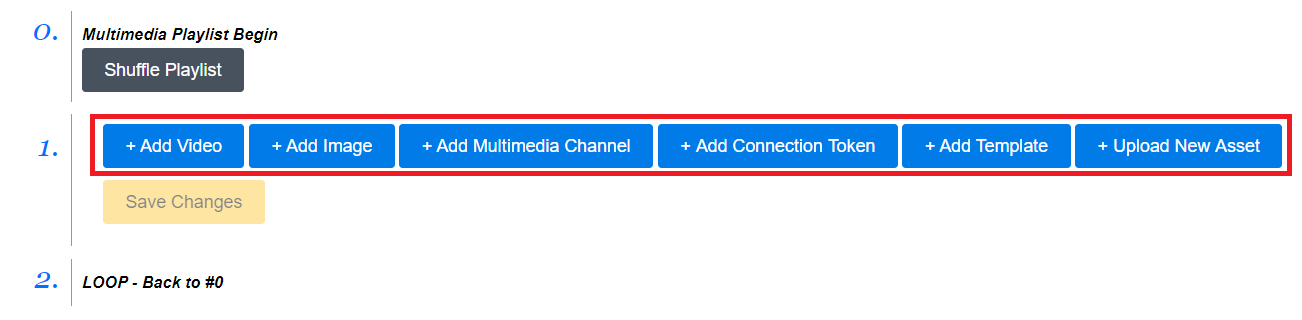
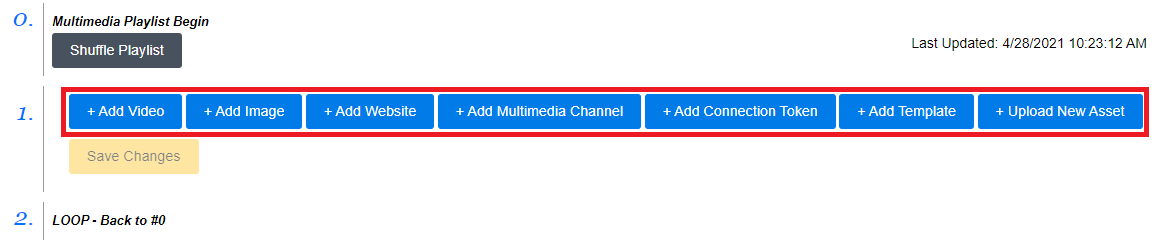
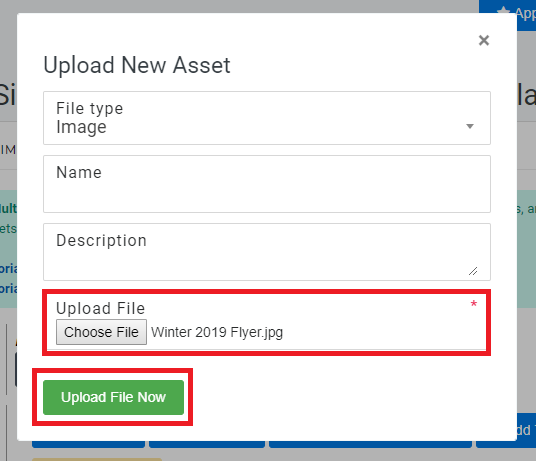
- To add media to the Multimedia Channel, click on either the + Add Video, + Add Image, + Add Multimedia Channel, + Add Connection Token, + Add Template, or + Upload New Asset
- Select your desired Media
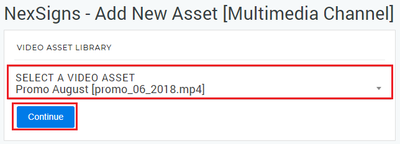

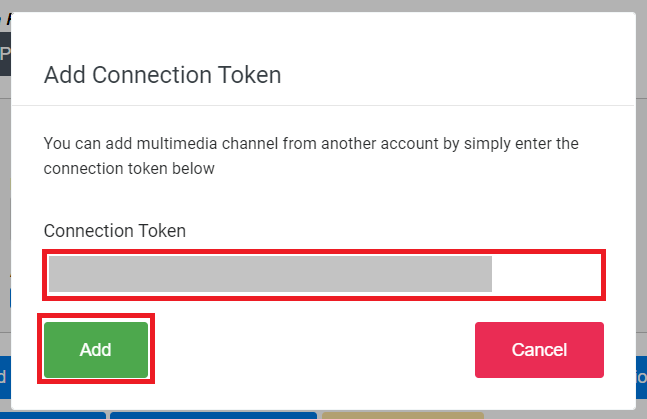
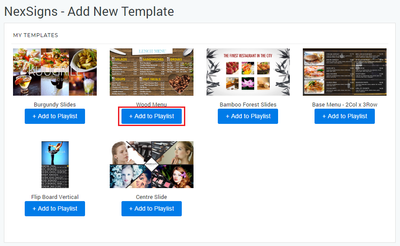
- You have successfully added media to your Multimedia Playlist
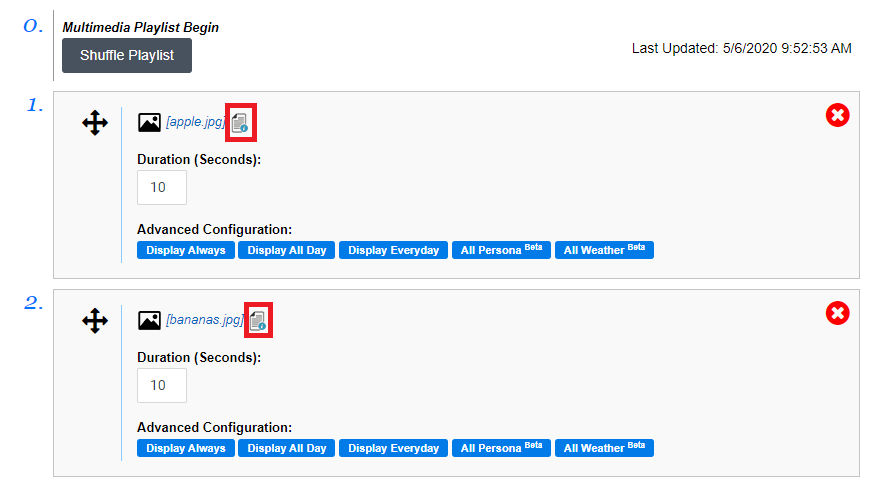
Preview an Asset - quick details and preview
- Locate your desired Asset and mouse over on the Preview icon

Preview an Asset - open in a new Tab
- Locate your desired Asset and click on the name
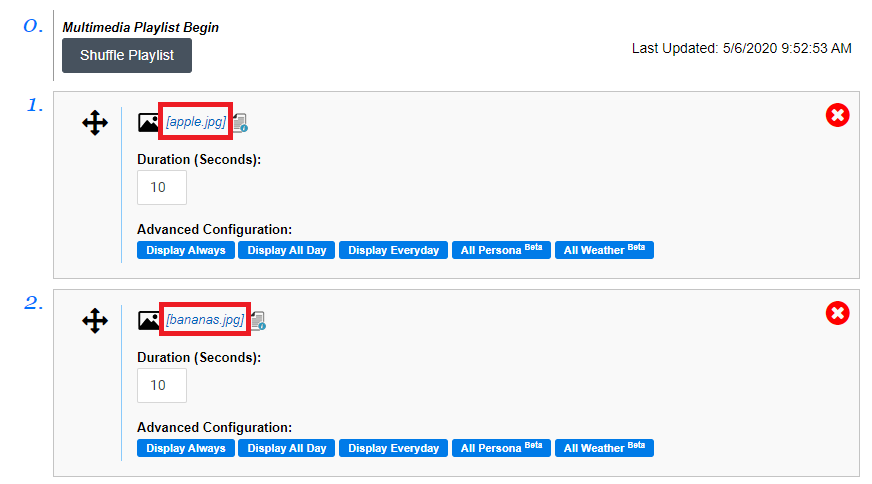
- It will display your Asset on a New Tab in your Web Browser.
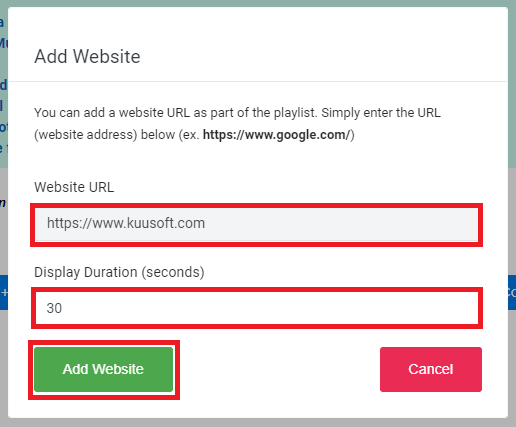
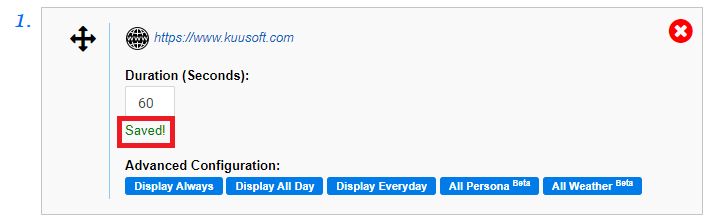
Modify the duration of time that an Image Asset
...
or Website is displayed
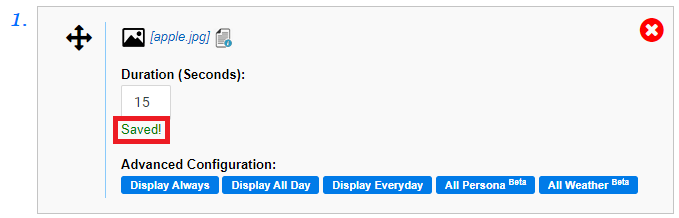
- Locate your desired Asset and type in a new duration in the Duration (Seconds) text box (ex. 15 seconds)
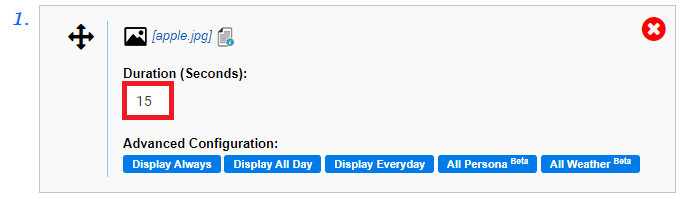
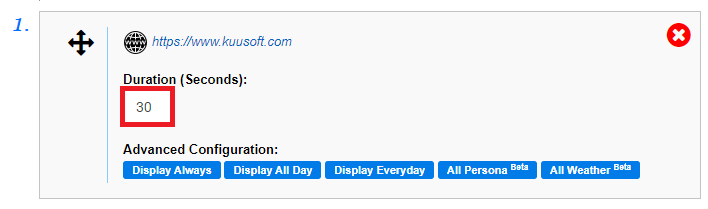
- Click away from the Duration (Seconds) text box and it will be saved automatically
- You will see a green Saved! message when it has been changed.
Modify the order of a Multimedia playlist
- Locate your desired Asset and use Drag and Drop to change the order
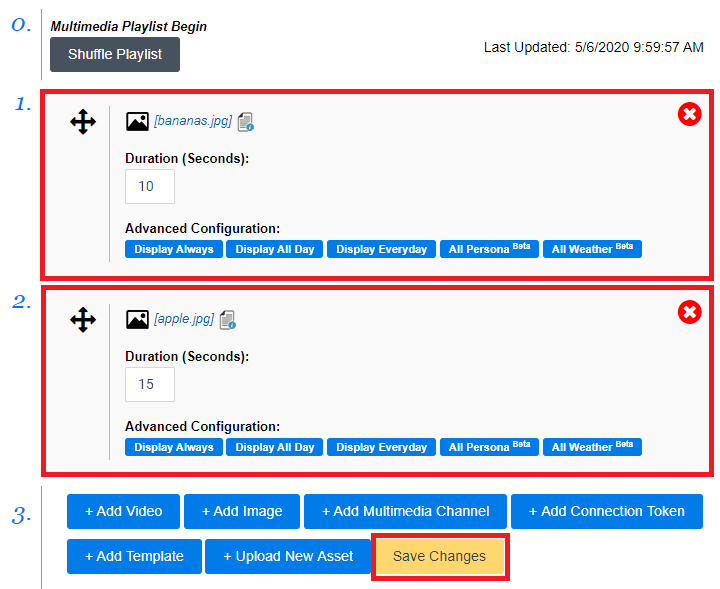
- Select Save Changes
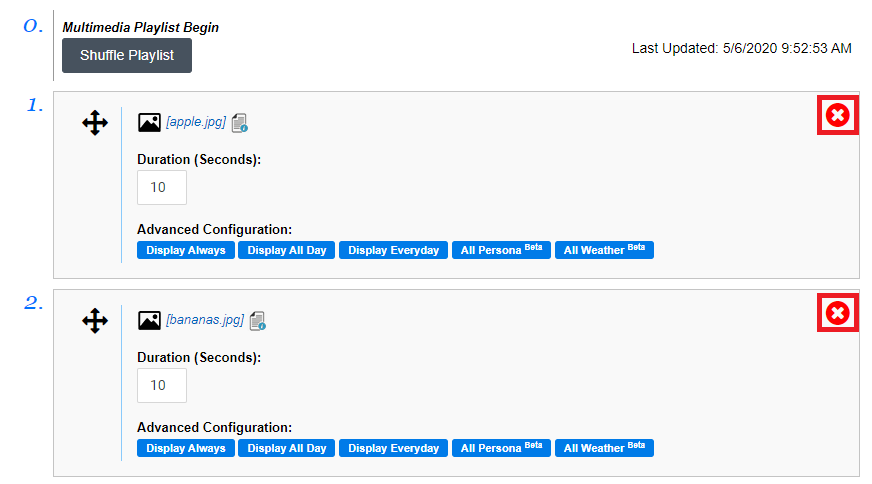
Remove an Asset from a Multimedia playlist
- Locate your desired Asset and click on the Red X Button
...
| Note | ||
|---|---|---|
| ||
Default time is to Pacific Time (PT) Tutorial - Change the Timezone Time Zone Setting (Nano-PC Device) |
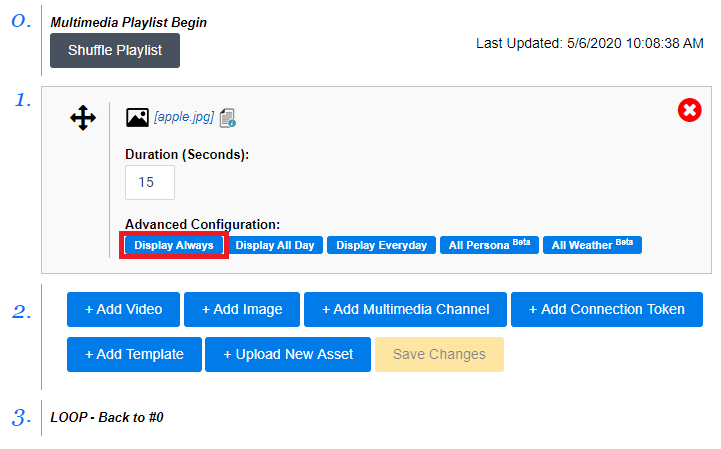
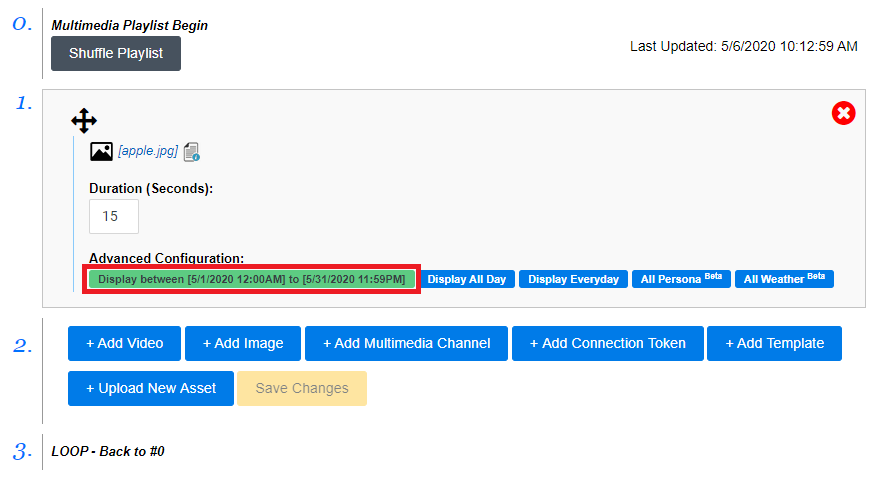
Set a Date Range for an Asset in a Multimedia playlist
- Locate your desired Asset and select Display Always
- Select the desired Date Range and click on Save
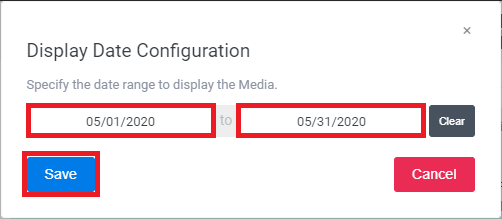
- You are done. This media will only display during the entered Date Range
Select the Days of the Week for an Asset in a Multimedia playlist
- Locate your desired Asset and select Display Everyday
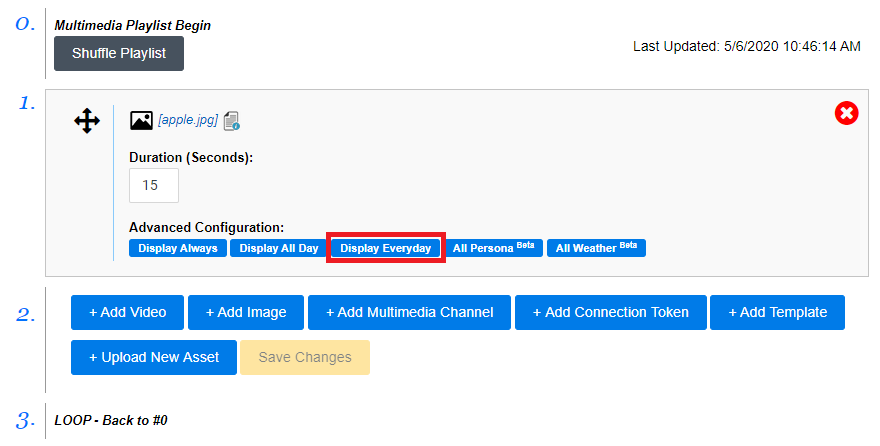
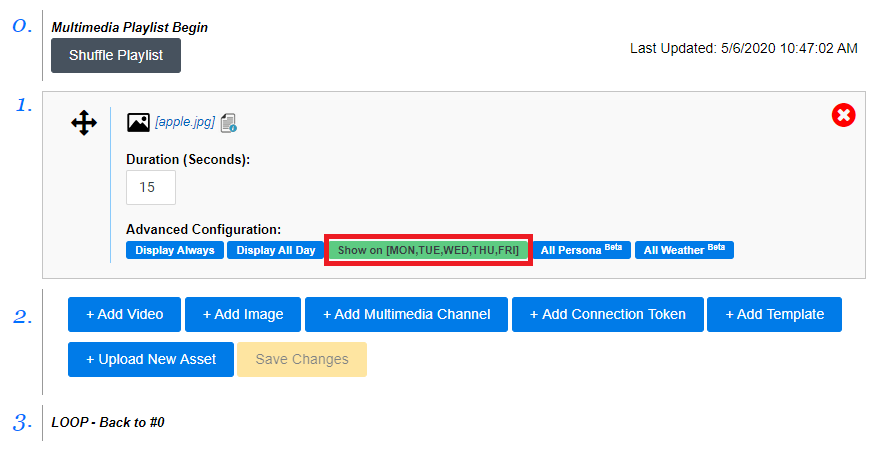
- Select the desired Days of the Week and click on Save
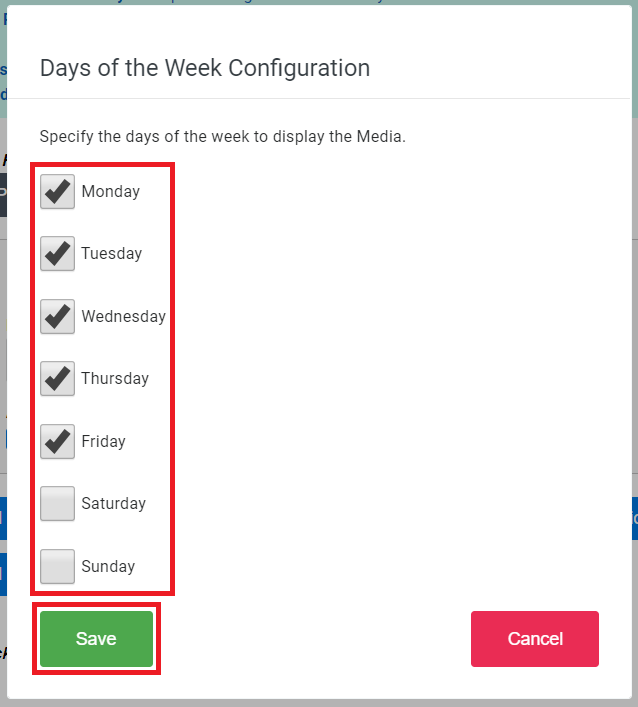
- You are done. This media will only display during the entered Days of the Week
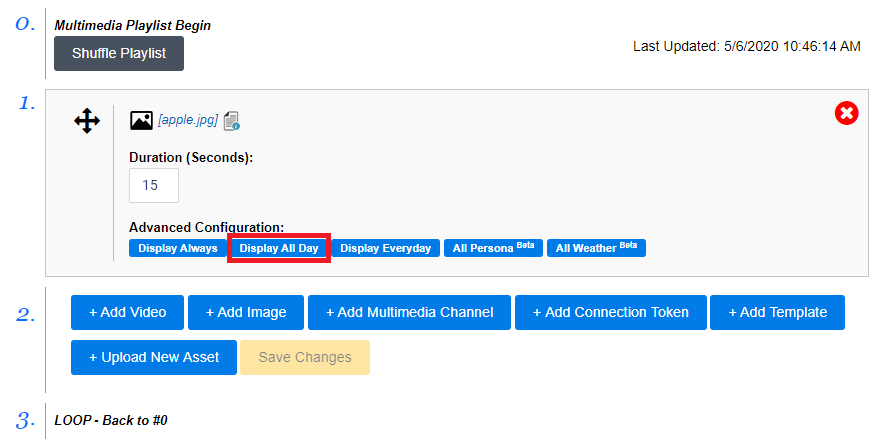
Select the Time of the Day for an Asset in a Multimedia playlist
- Locate your desired Asset and select Display All Day
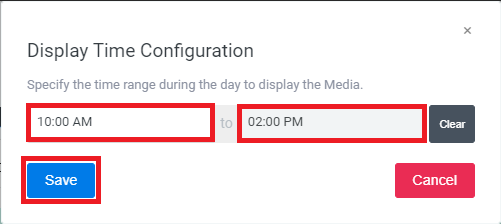
- Select the desired Time Range and click on Save
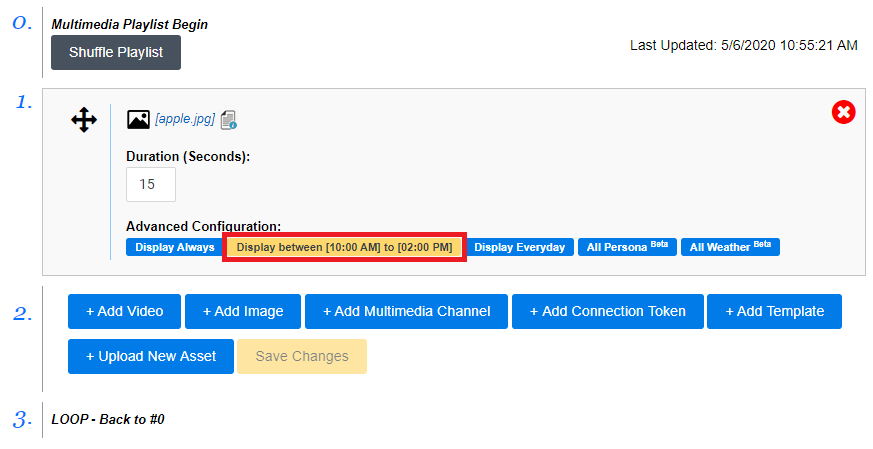
- You are done. This media will only display during the entered Time of the Day
| Tip | ||
|---|---|---|
| ||
Ensure to create a Layout, Container, and connect it to the Multimedia Channel then Publish it to view it on on your signage. |
Set Persona Filters for an Asset in a Multimedia playlist
| Info |
|---|
| See this article for instructions on Using Persona Filters in a Multimedia Channel / Multimedia Playlist |
...